孔雀の水彩画:ステップバイステップチュートリアル

Time20分
Level初心者向け
Palette3 colors
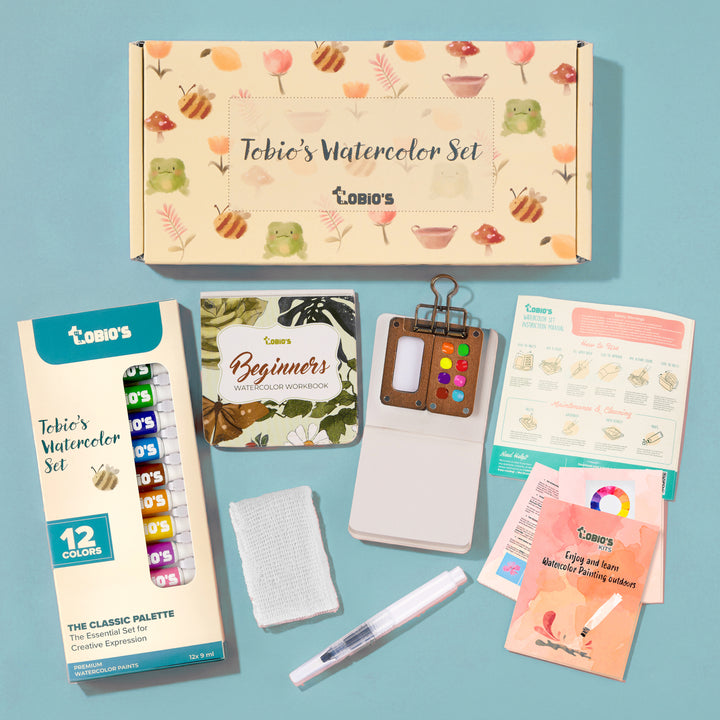
Materials
What You'll Need
- 紙
- 筆
- 絵の具の色
- パレット
- 水カップ
- 鉛筆
Colors
Color Palette
ロイヤルインディゴ#0F2C45
ジュエルトーンティール#1B5E63
シマリンググリーン#4A7A68
大胆で輝く孔雀の水彩画が欲しいのに、試すたびに羽がぼやけ、色が沼のようになり、全体が困惑した七面鳥のように見え始めます。
良いニュースは?何千もの個別の羽毛を描く必要はありません。この「ルーズスケッチブックスタディ」では、完璧主義を捨てます。シンプルな形とウェット・イン・ウェットの魔法を使って、鳥の堂々とした態度を捉える、速くて初心者に優しいアプローチに集中します。青と緑の間のきらめくトランジションを作るために、水に重い仕事を任せます。
ステップバイステップ:表現豊かな孔雀の水彩画
この絵のコツは自信です。図表ではなく、シルエットを描いています。すべての羽毛にこだわるのではなく、流れるような「S」カーブで鳥の誇り高く堂々とした姿勢を捉えたいのです。深い青ときらめく緑を紙の上で一緒に流しましょう。すべてのエッジをコントロールしようとすると、孔雀をあれほど壮観にしている魔法のような虹色の輝きを失います。深呼吸して、筆にたっぷり水を含ませ、鳥そのもののように絵を少しワイルドに感じさせましょう。

01
Step 1
堂々としたS字カーブ
- 濃厚でクリーミーなプルシアンブルーの混合で筆を詰めます。
- 上部から小さな楕円で頭を描きます。
- 優雅な「S」字型に筆を下に引き、首と胸の膨らみを形作ります。
- アーティストのコツ:筆を上げないで!これを一つの流れるような自信のある形にしましょう。

02
Step 2
ウェットインウェットの翼
ビリジアングリーン

03
Step 3
引きずる列車
ビリジアングリーン

04
Step 4
ディテール
ペインズグレー
Conclusion
ビリジアングリーン
Mel, Founder