American Flag Watercolor Painting (Step-by-Step)


What You'll Need
- Watercolor paper
- Pencil and eraser
- Two water cups
- Paper towel or clean cloth
- Round brush
- Washi tape
Color Palette
If you’ve ever tried an american flag watercolor painting and ended up with muddy stripes, wonky edges, or a blue canton that looks like a sad puddle, you’re not alone. The flag is “simple” until watercolor gets involved, then it’s suddenly a whole personality test.
This tutorial keeps it practical and beginner-friendly: a clean plan, minimal supplies, and techniques that work even if your brush control is currently vibes-based. You’ll learn how to use watercolor paper, manage wet-on-wet vs wet-on-dry, and build layering for stronger reds and blues without overworking the page.
Supplies and colors (keep it simple)
You don’t need a studio setup. You need a few basics and a little patience while things dry.
Basic supplies
- Watercolor paper (thicker is easier to control, less buckling)
- Pencil and eraser (keep lines light)
- Two water cups (one for rinsing, one for clean water)
- Paper towel or clean cloth
- Round brush (a medium size can do most of the work)
- Optional: painter’s tape or washi tape (for crisp edges)
Colors to use (match the classic flag palette)
Stick to the obvious trio so your painting reads instantly as “flag,” not “experimental nautical banner.”
- Red (for the red stripes)
- Blue (for the canton)
- White (leave the paper unpainted for the white stripes and stars)
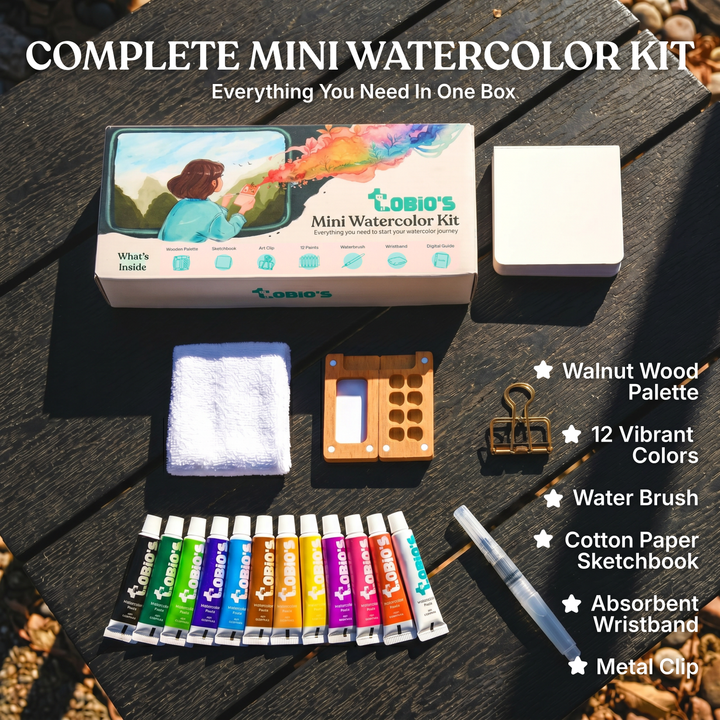
If you’re using a curated kit, your job gets easier because the colors and tools are already chosen to play nicely together. If you want more guided projects like this, browse Tobio’s Kits’ watercolor tutorials for approachable practice pieces that build skills without frying your brain.
Prep: sketch, tape, and a no-drama plan
1) Choose your style first (this prevents overworking)
Decide before you paint:
- Crisp: taped borders, clean stripes, controlled washes
- Loose: soft edges, gentle blooms, a little bleed is a feature
- Vintage: lighter washes, more texture, less saturation
2) Lightly sketch the flag
Keep it simple: a rectangle for the overall flag, horizontal guides for stripes, and a smaller rectangle in the top-left for the blue canton. Don’t press hard. Heavy pencil lines plus watercolor equals “why won’t this erase?”
3) Tape if you want crisp stripes
If you love clean edges, tape the outer border and, if you’re feeling ambitious, tape off the white stripes. If you’re going for a more painterly look, skip stripe tape and just paint carefully around the whites. Either works.
Step-by-step: paint the flag in watercolor
Step 1: Paint the blue canton (keep the wash even)
Start with the blue area. It’s easier to control one block first than bounce between stripes. Use clean water to slightly dampen the canton (not dripping), then drop in blue pigment. Let the paint spread and settle.
- If you want smooth: use a wetter mix and gently guide pigment to the corners.
- If you want texture: use a slightly drier brush and let subtle variation happen.
Let it dry fully before adding stars or touching nearby stripes. Watercolor punishes impatience.
Step 2: Paint the red stripes (leave the white stripes unpainted)
Mix a red that looks bold when wet but not syrupy. Then paint every other stripe, leaving the white stripes as bare paper.
- For cleaner edges, paint with wet-on-dry: dry paper, controlled brush.
- For a softer look, do a light dampening pass first and let the red feather slightly.
Don’t try to “fix” a stripe while it’s half-dry. That’s how you get cauliflower blooms and patchiness. Paint it, leave it, breathe.
Step 3: Deepen color with a second layer (optional, but it levels up fast)
Once everything is dry, decide if you want richer color. Watercolor gets its depth from layering, not from scrubbing the life out of the paper.
- Add a second light wash to the red stripes for more punch.
- Glaze the blue canton if it dried lighter than you wanted.
Step 4: Add stars (choose the least annoying method)
You’ve got options, depending on your patience level and how crisp you want things.
- Negative painting: paint blue carefully around tiny star shapes (high effort, crisp payoff).
- Leave them implied: suggest stars with small unpainted dots or light shapes (low effort, artsy).
- Add white after: if you have an opaque white paint pen or paint, you can place stars on top once the canton is fully dry (clean and forgiving).
Pick one and commit. The flag doesn’t need microscopic perfection to look awesome on a wall.
Step 5: Peel tape and clean up
If you taped edges, peel slowly at an angle once the paint is fully dry. If you see any tiny bleeds, leave them if you’re going for a painterly look, or gently soften them with a barely damp brush.
Want more paint-with-me style projects and curated supplies so you’re not guessing your way through materials? Visit Tobio’s Kits and grab a kit that matches your comfort level.
Make it yours: styles, backgrounds, and finishing touches
Easy background ideas
- Soft sky wash: a very light blue around the flag (keep it subtle so the flag stays the star)
- Minimal splatter: tiny, controlled splatters in red or blue for energy (test first)
- Vintage fade: lighter overall washes, more visible paper texture
Composition tweaks that look intentional
- Paint the flag slightly “waving” with gentle curves in stripe guides.
- Add a clean border by taping the outer edges (instant framed look).
- Keep whites truly white by leaving paper untouched rather than repainting it.
Troubleshooting: fix common watercolor mistakes
My red stripes look pink
- Let them dry fully, then glaze another thin layer of red.
- Use less water in your mix next pass.
My blue canton dried blotchy
- Glaze a second even wash once dry.
- Work quickly edge-to-edge so sections don’t dry mid-wash.
Paint bled into a white stripe
- If still wet: blot gently with a clean, dry brush or paper towel.
- If dry: lightly lift with a damp brush, then blot (be gentle, no scrubbing).
My paper buckled
- Use less water and allow drying time between layers.
- Taping the edges helps reduce warping during painting.
Conclusion
A strong american flag watercolor painting isn’t about perfection, it’s about control where it counts: clean whites, confident reds, and a blue canton that looks intentional. Sketch lightly, paint in calm layers, and let drying time do its job.
If you want to keep the momentum going with guided projects and less supply guesswork, head over to Tobio’s Kits and pick a kit that makes painting feel like a break, not a battle.
Mel, FounderLike these guides? Set Tobio's as a preferred source on Google and our pages will show up first when you search for watercolor questions.
Ready to paint along?
Everything you need to paint anywhere and feel inspired doing it.
- Ultra compact
- Express yourself creatively
- For total beginners