Botanical Watercolor Painting: Step-by-Step Tutorial


What You'll Need
- Watercolor Paper
- Pencil and eraser
- Two water cups
- Watercolors
- Round brush
Color Palette
If you’ve ever tried painting a leaf and ended up with a sad, overworked green blob, welcome. The good news is that a beautiful botanical watercolor painting isn’t about being "naturally talented" or spending hours rendering microscopic leaf veins.
While this guide covers the fundamentals of a botanical watercolor painting, we are focusing entirely on a Loose Sketchbook Style. That means we are tossing out the masking tape, skipping the professional tracing, and ignoring complex, hours-long glazing techniques. This approach is fast, beginner-friendly, and perfect for that tiny mini-sketchbook you’ve been holding onto. We’ll keep it practical, not precious.
If you want more projects like this after you finish, you can browse our full library of step-by-step lessons on Watercolor Tutorials.
Your Minimalist Color Palette
You don’t need a massive studio setup to make your botanical work look effortlessly charming. Based strictly on the expressive little sprig in our reference image, here are the four pigments you need to pull this off:
- Lemon Yellow: A bright, happy pop for the flower's center.
- Cerulean Blue: Diluted generously to create those airy, translucent petals.
- Sap Green: Your absolute workhorse for soft, natural-looking leaves.
- Burnt Sienna: Just a touch to mix with your green for the stem, grounding the piece with an earthy depth.
Note: Even for quick sketchbook studies, your paper matters more than having expensive paint. Make sure you are using 140 lb / 300 gsm cold press watercolor paper so your washes don't warp the page.

The Confident Stem
Load a small round brush with a mix of Sap Green and a tiny tap of Burnt Sienna. Paint one quick, slightly curved line down your page for the main stem. Don't overthink it or grip your brush too tightly; a little tremble in your hand just makes it look more organic.

Single-Stroke Leaves
Switch to pure Sap Green with plenty of water. For each leaf, simply press the belly of your brush against the paper, gently pull, and lift to a point.
Leave a tiny sliver of dry white paper between the base of the leaf and the stem, it adds beautiful "breathability" to the sketch.

The Soft Blue Petals
Rinse your brush completely. Pick up a very watered-down wash of Cerulean Blue. Paint four to five simple, rounded petal shapes at the top of the sprig.
Let the watery edges settle naturally without scrubbing at the paper.

The Wet-on-Wet Center
Here is where the magic happens. While your blue petals are still damp and shiny, pick up a thick dab of Lemon Yellow and drop it right into the center of the flower. Watch it gently bleed into the blue, then, and this is the most important part, walk away.
Do not fuss with it!
The "Walk Away"
Now comes the hardest part: resist the urge to fiddle. You'll want to smooth out a bloom or "fix" a messy puddle, but don't.
The true charm of an expressive botanical watercolor painting lies in those unpredictable watermarks and natural bleeds.
Drop your brush, step back, and let it dry completely.
Style Variations: Moody Forest Floor, Sunlit Meadow, and Storybook Sprig
Want to change the vibe of your botanical watercolor painting?
Try these quick sketchbook adaptations using the same basic brushstrokes:
The "Moody Forest Floor" (Dramatic & Heavy)
- Cool the palette: Swap your warm Sap Green for deep, moody blues like Indigo or extra Ultramarine mixed into your green base.
- Deepen the shadows: Drop darker pigment into the base of the leaves and the center of the flower, leaving only a tiny sliver of pale color on the very tips of the petals.
- Lost edges: Let the bottom of the stem bleed entirely into a dark, shadowy ground wash to anchor the sprig in wet earth or forest moss.
The "Sunlit Meadow" (The Smooth, Airy Phase)
- Lighten the palette: Stick to highly watered-down Lemon Yellow and the palest, most translucent washes of green and blue.
- Change the proportions: Soften the pointed leaves so they sit as flat, rounded, delicate little ovals.
- The "Fresh" Texture: Skip the dark, crunchy shadows at the base of the leaves. Keep the washes light and smooth for a fresh, spring-like look.
The "Storybook Sprig" (Simplified for Cards & Patterns)
- Exaggerate shapes: Push the shape language into perfectly symmetrical leaves, or make the flower petals distinct and stylized rather than loose and bleeding.
- Bring back the speckles: Lean into the illustrative vibe by flicking a few perfect, deliberate splatters of green or yellow paint over the dry paper for a fun, stylized texture.
- Flat color: Skip the messy, wet-on-wet watermarks. Use flat, highly-pigmented, graphic washes of solid color for a modern illustration feel.
Inspiration: Why This Style Works
This loose, expressive sketchbook approach to a botanical watercolor painting is perfect for:
- Garden Journals and Nature Walks:
Capture the cool wildflowers or foliage you spotted on a trail without needing a macro lens or a botany degree. You don’t need to paint every single microscopic leaf vein or pollen grain; you just need that soft, organic silhouette to bring the memory back to life on the page. - Earthy & Botanical Decor:
Because plants are naturally grounding and organic, a soft, loose floral study looks timeless in a bedroom or cozy reading nook. Frame a trio of these quick studies (perhaps painting the same sprig in three different color palettes!) for instant, nature-inspired wall art that doesn't feel stiff or "store-bought."
Frequently Asked Questions
Why do my botanical watercolor paintings look muddy?
Usually, it’s from over-mixing. Instead of stirring colors into a paste on your palette, let them blend naturally on the paper (like dropping yellow straight into damp blue). And remember: once it's on the page, stop brushing and walk away!
Do I really need watercolor paper for a 15-minute sketch?
Yes! You absolutely need 140 lb / 300 gsm cold press paper. If you use regular sketchbook paper, it will buckle and ruin the beautiful wet-on-wet bleeds that make a loose botanical watercolor painting look so effortless.
Do I need to be good at drawing first?
Not at all. In this expressive style, we skip the pencil sketch entirely. You rely on simple brush mechanics, like pressing the belly of your brush down and lifting to a point, to let the water shape the leaves for you.
Conclusion
Botanical painting doesn’t require magic hands. It requires decent paper, a small set of reliable colors, and the patience to let layers dry before you poke them again. Start with the leaf study, move to the simple flower, then tackle the herb sprig and you’ll have a mini collection of botanical watercolor paintings that look intentional, not accidental.
If you want to keep the momentum going with curated supplies and beginner-friendly projects, visit Tobio's Kits and choose a kit that fits your vibe. Then paint the plants. Leave the stress to someone else.
Mel, FounderLike these guides? Set Tobio's as a preferred source on Google and our pages will show up first when you search for watercolor questions.
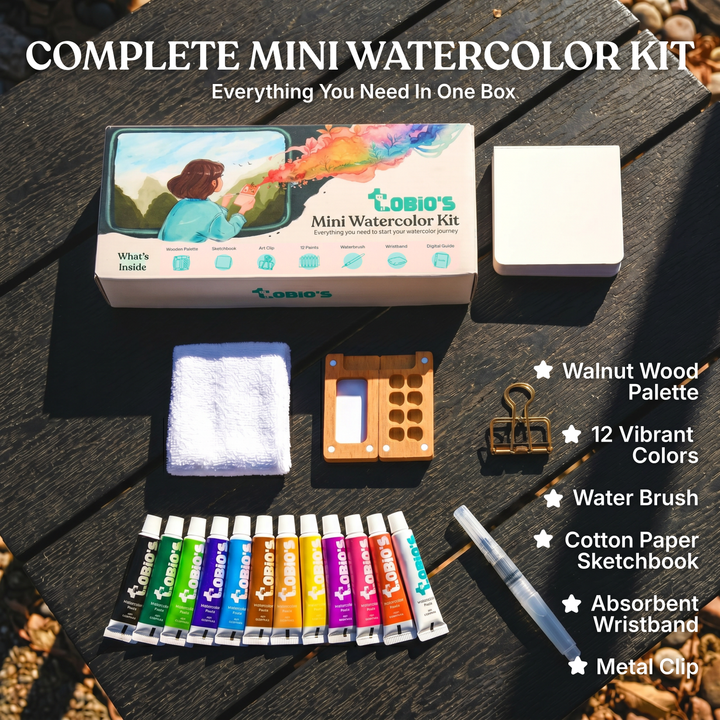
Ready to paint along?
Everything you need to paint anywhere and feel inspired doing it.
- Ultra compact
- Express yourself creatively
- For total beginners