Bunny Watercolor Painting: Step-by-Step Tutorial


What You'll Need
- Watercolor Paper
- Pencil and eraser
- Two water cups
- Watercolors
- Round brush
Color Palette
If you’ve ever tried painting a bunny and ended up with a stiff, overworked "fluffy potato," take a deep breath. You are in the right place! While this is a tutorial for a classic bunny watercolor painting, we are completely ditching the rigid rules. No masking tape, no meticulous tracing, no complex glazing, and zero stress.
Instead, we are focusing on a "Loose Sketchbook Style" that is incredibly fast, expressive, and wildly beginner-friendly. It’s all about capturing the cozy feeling of a little bunny sitting in the grass, using just a few confident brushstrokes and about 15 minutes of your time.
If you want more projects like this after you finish, you can browse our full library of step-by-step lessons on Watercolor Tutorials.
The Delicate Bunny Watercolor Painting Palette
Look closely at the painting above. Notice how uncomplicated and light it is? We aren't mixing a dozen heavy shades. To get this exact soft, milky look, pull these four specific pigments from your palette:
- Buff Titanium: This provides that creamy, warm, slightly peachy-beige base wash for the fur. (If you don't have Buff Titanium, an extremely diluted wash of Burnt Sienna works nicely, too!)
- Raw Umber: A softer, cooler brown than its "burnt" cousins. Perfect for those muted mid-tone patches and the gentle shading inside the ears.
- Sap Green: A lively, natural yellow-green for those quick, expressive blades of grass.
- Sepia: A very dark, rich tone for that single, soulful eye and tiny nose.

The Bare-Bones Sketch
Your sketch is just a map, not a contract. Draw a soft, rounded bean shape for the body and a slightly smaller oval for the head.
Add two perky leaf shapes for the ears.
That’s it. If you draw every individual hair right now, you’re just setting traps for yourself later. Keep your pencil pressure incredibly light!

The Soft, Milky First Wash
Lightly wet the body and head of your sketched bunny with clean water (keep it damp, not a puddle). Drop in a watery wash of Buff Titanium.
Let the paint feather and bleed naturally. Watercolor is a rebellious medium, let it roam free!
While it’s still damp, dab a touch of Raw Umber near the bottom of the bunny and on the back to hint at the slightly darker patches of fur. Let this layer dry completely.

Dropping in the Gentle Darks
Once that first wash is dry, take a slightly thicker mix of Raw Umber and sweep it onto the tips and bases of the ears, the back of the neck, and just slightly under the chin to separate the head from the body.
This creates dimension without making the painting feel heavy or overworked. Leave plenty of the paper unpainted, that white space is your brightest highlight and keeps the painting looking airy and fresh.

The 10-Second Grass & Final Details
Grab some Sap Green and simply flick your brush upward at the base of the bunny to create a handful of loose, jagged blades of grass.
Don't paint a whole lawn; just a hint of an environment is enough.
Finally, take your tiny detail brush and your Sepia paint.
Drop in a single, dark oval for the eye (leave a microscopic dot unpainted for a twinkle of life!) and a tiny "Y" shape for the nose.
Boom. Bunny achieved.
The "Walk Away"
Now for the hardest part: resisting the urge to fiddle!
Don't try to "fix" a messy puddle or smooth out a bloom.
The true charm of this expressive watercolor style lies in those unpredictable, natural bleeds.
Drop your brush, step back, and let it dry completely.
Style Variations: The Twilight Woodland, Sunlit Meadow, and Storybook Rabbit
Want to change the vibe of your bunny watercolor painting?
Try these quick sketchbook adaptations:
The "Twilight Woodland" (Dramatic & Heavy)
- Cool the palette: Swap your warm Buff Titanium for cool, shadowy tones by mixing a touch of Indigo or Payne’s Gray into your brown.
- Deepen the shadows: Paint the crevices under the ears and chin much darker, leaving only a tiny sliver of pale rim light on the back of the bunny's head.
- Lost edges: Let the bottom of the bunny bleed entirely into a dark, moody background wash to anchor it in twilight shadows or damp forest moss.
The "Sunlit Meadow" (The Soft, Ethereal Phase)
- Lighten the palette: Stick to highly watered-down Buff Titanium and add the palest wash of warm pink inside the ears.
- Change the proportions: Soften the silhouette even more so the bunny sits as a glowing, ultra-fluffy, rounded shape without any hard edges.
- The "Fresh" Texture: Skip the heavier Raw Umber shadows entirely. Keep the washes incredibly milky and smooth for a sun-bleached, angelic look.
The "Storybook Rabbit" (Simplified for Cards & Patterns)
- Exaggerate shapes: Push the shape language into perfectly rounded, stylized curves and slightly exaggerated, oversized ears.
- Bring back the speckles: Lean into the illustrative vibe by flicking a few perfect, deliberate splatters of Sap Green over the dry grass for a stylized, playful texture.
- Flat color: Skip the messy, unpredictable watermarks. Use flat, highly-pigmented washes of solid color for a classic children's book feel.
Inspiration: Why This Style Works
This loose, expressive sketchbook approach to a bunny watercolor painting is perfect for:
- Nature Journals and Spring Sketchbooks:
Capture the fleeting wildlife you spotted in the garden or on a morning walk without needing a telephoto lens or a zoology degree. You don’t need to paint every single tiny whisker or strand of fur; you just need that soft, hunched silhouette to bring the memory back. - Nursery & Cozy Home Decor:
Because bunnies are naturally endearing and gentle, a soft, loose study looks timeless in a child's room or a cozy reading nook. Frame a trio of these (perhaps changing the ear positions slightly on each one) for instant, nature-inspired wall art that feels deeply personal and completely un-stuffy.
Frequently Asked Questions
Why does my loose bunny watercolor painting look like a wet blob?
You probably used too much water! This loose style requires a damp surface, not a soaking wet one. If your paper is buckling, your paint will lose its boundaries. Next time, use less water and let the paper dry completely between your layers.
How do I paint a white rabbit without using white paint?
In an expressive bunny watercolor painting, the unpainted paper is your white fur! Swap the Buff Titanium base wash for a very pale, cool gray. Paint only the shadows, under the chin, inside the ears, and near the grass, and leave 80% of the bunny completely untouched.
I feel like my bunny needs whiskers. Should I add them?
Resist the urge! Rigid, spindly whiskers can quickly ruin this soft, airy illusion. If you absolutely must add them, wait until the paper is 100% dry. Then, use a nearly dry brush to flick one or two incredibly faint, pale brown lines. Never use harsh black paint!
Conclusion
Great bunny watercolor paintings aren’t about painting every strand of fur. They’re about soft shapes first, clean layers second, and sharp details last. Keep your sketch light, let your washes breathe, and place contrast thoughtfully around the eyes and chin.
When you’re ready for your next painting session, head to Tobio’s watercolor tutorials for more step-by-step practice, and browse Tobio’s Kits if you want to see finished bunny art in that signature gentle, cozy style.
Mel, FounderLike these guides? Set Tobio's as a preferred source on Google and our pages will show up first when you search for watercolor questions.
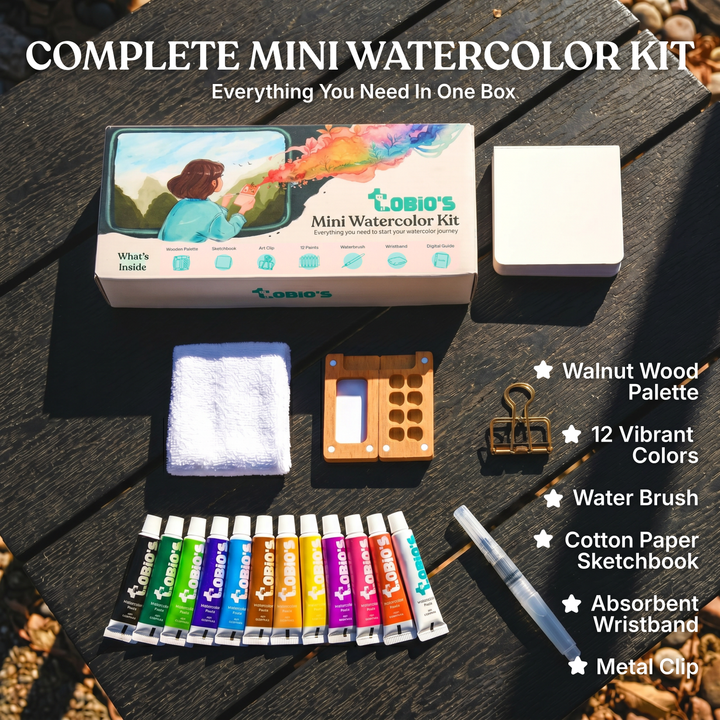
Ready to paint along?
Everything you need to paint anywhere and feel inspired doing it.
- Ultra compact
- Express yourself creatively
- For total beginners