How to Create a Cherry Blossom Watercolor Painting: Step-by-Step


What You'll Need
- Paper
- Brushes
- Paints
- Extras: A jar of water, paper towel, and a pencil
Color Palette
Let’s be real: trying to paint botanical illustrations where you count every stamen is a recipe for a headache. We aren't doing that today.
We are creating a loose, expressive sketchbook study.
This approach captures the feeling of a cherry blossom watercolor painting—the wind, the fragility, and the movement—without worrying if your petals look like biology diagrams. This is fast, wet-on-dry painting that relies on the "bloom" of the water rather than your ability to draw perfect circles.
The Supplies (Keep it Simple)
- Paper: 140lb/300gsm Cold Press paper. (Texture is your best friend here; it hides "wobbly" lines).
- Brush: A single Size 6 or 8 Round Brush.
- Paints: See the palette below.
- Extras: Water, paper towel, and a pencil.
The Color Palette
Based on the sketchbook study above, we are using a fresh spring palette. Notice we are adding green (which many beginners forget) to make the pink pop.
- Permanent Rose: Diluted heavily for the petals.
- Alizarin Crimson: For the punchy, dark centers.
- Burnt Umber: A rich, earthy brown for the branch.
- Sap Green: For the tiny budding leaves.
Practice First: Two 5-Minute Drills
Yes, drills. No, they’re not boring. They save your final piece.
Drill 1: Petal strokes
- Load brush with soft base pink
- Paint teardrop petals (point toward the center)
- While damp, touch deep rose at the base and let it spread
Drill 2: Tapered branch lines
- Use warm brown on dry paper
- Light pressure, then press for thickness, then lift for a fine tip
- Add a few side twigs to make it feel organic
Cherry Blossom Watercolor Painting: Step-by-Step Tutorial
This order matters. It keeps your blossoms clean and your edges where you want them.

The "Ghost" Sketch
Don't draw the whole flower.
- Draw a single diagonal line for your branch.
- Draw 3 rough circles where you want your main blossoms to sit.
- Stop. That’s it. If you draw the petals, you will try to "color inside the lines," which kills the loose vibe.

The Petal Wash
Load your brush with watery Permanent Rose.
- Press the belly of the brush down inside your circle guides to create organic, teardrop shapes.
- Paint 5 loose petals per flower.
- The Secret: Leave tiny gaps of white paper between the petals. This "sparkle" makes the flower look like it’s catching sunlight.

The Bleed (The Magic Part)
While your pale pink petals are still slightly damp (not soaking wet, just shiny):
- Load the very tip of your brush with Alizarin Crimson.
- Touch the center of the flower.
- Watch the dark pink bleed softly into the pale pink. Do not blend it manually! Let the water do the work.

The Branch and Connections
Connect your flowers with the branch. Make the line broken and jittery, branches aren't straight rulers.
Paint right up to the petals, but try not to touch the wet pink unless you want a muddy bleed (though, honestly, sometimes that looks cool too).
This is what makes the image above look finished.
Using Sap Green, tuck small, single-stroke leaves near the base of the flowers and along the branch.
These green accents contrast with the red/pink tones and make the whole piece feel fresh.
Optional Backgrounds (Sky Wash or Bokeh)
A background is optional. White space is classy. But if you want dreamy, here are two easy wins.
Option A: Soft sky wash
- Mix a very pale blue (mostly water)
- Wet the paper around blossoms with clean water, avoiding petals
- Drop in pale blue near the top and let it fade down
Dry time: 15 to 20 minutes.
Option B: Bokeh circles (soft light spots)
- Start with the pale blue wash
- When it is damp, paint circles with a clean damp brush
- Blot each circle with tissue to lift pigment
Finishing Touches + Common Fixes
Finishing touches that make it look intentional
- Add a slightly darker line on one side of the branch for final contrast
- Deepen a few petal bases only, not all of them
- Optional splatter: use slightly stronger pink and protect blossoms with scrap paper
Common mistakes (and what to do instead of panicking)
- Blooms (cauliflowers): caused by adding wetter paint as an area dries. If still damp, soften with a clean damp brush and blot. If dry, glaze a light even wash to unify.
- Hard edges on petals: if damp, soften with clean water. If dry, gently lift with a damp brush and blot.
- Muddy color: stop. Let it dry completely. Then add one clean transparent glaze of soft pink.
- Overworking: if your paper starts feeling rough, it is begging you to stop. Let it dry and move on.
Want more floral practice like a full cherry blossom tree painting watercolor study? The simplest next step is painting a “canopy cloud” of light pink first, then adding a trunk and branches after it dries. You can find more step-based guidance on the watercolor tutorials page.
Frequently Asked Questions
- Do I need to draw every single petal before painting?
No, please don't! As mentioned in Step 1, drawing every petal creates a "coloring book" effect that looks stiff. For a loose cherry blossom watercolor painting, just draw rough circles to mark the placement of the flower clusters. Let your brush create the petal shapes organically. - How do I get that soft, bleeding effect in the center?
The trick is timing. You must drop the darker Alizarin Crimson pigment into the center while the base pink petals are still shiny and wet. If the petals dry too much, the color won't spread. If they are too wet (puddles), the color will explode everywhere. - Why does my branch look like a brown stick?
Branches in nature are rarely straight. To make your cherry blossom watercolor painting look realistic, hold your brush loosely toward the end of the handle and let your hand jitter slightly as you paint the branch. Vary the pressure, press down for thickness, lift up for thin twigs. - Can I use smooth (Hot Press) paper for this?
For this specific loose style, Cold Press paper (textured) is much better. The texture of Cold Press paper helps break up the brushstrokes and adds that "sparkle" of white paper showing through, which makes the blossoms look airy and light.
Conclusion
A clean cherry blossoms watercolor painting is mostly about order and restraint: good paper, light first washes, patience between layers, and just enough detail at the end to make it sing. If your first try feels messy, that’s not failure, that’s watercolor being watercolor. Do one small branch study, then do it again with slightly lighter petals and fewer “fixes.”
Mel, FounderLike these guides? Set Tobio's as a preferred source on Google and our pages will show up first when you search for watercolor questions.
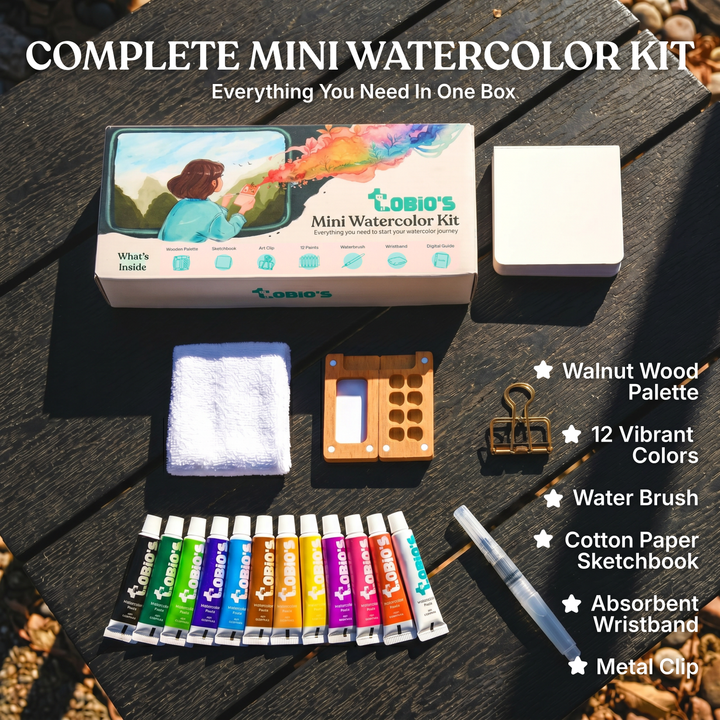
Ready to paint along?
Everything you need to paint anywhere and feel inspired doing it.
- Ultra compact
- Express yourself creatively
- For total beginners