


Dolphin Watercolor Painting: Step-by-Step Tutorial


What You'll Need
- Paper
- Brushes
- Paint colors
- Palette
- Water cup
- Pencil
Color Palette
If you have ever tried a dolphin watercolor painting and ended up with something that looks like a sad, gray banana floating in a swimming pool, you are not alone.
In this "Loose Sketchbook Study," we are ditching the pressure of hyper-realism. We aren't painting every single reflection or perfectly smooth gradient. Instead, we are going to capture the joyful, leaping energy of a dolphin in about 20 minutes. We will use loose, wet-in-wet washes to give the animal a slick, wet look, and simple, choppy strokes for the ocean splash.
The Supplies (Keep it Simple)
- Paper: 140lb / 300gsm Cold Press watercolor paper. (A small square or sketchbook page is perfect).
- Brush: A Round Brush (Size 6 or 8) and a small detail brush (Size 2).
- Paints: See our "Tropical Splash" palette below.
The Color Palette
Based on the bright, cheerful study above, we are using a very limited, cool palette.
- Cerulean Blue (or a bright sky blue): For the main body and the bright ocean water.
- Ultramarine Blue (or Indigo): For the deeper shadows on the fins and back.
- Lamp Black (or Payne's Gray): Just a tiny amount for the eye and smile.
Step-by-Step: Your Expressive Dolphin Watercolor Painting
The secret to this style is leaving the white of the paper untouched to create that slick, rubbery shine on the dolphin's skin. This technique requires a bit of patience and planning, as you must carefully map out the highlights before applying your initial washes. Once you start laying down the vibrant blues and soft greys, the contrast between the pigment and the bare paper will immediately bring the creature to life. Letting the water naturally blend the colors around these pristine spots gives the artwork a fluid, energetic feel that perfectly captures the ocean's movement. To ensure you get the best results with this demanding method, you can find high-quality brushes and specialized masking fluids over at tobioskits.com. With the right materials in hand, you will be amazed at how quickly your marine portraits transform into stunning, professional-level masterpieces.

The Bubbly Silhouette
- Forget the "bean" shape, think "happy balloon."
- Sketch a rounded, chunky body with a short, stubby snout.
- Give him a small pectoral fin that looks like a little wave.
- Keep it simple and cute; we aren't tracing here, we’re capturing a personality.

The "Slick Skin" Wash
- Wet the dolphin's body with clean water first.
- While it’s damp, drop in your Cerulean Blue.
- Leave large patches of the white paper untouched on the head, snout, and back to create that "rubbery shine" that dolphins are famous for.
- This "negative space" is what makes the painting look professional.

Creating the Deep Blue Sea
- While the dolphin is drying, paint a messy, horizontal wash of blue and a touch of Sap Green at the bottom.
- Use your brush to leave jagged white lines in the water, these represent the sea foam and ripples.
- Don't worry about clean edges; let the water flow where it wants.

The Character Details & Shadow and Contrast
- Once the body is bone-dry, use your smallest brush and Lamp Black to add two large, circular eyes.
- Leave a tiny white dot in the top of each eye for a "sparkle."
- Add a single, confident curved line for the mouth and a tiny dot for the blowhole.
- These tiny details are what make the "expressive" style work.
- Take a mix of Indigo and a tiny touch of Burnt Sienna to darken the dorsal fin and the underside of the tail.
- This adds weight to the sketch so your dolphin doesn't look like it's floating away.
Frequently Asked Questions
How do you start a dolphin watercolor painting as a beginner?
Start with a simple side-profile sketch and focus on two things: a light first wash and one or two shadow layers. If drawing slows you down, use a guided outline approach so you can spend your energy on blending and water effects instead of anatomy.
What supplies do I need for a dolphin watercolor painting?
You need watercolor paper, a basic paint set, a medium round brush, a small brush for details, pencil, eraser, water, and a towel. Optional extras are white gouache or a gel pen for crisp highlights.
Can kids paint a dolphin in watercolor?
Yes, especially with a simplified outline and fewer layers. Keep the ocean background loose, use bigger brushes, and aim for “fun and finished” rather than hyper-real.
How can I make my dolphin watercolor painting look more realistic?
Use smooth gradients from dark back to light belly, keep a clean highlight line on the top curve, and add faint ocean reflections on the dolphin. Small, soft details beat heavy outlines.
How do I stop my watercolor from blooming in the dolphin body?
Let each layer dry completely before adding the next, and avoid dropping wet paint into a drying area. If you want soft blending, blend intentionally while the wash is evenly damp, not half-dry.
Conclusion
A strong dolphin painting in watercolor comes down to three things: a believable silhouette, patient layering, and water effects that stay loose. Keep your first washes light, build shadows gradually, and let the paper do some of the work for highlights.
Want more projects you can follow without guesswork? Check out these watercolor tutorials and keep experimenting, because the only bad outcome here is quitting halfway through because the first wash looked weird (it always looks weird at first).
Mel, FounderLike these guides? Set Tobio's as a preferred source on Google and our pages will show up first when you search for watercolor questions.
Ready to Paint?
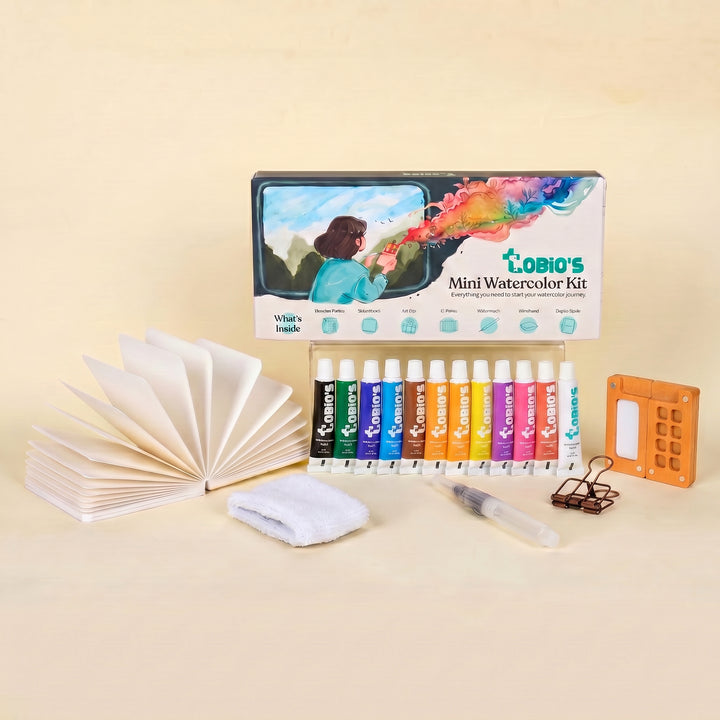
This tutorial was designed for use with our Watercolor Kit.
Shop the Kit


