Raccoon Watercolor Painting: Step-by-Step Tutorial


What You'll Need
- Watercolor Paper
- Pencil and eraser
- Two water cups
- Watercolors
- Round brush
Color Palette
Let’s be honest: sometimes you don’t want to paint a hyper-realistic portrait that takes three hours. You just want to open your sketchbook, splash some paint around, and capture the vibe of a trash panda.
This tutorial is specifically for a raccoon watercolor painting in a "loose sketchbook style." We are ditching the masking tape, the lightboxes, and the stress. We are embracing wobbly lines, water blooms, and the beauty of doing things quickly. This is about energy, not perfection.
If you want more projects like this after you finish, you can browse our full library of step-by-step lessons on Watercolor Tutorials.
The Woodland Sketchbook Palette
Looking at our reference study, we aren't using a massive rainbow. We are keeping it earthy and natural. Based on the raccoon in the image, here are the 3 pigments you need on your mixing tray:
- Payne’s Gray: The MVP. This gives you those cool, bluish-black tones for the mask, tail rings, and deep fur shadows.
- Burnt Umber: A warm, muddy brown to "dirty up" the fur so it doesn't look too blue or sterile.
- Raw Sienna: That sandy, warm color used for the ground shadow and the warm undertones on the belly.
Materials List (Sketchbook Edition)
- Paper: 140 lb / 300 gsm cold-press watercolor paper. (Sketchbooks work great here; texture helps!).
- Brush: A single Round size 6 or 8. You don’t need tiny detail brushes for this style.
- Water & Cloth: Two jars (dirty/clean) and a paper towel for blotting.

The "Ish" Sketch
Forget the lightbox. Forget perfect anatomy. We are drawing a raccoon-ish shape.
Grab your pencil and loosely sketch the contour. Focus on the hunch of the back (raccoons always look like they are sneaking around) and the bushy tail. Keep your pencil loose, if the lines show through the paint later, it just adds to the artistic character.

The Warm Under-Glow
We aren't painting "grey fur" yet. We are painting the warmth underneath.
Dilute your Raw Sienna with plenty of water. Paint a quick, loose wash on the ground where the raccoon is standing, and pull that color up into the belly and legs. It doesn't need to be neat; it just needs to be there to stop the raccoon from floating in white space.

Wet-on-Wet Fur (The Fun Part)
This is where your raccoon watercolor painting comes to life.
While the paper is still slightly cool or damp (or re-wet the body area with clear water), load your brush with a mix of Payne’s Gray and a touch of Burnt Umber.
Touch the brush to the paper and let the paint explode outward. Guide it roughly into the shape of the body, but let the edges stay soft and fuzzy. Leave random gaps of white paper showing through for highlights, this natural texture looks more like fur than painting every single hair.

The Bandit Mask & Tail
Now, we need contrast. For the face mask and the rings on the tail, you want less water and more pigment.
Switch to pure Payne’s Gray.
- The Mask: Paint the dark band across the eyes. Leave two tiny specks of white paper for the eyes if you can (or use a gel pen later).
- The Tail: Paint quick, horizontal stripes. Don't make them perfect rulers; make them broken and organic.
- The Paws: Dab dark pigment onto the feet.
Texture & The "Walk Away"
Swipe a little dirty water or diluted Burnt Umber under the paws to ground them, and add a quick dry-brush flick to the back if you need more texture.
Now comes the hardest part. You will want to fiddle. You will want to fix that one bloom or define every single claw.
Don't.
The charm of an expressive raccoon watercolor painting lies in the loose suggestions and the watermarks. Put the brush down and let it dry completely.
Style Variations: Midnight Prowler, Baby Kit, and Storybook Version
The "Midnight Prowler" (Dramatic and Moody)
- Cool the palette: Swap your warm browns for deep, cool blues like Indigo or Prussian Blue mixed with Payne’s Gray. This mimics the lighting of a 2 AM trash raid.
- Deepen the shadows: Instead of a light wash, paint the body significantly darker, lifting out only the lightest greys on the back and head to suggest moonlight hitting the fur.
- High-contrast mask: Keep the mask jet black (lamp black or neutral tint) so it disappears into the dark face, leaving only the eyes and white snout popping out.
The "Baby Kit" (The clumsy, fluffy phase)
- Soften the palette: Dilute your Payne’s Gray significantly so the greys are pale and silvery. Use more water than pigment.
- Change the proportions: Make the head larger and the body smaller and rounder. Baby raccoons are mostly head and fluff.
- The "Pleading" Eyes: Make the black mask slightly smaller, and the eyes larger and rounder. Leave a larger white highlight in the eye to make them look wet and innocent.
The "Storybook Bandit" (Simplified for kids or quick cards)
- Exaggerate shapes: Make the hunched back rounder (think "bean bag" shape) and the tail thicker and fluffier.
- Simplify the mask: Instead of a complex, jagged mask, paint a simple rounded rectangle across the eyes.
- Skip the texture: Forget the dry-brush texture on the back. Go for smooth, clean washes that read as "soft" rather than "scruffy."
Inspiration: Why This Style Works
This loose, expressive sketchbook approach to a raccoon watercolor painting is perfect for:
- Camping Journals: Capture the visitor you saw near the campfire without needing a perfect photo reference. You don't need to count the stripes on the tail; you just need that signature hunched silhouette.
- Woodland Nursery Decor: Because raccoons are naturally charismatic, a soft, loose study looks adorable in a child's room. Frame a series of these (maybe adding a fox or owl) for instant, organic wall art.
- Conquering "Mud" Fear: Painting grey and brown animals is usually intimidating because colors can turn to sludge. This style is the perfect, low-stress way to practice mixing neutrals that stay fresh and transparent, rather than worrying about painting every individual grey hair.
Frequently Asked Questions
1. Why does my raccoon watercolor painting look "muddy"?
You are likely over-mixing on your palette. To get that fresh, fluffy look, mix your Payne’s Gray and Burnt Umber directly on the damp paper (wet-on-wet) and let them bleed naturally.
2. How do I paint the dark mask without losing the eyes?
Contrast is key. Use thick, creamy paint (less water) for the mask so it dries very dark. Leave a tiny speck of dry white paper unpainted for the eye glint, or add it back later with a white gel pen.
3. Can I use black paint instead of Payne’s Gray?
Pure black often looks flat and lifeless on paper. Payne’s Gray has cool blue undertones that mimic natural fur shadows much better. If you only have black, mix in a touch of blue to give it depth.
Conclusion
A strong raccoon painting comes down to three things: a soft base, patient glazing, and bold dark accents in the mask and eyes. Keep your layers clean, let things dry, and use drybrush for fur so you get texture without turning your painting into a fuzzy mess.
When you’re ready for your next guided project, head to Tobio’s watercolor tutorials to keep building skills one satisfying painting at a time.
Mel, FounderLike these guides? Set Tobio's as a preferred source on Google and our pages will show up first when you search for watercolor questions.
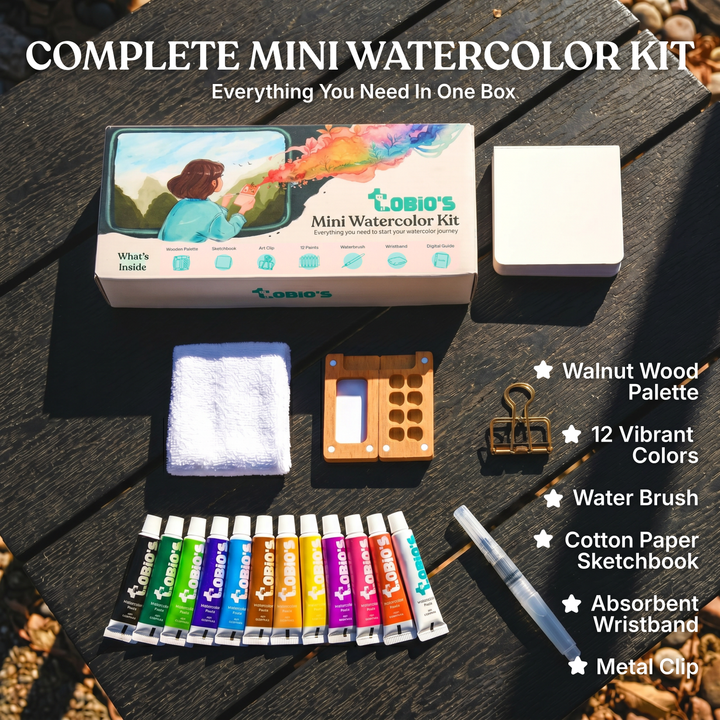
Ready to paint along?
Everything you need to paint anywhere and feel inspired doing it.
- Ultra compact
- Express yourself creatively
- For total beginners