
How to Paint a Vibrant Rainbow in Watercolor: Step-by-Step

What You'll Need
- Paper
- Brushes
- Paints
- Extras: A jar of water, paper towel, and a pencil
Color Palette
Let’s be honest: most tutorials treat painting a rainbow like an architectural drafting exam. They want compasses, masking tape, and mathematical precision.
We are not doing that.
This is a loose, expressive sketchbook study. We are capturing the joy of a rainbow watercolor painting, the wobble of the brush, the way the pigments hug each other, and the texture of the paper. This method is fast (under 15 minutes), requires zero masking tape, and actually looks like art rather than a geometry problem.
The Supplies (Keep it Simple)
- Paper: 140lb/300gsm Cold Press paper. (You need the texture to hold the water; printer paper will just dissolve in sadness).
- Brush: A single Size 8 Round Brush. We want thick, confident strokes.
- Water: Two cups (one for rinsing, one for clean mixing).
- Paints: See the palette below.
The Color Palette
Based on the study above, we are using a classic, high-saturation spectrum. We aren't mixing muddy neutrals here; we want pure pigment power.
- Cadmium Red: For that punchy, opaque top arch.
- Cadmium Orange: A warm, sunny bridge color.
- Lemon Yellow: A cool, bright yellow that plays nice with green.
- Sap Green: A lush, natural green (not a neon synthetic one).
- Cobalt Blue: A soft, granulated blue.
- Dioxazine Purple: For the deep, moody finish.
Step-by-Step: Your Expressive Rainbow Watercolor Painting
We are painting this wet-on-dry, meaning wet paint on dry paper. This gives us control over the bands while allowing the edges to kiss and bleed just enough to look magical.

The Red Anchor
Load your Size 8 brush with Cadmium Red. It should be juicy but not dripping. Paint your first arch.
- The Trick: Do not try to make it a perfect semicircle. Let your hand wobble slightly. That organic edge is what makes it look like a sketchbook study.
- The End: Let the ends of the stroke fade out naturally; don't try to blunt them off.

The Warm Transition
Rinse your brush thoroughly. Load up Cadmium Orange. Paint the second band right underneath the red.
- The Gap: Try to leave a hair-thin gap of white paper between the red and orange for most of the stroke, but let them touch in one or two spots. Where they touch, the colors will bleed together. Let them. That’s the watercolor doing the work for you.

The Center Glow
Rinse. Load Lemon Yellow.
- This band is often the hardest to see, so make your mix creamy (more paint, less water).
- Follow the curve of the orange. If your yellow touches the orange, you get a lovely gold blend. If it touches wet blue later, you get green. It’s win-win.

The Cool Side
Now we switch to Sap Green and Cobalt Blue.
- As you paint the inner arches, your radius gets tighter. Use the very tip of your round brush to navigate the curve, then press down to widen the stroke as you reach the sides.
- Watch out for the "Green-Blue" merge. These two love to mix, so work quickly to keep the bands distinct.

The Purple Finish
Finish with a stripe of Dioxazine Purple.
- This creates the visual "weight" at the bottom of the rainbow.
- Stop. Put the brush down. The urge to go back and "fix" a wonky line is how you get mud. If a band is uneven, it’s not a mistake, it’s style.
Frequently Asked Questions
- Why did my colors turn muddy where they touched?
Mud happens when you over-mix complementary colors (like red and green) or scrub the paper too hard. In this rainbow watercolor painting style, the goal is to lay down a stroke and leave it alone. If the orange bleeds slightly into the yellow, that’s beautiful, just don't go back and poke it with your brush. - Do I need to draw perfect arcs with a compass first?
No! That kills the "sketchbook" vibe. As mentioned in Step 1, the charm of this expressive study comes from the organic, hand-painted wobble. If your arches are slightly uneven, it looks more like an artistic illustration and less like a geometry assignment. - My paper is warping. What did I do wrong?
You might be using paper that is too thin, or too much water on your brush. For this bold, wet-on-dry technique, you need 140lb (300gsm) watercolor paper. If you are using a sketchbook, you can use a binder clip to hold the page flat while it dries. - How do I stop the green and blue from merging into one blob?
These two colors love to mix. To keep them distinct in your rainbow watercolor painting, try waiting just 30 seconds for the green band to settle (it doesn't need to be bone dry, just less shiny) before painting the blue band next to it.
Conclusion
A vibrant rainbow watercolor painting is mostly about three things: clean colors, controlled water, and knowing when to stop fussing with it. Start with solid bands, soften the edges just a bit, and glaze once it’s dry if you want extra punch.
Mel, Founder
Ready to Paint?
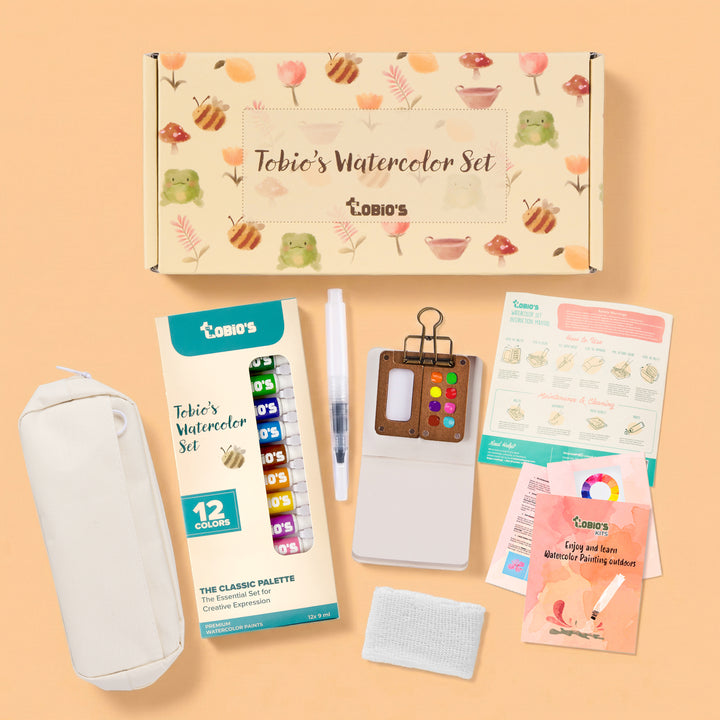
This tutorial was designed for use with our Watercolor Kit.
Link to the link


