


Watercolor Painting of Autumn Leaves: Step-by-Step Tutorial


What You'll Need
- Watercolor Paper
- Pencil and eraser
- Two water cups
- Watercolors
- Round brush
Color Palette
If you’ve ever tried painting foliage and stressed over perfect veins, stop right there. Look at the image above. The magic isn’t in the details; it’s in the mess.
In this tutorial, we are ditching the botanical textbook for a loose sketchbook style. This method is fast, expressive, and perfect for a quick creative break. Here is how to create a simple watercolor painting of autumn leaves in just four steps.
If you want more projects like this after you finish, you can browse our full library of step-by-step lessons on Watercolor Tutorials.
The "Vintage Autumn" Color Palette
To get the specific earthy look in the photo, skip the bright neons and use this limited palette:
- Yellow Ochre: Your warm, wheat-colored base.
- Burnt Sienna: The classic rusty orange.
- Alizarin Crimson: A deep red for contrast.
- Burnt Umber: For stems and dark edges.

The "Rough" Sketch
Grab your pencil and lightly sketch 8–10 simple leaf shapes.
- Draw maples, oaks, and teardrops.
- Do not draw veins or jagged edges yet.
- Keep your lines faint, we want the paint to define the shape, not the pencil.

The Wet-on-Wet Puddle
Pick a leaf and paint the entire shape with a watery mix of Yellow Ochre.
- The paper should be shiny and wet, but not swimming.
- Work on one leaf at a time so the paint stays wet for the next step.

The "Bloom" (Don't Touch!)
While the yellow is still wet, load your brush with Burnt Sienna or Alizarin Crimson.
- Touch the tip of your brush to the edges of the wet leaf.
- Let the color bleed inward naturally.
- Crucial: Do not scrub or blend. Let the water create those beautiful "cauliflower" textures seen in the reference photo.

Stems and Veins
Wait until the leaves are damp (cool to the touch) or mostly dry.
- Use Burnt Umber to paint a thin, loose stem.
- Drag a quick line through the center for a vein.
- Don't connect everything perfectly, broken lines look more artistic and organic.
Style Variations: The "Forest Floor," "Golden Hour," and "Modern Folk"
Want to change the vibe of your watercolor painting of autumn leaves?
Try these quick sketchbook adaptations:
The "Forest Floor" (Moody & Muted)
- Cool the palette: Swap your sunny Yellow Ochre for deeper, muted earth tones. Mix a touch of Payne’s Gray or Ultramarine into your Burnt Sienna to create a damp, decaying leaf look.
- Deepen the shadows: Paint the edges of the leaves much darker, as if they are wet and sticking to the pavement. Leave only a tiny sliver of dry paper for contrast.
- Lost edges: Let the bottom edges of the leaves bleed entirely into a dark background wash to anchor them in the deep, shadowy grass.
The "Golden Hour" Glow (Soft & Gentle)
- Lighten the palette: Stick to highly watered-down Yellow Ochre and the palest wash of Burnt Sienna. Think 80% water, 20% paint.
- Soften the features: Round out the jagged points of the maple leaves so they sit as soft, glowing shapes rather than crispy specimens.
- The "Fresh" Texture: Skip the heavy, dark brown stems. Keep the washes light, smooth, and fluffy to capture that translucent look of sunlight hitting a tree branch.
The "Modern Folk" (Simplified for Cards & Patterns)
- Exaggerate shapes: Push the shape language into stylized, geometric blocks. Give the oak leaves perfectly round lobes or make the birch leaves sharp diamonds.
- Bring back the speckles: Lean into the illustrative vibe by flicking a few perfect, deliberate splatters of gold or dark brown paint around the dry leaves for a whimsical texture.
- Flat color: Skip the beautiful, messy wet-on-wet bleeds. Use flat, highly-pigmented, graphic washes of solid color for a modern, Scandinavian print feel.
Inspiration: Why This Style Works
This loose, expressive sketchbook approach to a watercolor painting of autumn leaves is perfect for:
Nature Journals and Fall Walks:
Capture the crisp energy of a morning hike without needing a macro lens or a botany degree. You don’t need to paint every single vein or serrated edge; you just need that bold, iconic rust-and-gold contrast and a loose hand to bring the season to life on the page.
Cozy & Seasonal Wall Decor:
Because autumn foliage is naturally warm and inviting, a soft, loose study looks incredibly sophisticated in a hallway or above a mantle. Frame a lively, 15-minute piece like this for instant, nature-inspired wall art that feels vibrant and organic, rather than stiff and "store-bought."
Frequently Asked Questions
Why do my autumn colors turn muddy?
You are likely over-mixing on the paper. Autumn colors (orange and green especially) turn brown fast if you scrub them together. Lay down your yellow, drop in the red, and then stop. Let the water do the mixing for you.
Do I need to stretch my paper first?
For a quick sketchbook study? No. If you use 300 gsm (140 lb) paper, it might buckle slightly, but that adds to the charm of a loose sketch. If it bothers you, use a binder clip to hold the page flat while it dries.
How do I keep my veins from looking stiff?
Don’t draw a straight, continuous line from bottom to top. Paint "broken" lines, start the vein, lift your brush, and start again a bit higher up. Your brain will fill in the gaps, and it looks much more organic.
Conclusion
Autumn leaves are one of the best “small effort, big payoff” watercolor subjects. Keep your palette tight, let wet-on-wet do the blending, and save the fancy details for after everything is dry. That’s the secret to leaves that look vibrant instead of bruised.
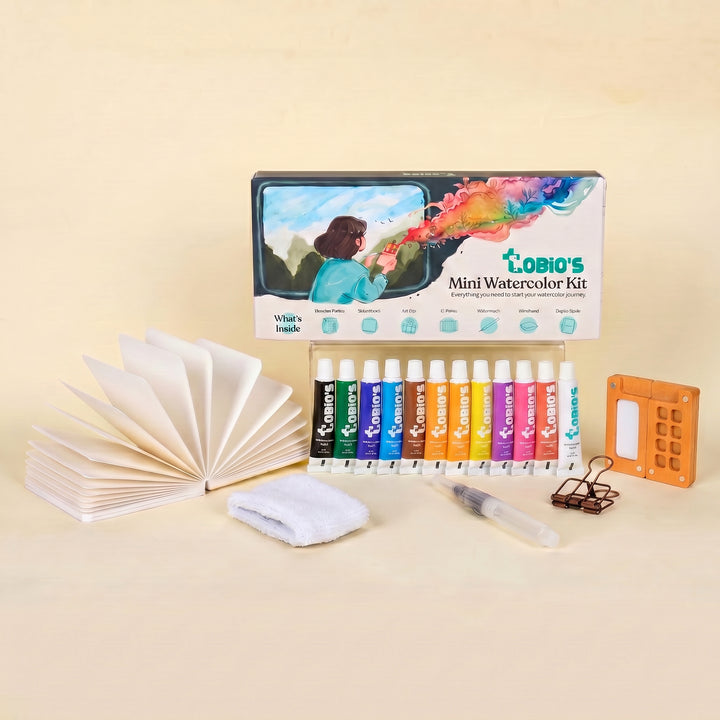
If you want a more guided, low-friction creative setup, explore Tobio’s Kits and pick a project that fits your vibe: Shop Tobio’s Kits. Then bring these leaf techniques along for the ride.
Mel, FounderLike these guides? Set Tobio's as a preferred source on Google and our pages will show up first when you search for watercolor questions.
Ready to Paint?
This tutorial was designed for use with our Autumn Palette Kit.
Shop Watercolor Kit


