


How to Make a Travel Watercolor Kit (and the Ready-Made Option)


What You'll Need
- A small tin or empty palette case (with a lid that shuts properly)
- 6–8 colors — half pans, or dried tube paint
- A water brush, so you can skip the water cup
- Foam, felt, or small magnets to stop pans sliding
- A scrap of paper towel — plus paper to paint on
I used to travel with a jar of paint water. An actual glass jar, in a bag, on a plane.
It went about as well as you’d expect. The full palette came too, plus spare brushes I never touched, a bottle to refill the jar from, a cloth, and a block of paper big enough to need its own bag. Then I’d land somewhere beautiful and not paint, because setting all of it up took longer than the moment lasted.
The kit I carry now fits in a pocket. You can build one yourself for about the price of a tin of mints — so here’s how to make a travel watercolor kit you’ll actually take out of the bag.
The short version
- Fill a small tin or empty palette with half pans (or dried dots of tube paint).
- Add a water brush so you’re not carrying water.
- Tuck in a scrap of paper towel, and hold everything in place with foam or magnets.
- Keep the whole thing pocket-sized — and don’t forget paper to paint on.
What actually makes a kit travel-friendly
Two rules. It has to be small enough that bringing it is never a decision, and it has to work without a cup of water. Everything else is preference.
The size test is simple: if it doesn’t fit in a jacket pocket, you’ll leave it at home on exactly the days you’d have used it. The water rule is the one people underestimate — and it’s what step 3 is about.
Step 1: Pick a container
Small, sturdy, and it has to shut properly. An Altoids tin is the classic, and there’s something enjoyable about painting out of one. An empty palette case does the same job — it’s really just a tin with the pans taken out.
Whatever you use, test the lid first. A tin that pops open in a bag fills with dust and lint, and that ends up in your paint and then on your paper. Not a disaster — just annoying enough that you stop bringing it.
Step 2: Add your paint
Half pans, not full pans — they take half the room, so you fit more colors in the same tin. Six to eight colors is plenty anyway; you mix your way to the rest, and a small selection makes you better at mixing whether you want to be or not.
Working from tubes? Squeeze small blobs into the tin or into empty pans and leave them overnight — they rewet the next day like normal pans. If you’re topping up a case you already own, 12 paint refills ($10.99) drop into standard wells.
Step 3: Bring a water brush and skip the cup
This is the step that makes a kit portable, and the one I wouldn’t compromise on. A normal brush needs a cup of water beside it — that cup needs filling, needs somewhere to sit, spills, and then you’re carrying the bottle you refill it from too.
A water brush holds its water in the handle. You squeeze a little out as you paint, and there’s nothing on the table to knock over. Bring a rag for wiping between colors (and if you forget one, your jeans work — it’s not a precious tool). The water brush set ($6.99) covers it if you want a few sizes, and this is the one piece I’d buy ready-made even if you build everything else yourself.
Prefer a normal brush? One size-6 round handles almost everything at this scale, from a small sky wash to the odd bit of detail — just accept you’re signing up for the cup, and pack something leakproof to fill it from.
Step 4: Keep everything from sliding around
Loose pans rattle out every time you open the lid. A strip of foam or felt glued along the inside stops that. If your pans have metal backs, small magnets on the pan and the tin will click them into place so they hold even upside down. Already fits snugly? Skip this one — otherwise you’ll spend the first ten minutes of your first session picking pans off a café floor.
If you’d rather skip the assembly
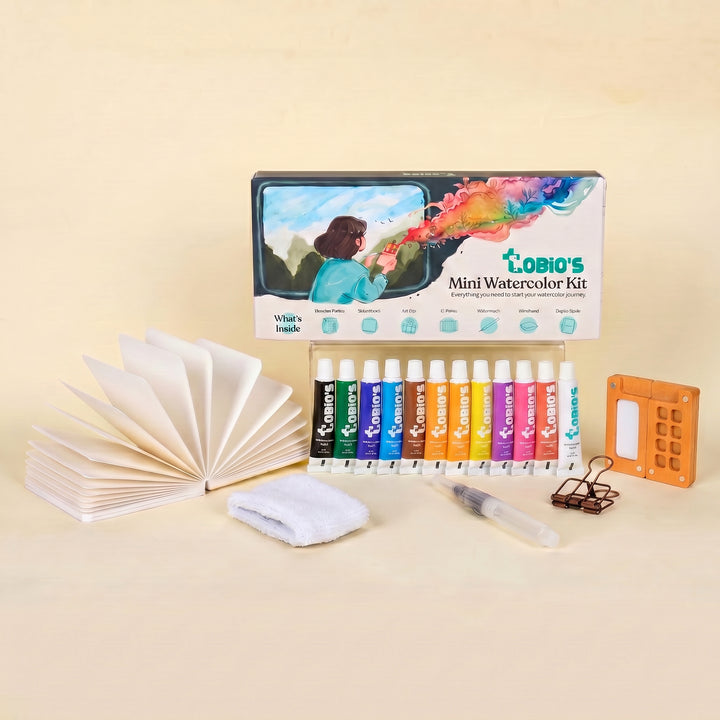
Building your own is cheaper, and I won’t pretend otherwise — a three-dollar tin and paint you already own beats the Tobio’s Watercolor Kit ($36) on price every time, and you choose every color. If tinkering is part of the fun, build it.
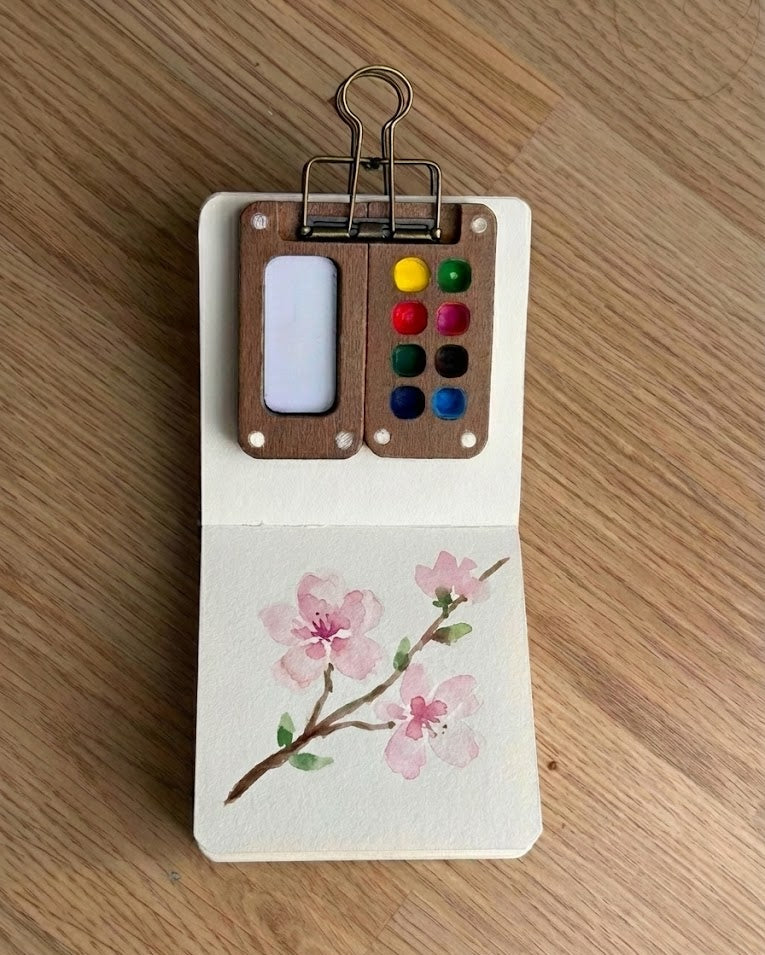
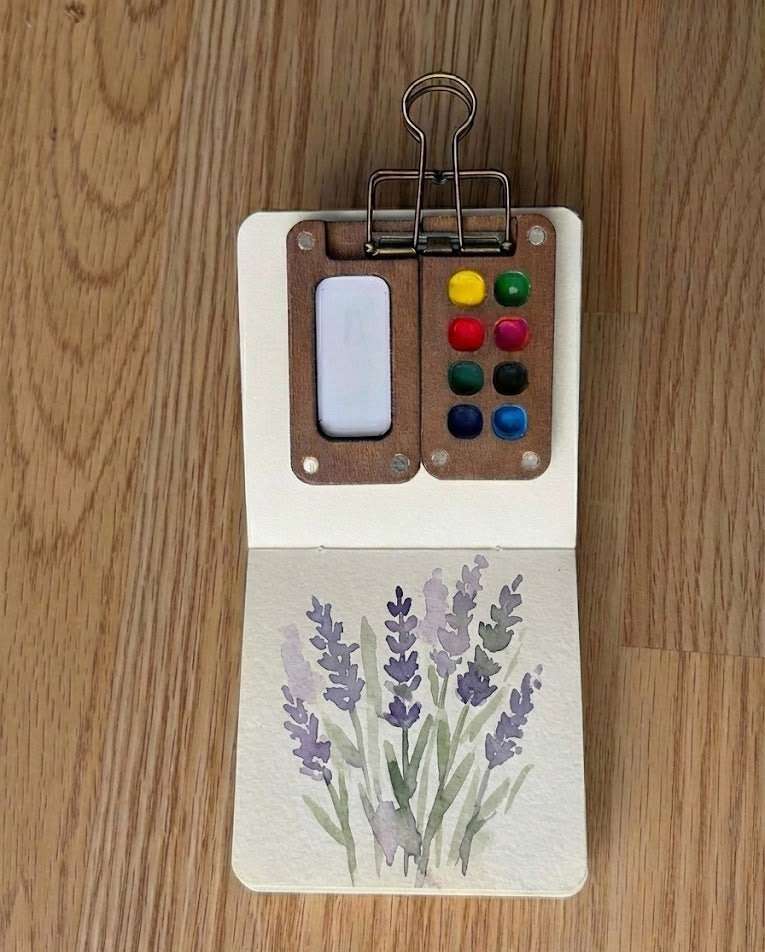
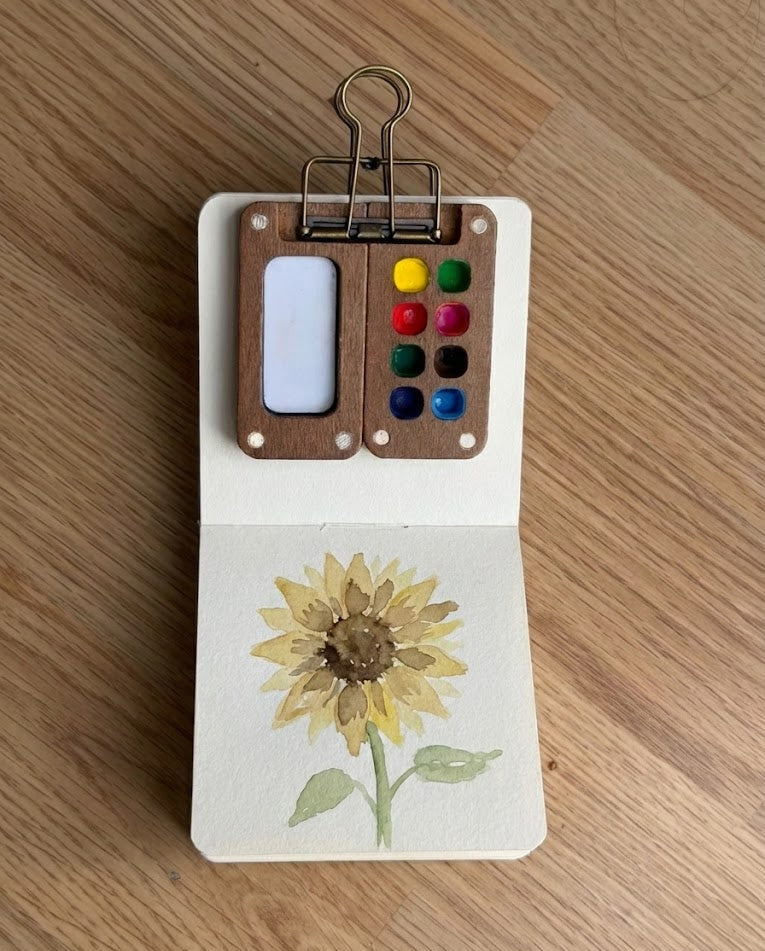
What the kit does instead is remove the build. It’s pocket-sized by design: the palette is walnut wood in two magnetic halves that clip into a small block and clip onto the book, so there’s no tin to hold open and nothing sliding around. The notebook is mini-sized on purpose — 60 sheets of 300 gsm cotton paper, heavy enough that a wash doesn’t buckle it. The water brush is built in, already the right size, and you wipe it on the towel-material wristband. The magnets are strong enough that the palette stays shut at the bottom of a bag; setup is under a minute and cleanup just as fast.
The Travel Pouch ($7.99) holds the kit and a spare notebook without turning into a bag of its own. There’s more in our guide to watercolor supplies for beginners (and a dedicated best-kit buying guide coming soon) if you want to see the ready-made options side by side first.
Build it or buy it — just paint
A travel kit isn’t about carrying less for its own sake; it’s about carrying only what you’ll use. Building your own? Start smaller than feels sensible — six colors and one brush will get you further than a full set you never open. Want it solved already? The Tobio’s Watercolor Kit ($36) runs on the same two rules: pocket-sized, no water cup needed.
New to painting? The watercolor for beginners guide is where to start, and the tutorials hub has plenty to paint once you’re packed.
Frequently Asked Questions
How do you make a travel watercolor kit?
Take a small tin or empty palette, fill it with half pans or dried tube paint, add a water brush so you’re not carrying a cup, and use foam or magnets to stop everything sliding around.
What do you need in a portable watercolor kit?
A small case, six to eight colors, a water brush, and something to wipe the brush on. That really is all of it.
What is a water brush, and do I need one?
It’s a brush with a water reservoir in the handle. You don’t strictly need one, but it’s the easiest way to paint without carrying water — and it’s the difference between a kit you take out and one you leave at home.
How do you carry water for watercolor?
A small leakproof bottle works. Most people find it’s more hassle than it’s worth once they’ve tried a water brush instead.
Carry only what you’ll use
A travel kit isn’t about carrying less for its own sake — it’s about carrying only what you’ll use.
Love building your own gear? Go build it. Just want to paint? Grab the kit and go.
Mel, FounderMore watercolor tutorials
The travel kit, already built
A pocket-sized walnut palette that clips shut with magnets, twelve colors, a built-in water brush, and 300 gsm cotton paper — no tin to assemble and no water cup to carry.
Get the Tobio’s Watercolor Kit


