


How to Paint a Cow: Watercolor Tutorial


What You'll Need
- Watercolor paper
- Pencil and eraser
- Two water cups
- Paper towel or clean cloth
- Round brush
- Washi tape
Color Palette
If you’ve been scrolling watercolor paintings of cows and thinking, “Cute... but I could never paint that,” welcome. You absolutely can. This is a friendly, beginner-safe walkthrough for making a cow that actually looks like a cow, without needing a fancy reference photo or a perfect sketch.
In this tutorial, you’ll learn a simple process built around watercolor techniques that behave, repeatable color mixing, and just enough wet-on-wet magic to make your cow feel soft and alive. You’ll also get quick fixes for the usual watercolor chaos: blooms, mud, and fur that suddenly looks like you painted it with a broom.
If you want more projects like this after you finish, you can browse our full library of step-by-step lessons on Watercolor Tutorials.
The "Pocket Palette" Color Strategy
Based on the sketchbook study above, we aren't using a massive 48-color set. We are using a limited, earthy travel palette. Here is what you need to load onto your brush:
- Burnt Sienna: This is the hero color for the reddish-brown patches on both cows.
- Payne’s Gray (or a dark Indigo): For the deep charcoal face of the bottom cow and the darkest shadows.
- Yellow Ochre: To warm up the lighter areas of the fur.
- Sap Green: For those quick, messy grass strokes at the bottom.
- A Touch of Alizarin Crimson: Just a tiny bit for the noses/udders.
The Paper: Even for a quick sketch, paper matters. Use 140lb / 300gsm watercolor paper. If you go thinner, your cows will wrinkle, and nobody wants a wrinkly cow.
The "Wobbly" Pencil Sketch
Don't get the ruler out. We want organic shapes. We are drawing two cows here: one standing guard, and one relaxing.
- Top Cow: Draw a rectangular box for the body and a smaller box for the head. Add stick legs.
- Bottom Cow: Draw a "bean" shape lying on the ground below the first cow.
- Details: Roughly mark where the patches go.
- The Secret: Keep your pencil loose. If the lines show through the paint later? Good. It adds artistic flair.
The Tea-Stain Wash
We are going to work Wet-on-Dry (wet paint on dry paper) to get those nice crisp edges you see in the photo.
- The Brown Cow (Top): Load your brush with watered-down Burnt Sienna. Paint the patches on the body. Leave the white paper white, that is your highlight! Don't paint the whole cow and try to add white later; it never looks as crisp.
- The Lounging Cow (Bottom): This friend has a distinct look. Use Payne’s Gray for the face (keep it watery so it's not jet black) and Burnt Sienna for the body patches.
Deepening the Contrast
This is where watercolor paintings of cows pop off the page. We need contrast to stop them looking like ghosts.
- Darkest Darks: Mix a thicker consistency (like milk) of your Payne’s Gray. Paint the eyes (tiny dots!), the hooves, and the deep shadows under the neck and belly.
- Noses & Udders: A very watery wash of Alizarin Crimson mixed with a little brown gives you that soft pinkish-nose look.
- The "Oops" Factor: Did your brown bleed into the white? Great. It’s a sketchbook. Let it happen.
Grounding the Herd
Right now, your cows are floating in a white void. Let's give them some turf.
- Take your Sap Green and mix in a little Yellow Ochre so it isn't neon bright.
- Swipe your brush quickly under the bottom cow.
- Do not paint perfect blades of grass. Just do a few jagged, horizontal strokes. Let the brush skip over the paper texture.
The "Digital" Finish
The image above has a clean, unpainted background. We aren't doing a sky wash today. The stark contrast between the cows and the white paper is what makes this style look modern and fresh.
Let it dry completely before you close your sketchbook (or before you remove the binder clip)!
Style Variations: Highland, Holstein, and Kids’ Version
Highland cow (shaggy and cute)
- Use warmer browns (Burnt Sienna + a touch of Yellow).
- Emphasize long bangs and layered fur strokes.
- Add pale horns with soft shadow at the base (optional).
Holstein cow (classic black and white)
- Let most of the face stay white paper.
- Add very light gray shadows on edges and under the chin.
- Paint irregular dark patches using your dark mix (not pure black).
- Keep the muzzle pink or gray-pink.
Kids’ quick version (10 to 20 minutes)
- Make the head and nose bigger and rounder.
- Use one flat brown, one pink, one dark color.
- Skip fur details and go straight to “cute.”
Inspiration: Why This Style Works
This loose, sketchbook approach is perfect for:
- Countryside Travel Logs: Capture the vibe of a weekend farm trip or a hike through the pastures without needing the cows to stand still for 20 minutes.
- DIY Nursery Decor: Frame two or three of these studies in light wood for instant, cozy room art that feels handmade rather than mass-produced.
- Beating "Perfect" Paralysis: Cows are forgiving subjects (they are basically big, organic rectangles). They are the perfect low-stress way to practice wet-on-wet blending without worrying about perfect anatomy.
Frequently Asked Questions
I can’t draw a straight line. Can I really paint this?
Absolutely. In fact, if you draw straight lines, it will look weird! The charm of these loose watercolor paintings of cows comes from "wobbly" organic shapes. If your sketch looks a little wonky, it just adds character. This tutorial is designed for people who think they can't draw.
Why do my black patches look like dead holes in the paper?
You probably used the black paint straight from the tube. Tube black acts like a "black hole" that sucks in light. For a coat that feels alive, mix your own "chromatic black" using Burnt Sienna and Ultramarine Blue (or Payne’s Gray). It creates a rich, deep dark that still has color vibrating inside it.
How do I stop my cow from turning into a brown mud puddle?
Patience is the hardest supply to buy! Mud happens when you disturb a layer of paint that is only half dry. Make sure your first wash (the light brown) is bone-dry and warm to the touch before you add the shadow layers. If the paper feels cool, it’s still wet.
Do I really need 140lb (300gsm) paper for a 15-minute sketch?
Yes. This is the one rule we don’t break. Thinner paper (like mixed media or sketch paper) will buckle the second you add water, making your pigment pool in the valleys and dry with hard, ugly edges. 140lb paper allows the paint to settle smoothly, doing 90% of the work for you.
Conclusion
The secret to expressive watercolor paintings of cows isn’t precision, it’s knowing when to put the brush down. A loose sketch breathes because of the imperfections, not in spite of them. Embrace the blooms, leave your wonky pencil lines visible, and trust that a splash of Burnt Sienna looks more alive than a perfectly painted hair.
If you want to keep the momentum going with guided projects and less supply guesswork, head over to Tobio’s Kits and pick a kit that makes painting feel like a break, not a battle.
Mel, FounderLike these guides? Set Tobio's as a preferred source on Google and our pages will show up first when you search for watercolor questions.
Ready to Paint?
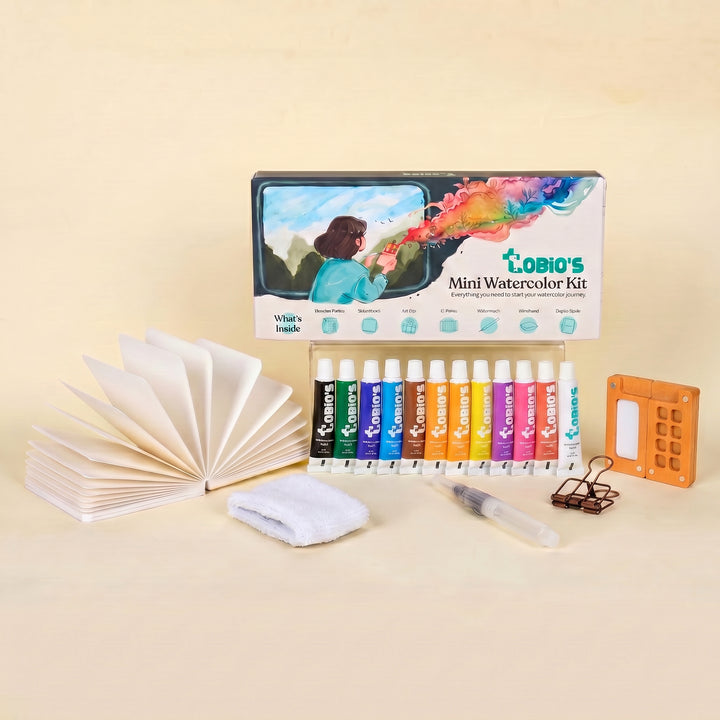
This tutorial was designed for use with our Watercolor Kit.
Link to the link


