How to Paint a Dinosaur: Step-by-Step Tutorial


What You'll Need
- Watercolor paper
- Pencil and eraser
- Two water cups
- Paper towel or clean cloth
- Round brush
- Washi tape
Color Palette
Let’s be honest: sometimes you don’t want a biology textbook diagram. You want a cute, quirky character that pops off the page.
If you’ve been looking for a dinosaur watercolor painting tutorial that feels less like "strict instruction" and more like "playtime," you are in the right place. We are ditching the masking tape and the complex tracing. Instead, we are focusing on a loose sketchbook style, the kind of art that embraces wobbly lines, water blooms, and happy accidents.
This study is fast, beginner-friendly, and designed to fit into a 25-minute coffee break.
If you want more projects like this after you finish, you can browse our full library of step-by-step lessons on Watercolor Tutorials.
The "Jurassic Green" Color Palette
Based on our sketchbook study, you don't need a massive 48-pan set. This entire painting relies on just three specific pigments to get that earthy, organic look.
- Sap Green: The star of the show. A warm, yellow-leaning green for the body.
- Yellow Ochre: For the soft, warm underbelly and lighter patches.
- Burnt Umber: A rich brown for the spots, shadows, and mixing with the green to create depth.
Paper Note: Even for a quick sketch, paper matters. Use a sketchbook with 140lb (300gsm) paper. The texture helps the pigment settle nicely, and it won't buckle when we add our washes.

The "Blob" Sketch
Grab your pencil and keep your hand loose. We aren't drawing a scary predator; we are drawing shapes.
- The Body: Sketch a large, bean-shaped oval.
- The Head: Add a boxy square shape with rounded corners for the snout.
- The Limbs: Tiny, almost comical arms and thick, sturdy legs.
- The Tail: A thick swoosh extending behind him.
- Tip: Keep your pencil lines light! We want the paint to do the talking.

The Warm Underbelly
We are going to work Wet-on-Dry (wet paint on dry paper).
Load your brush with watery Yellow Ochre. Paint the belly area, the bottom of the tail, and the underside of the jaw. Don't worry about perfect edges, rough edges make it look artistic.

The Green Wash
While the yellow is still slightly damp (but not swimming), rinse your brush and pick up your Sap Green.
Paint the top of the head, the back, and the outer legs.
- The Magic Moment: Let the Sap Green touch the damp Yellow Ochre. Watch them bleed into each other naturally. Don't over-blend it with your brush; let the water do the work.

Expressive Texture and Spots
While the green body is still wet, it’s time to add depth.
Mix a little Burnt Umber into your Sap Green to make a muddy olive color. Touch the tip of your brush to the wet paper on the back, the thigh, and the tail. The paint will spread softly, creating those natural-looking "dino spots" you see in the example image.

Grounding and Grin
Let the body dry completely (patience!).
- The Ground: Mix a dirty wash of whatever Green and Brown is left on your palette. Swipe a loose, jagged line under the feet so your dino isn't floating in space. Let it be messy!
- The Face: Using a small brush and thick Burnt Umber (or a black pen if you prefer), add a tiny dot for the eye and a simple curved line for the smile.
Troubleshooting: Fix the Most Common Watercolor Problems
My paper is buckling or getting fuzzy
- Cause: Paper is too thin or you’re using too much water.
- Fix: Use thicker paper (200 to 300 gsm). Use less water and blot your brush on a towel before touching the paper.
My colors look muddy instead of bright
- Cause: Too many colors mixed together, or painting into wet areas with a dirty brush.
- Fix: Limit your palette to 2 or 3 main colors. Rinse often. Let layers dry before glazing.
I got weird blooms (the cauliflower backruns)
- Cause: Dropping wet paint into an area that’s drying.
- Fix: Commit to either very wet (shiny) or fully dry (matte). If blooms happen, let it dry, then glaze lightly to soften.
I overworked it and now it looks tired
- Fix: Stop. Let it dry. Add one final glaze only if needed. Next attempt, use fewer strokes and bigger shapes.
More Dinosaur Ideas You Can Try
Once you’ve painted one dinosaur, you’ve basically unlocked a whole category of paintings.
- T-Rex: Tiny arms, big head, dramatic shadow under the jaw.
- Triceratops: Three horns, big frill, perfect for patterned washes.
- Stegosaurus: Plates are a great excuse to practice two-tone color mixes.
- Long-neck: Gentle curves and lots of room for soft gradients.
- Color themes: “Candy dino,” “night dino,” “desert dino,” “rainbow spots.”
If you’re collecting projects and want a single place to practice techniques like washes, layering, and simple subjects, keep browsing the watercolor tutorials and pick a new one each week.
Why This "Loose Style" Works
The charm of this dinosaur watercolor painting isn't in the details, it's in the freedom. By using a limited palette and letting the colors bleed wet-on-wet, you get a result that feels organic and lively.
If you enjoyed this quick study, you can find the exact brushes and sketchbooks used in this project over at Tobio’s Kits.
Frequently Asked Questions
How do I make it look more “professional” as a beginner?
Use light layers, let them dry fully, then add one glaze for shadows. A limited palette and clean edges around the face area also make a big difference.
What brushes do I need for this tutorial?
One medium round brush is enough. If you’re painting on the go, a refillable water brush also works well because it cuts down the setup.
Can I do this with kids?
Yes. Use the quick version: one main color, a few spots, and simple facial features. Keep the background optional so kids finish feeling proud, not stuck.
Conclusion
The secret to expressive dinosaur watercolor paintings isn’t precision, it’s knowing when to put the brush down. A loose sketch breathes because of the imperfections, not in spite of them. Embrace the blooms, leave your wonky pencil lines visible, and trust that a splash of Sap Green looks more alive than a perfectly painted scale.
If you want to keep the momentum going with guided projects and less supply guesswork, head over to Tobio’s Kits and pick a kit that makes painting feel like a break, not a battle.
Mel, FounderLike these guides? Set Tobio's as a preferred source on Google and our pages will show up first when you search for watercolor questions.
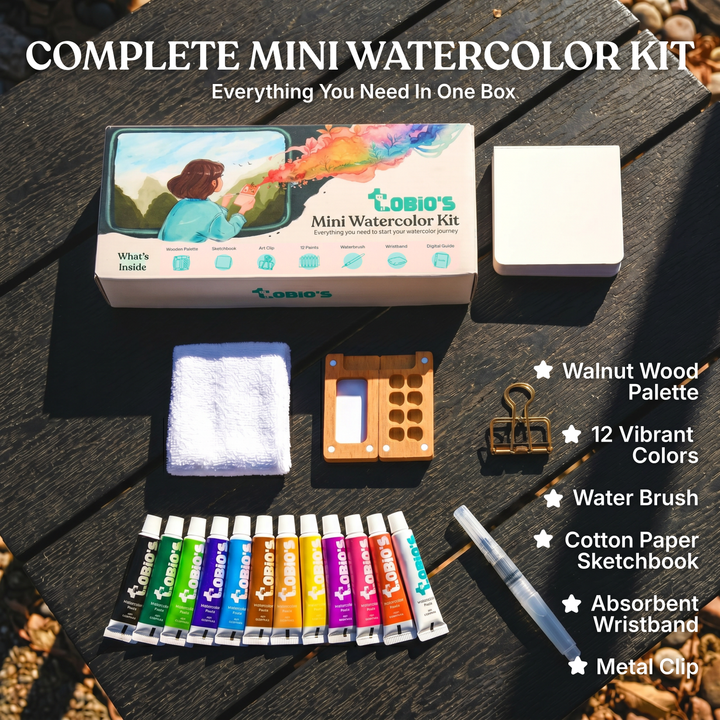
Ready to paint along?
Everything you need to paint anywhere and feel inspired doing it.
- Ultra compact
- Express yourself creatively
- For total beginners