Duck Watercolor Painting: Step-by-Step Tutorial


What You'll Need
- Watercolor paper
- Watercolor paints
- Brushes
- Pencil + eraser
- Water cup
- Paper towel/Tissue
Color Palette
You want to paint a charming duck without getting bogged down in microscopic feather details and professional technicalities. Fair. This duck watercolor painting study is for the artist who just wants to sit down with a sketchbook, make a few confident strokes, and feel a screen-free win in about 15 minutes.
We are focusing on a loose, expressive sketchbook style today. The goal isn’t perfect realism; it’s capturing the cheerful, floaty essence of a duck using clean, transparent watercolor washes and a few witty pigment blooms. If you can stack an oval and a circle, and aren't afraid of letting wet paint dance, you are ready for this.
The Sketchbook Color Palette
Forget the complex mixing charts and 40-pigment supply lists. To replicate the exact look from image_34.png, we only need three transparent earth tones, a vibrant yellow, and a serene blue. Limit your mix ratios to two pigments max to prevent mud.
- Lemon Yellow: The star of the show; used lightly as a pale wash for the main body.
- Raw Sienna (or Yellow Ochre): For a subtle, golden underwash that creates the luminous face glow.
- Burnt Sienna: This warm brown provides the spontaneous golden shadows on the chest and body.
- Payne's Gray (or deep black): Essential for bringing the eye to life and adding definition.
- Ultramarine Blue: Keep it simple, this is for the soft, watery puddle under your friendly creature.
Watercolor Supplies for Quick Success:
- Paper: Use 140lb (300gsm) cold press watercolor paper.
- Brushes
- Other basics: Pencil, eraser, water jar, paper towel.
Step-by-Step Tutorial: Duck Watercolor Painting
Welcome to this relaxing, beginner-friendly guide where we will explore a charming duck watercolor painting together. If you want to capture the cheerful, floaty essence of a duck without getting bogged down in microscopic feather details, this quick expressive study is for you. We will focus on a loose sketchbook style that rewards fast, confident strokes and clean, transparent washes. In just a few easy steps, you will learn how to stack simple shapes and let the wet paint naturally blend to create soft, glowing forms. You don't need years of professional experience or complex layering techniques to finish a beautiful piece you can actually be proud of. For those who want to skip the supply hunt and dive straight into curated, stress-free art projects, be sure to check out the beginner-friendly options at Tobio's Kits. Grab your favorite round brush, prepare a simple limited palette, and let's bring this friendly little character to life on paper!

Sketch and Underwash
- Gestural Sketch: Faintly stack simple shapes: large body oval, smaller overlapping head circle, and ribbon-like neck curve.
- Warm Underwash: Mix watery "tea" Raw Sienna or Yellow Ochre. Paint head circle for glow and chest wash, leaving white highlights.
- Building Form: On dry paper, sweep "milk" Burnt Sienna over head and down wings, keeping applications contained.

Shadows and Grounding
- Cool Shadows: Drop dense Payne's Gray and blue mix into damp zones under jaw and main body. Watch color merge for dimension.
- Grounding: Immediately sweep Ultramarine Blue wet-on-dry puddle under creature to ground it.

Expression and Details
- The Highlight: With smallest brush, paint circular eye using dense black, leaving tiny dry white sparkle.
- Focal Details: Define beak, add selective shadows, and place irregular feather marks. Darken face edge and back neck without fully outlining creature. Stop early.
Troubleshooting Common Duck Painting Problems
My body wash looks patchy
That’s usually the paper drying mid-wash. Next time, keep the whole head/body evenly damp for wet-on-wet, and work a little faster. If it’s already dry, add a very light glaze to unify it.
My colors turned muddy
Most likely: too many pigments mixed, or you painted into wet paint with a different color. Keep mixes simple (yellow + brown, brown + blue) and glaze only when dry.
I got harsh edges I didn’t want
While it’s still wet, soften with a clean damp brush. If it’s dry already, glaze a slightly darker wash over the area to make the edge feel intentional.
Frequently Asked Questions
Is this duck watercolor tutorial suitable for beginners with no prior art experience?
Yes, this guide is explicitly designed to be beginner-friendly and relaxing, using simple steps and shapes. You don't need years of professional experience to successfully complete this project and create a beautiful piece you can be proud of.
How long will it take to paint the duck using this step-by-step tutorial?
This is a quick expressive study designed to be completed in a relatively short amount of time, making it perfect for a focused painting session.
What style of watercolor painting is used for the duck in this relaxing guide?
We focus on a loose sketchbook style that captures the cheerful, floaty essence of a duck without getting bogged down in intricate feather details. It rewards fast, confident strokes and clean, transparent washes.
What essential supplies do I need to paint the watercolor duck?
To get started and bring this friendly character to life, you will mainly need a round brush and a simple limited color palette.
Are there convenient supply kits available to help me get started with this project?
Absolutely! For those who want to skip the supply hunt and dive straight into curated, stress-free art projects, be sure to explore the beginner-friendly options available at Tobio's Kits.
Conclusion
A good duck doesn’t need perfect realism. It needs clean washes, a couple warm shadows, and one tiny eye highlight that makes it feel alive. Follow the steps, let layers dry, and quit while you’re ahead (watercolor’s favorite life lesson).
If you want to keep painting without overthinking the next idea, head to Tobio’s watercolor tutorials or browse Tobio’s Kits for a ready-to-start creative reset.
Mel, FounderLike these guides? Set Tobio's as a preferred source on Google and our pages will show up first when you search for watercolor questions.
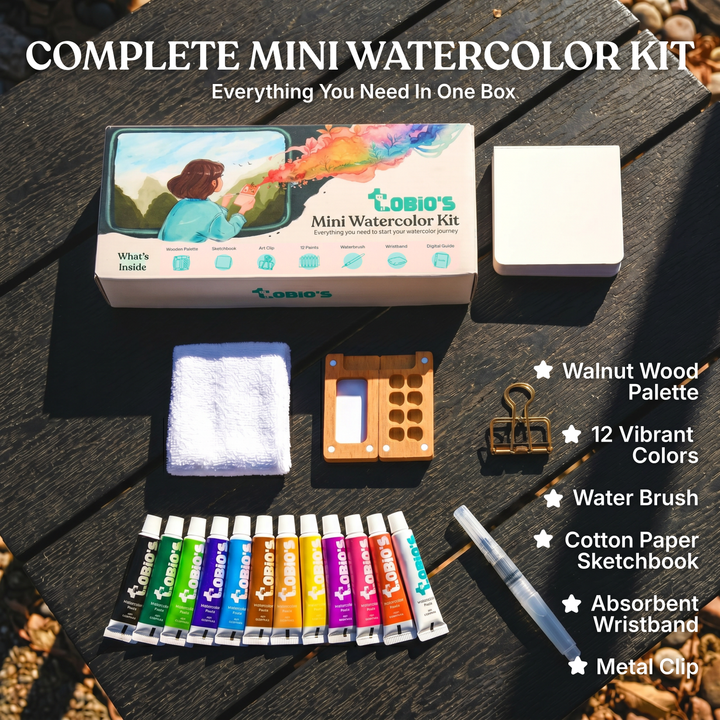
Ready to paint along?
Everything you need to paint anywhere and feel inspired doing it.
- Ultra compact
- Express yourself creatively
- For total beginners