Watercolor Painting Eyes: Step-by-Step Tutorial


What You'll Need
- Paper
- Brushes
- Paint colors
- Palette
- Water cup
- Pencil
Color Palette
Hyper-realistic eye paintings are impressive, but they can also be stiff and stressful. They take hours of blending and tiny brushes.
Today, we are doing a loose sketchbook study. We are going to tackle watercolor painting eyes in a way that feels fresh, illustrative, and human. Look at the image above, it’s not about counting eyelashes; it’s about capturing the gaze. This method is fast (under 20 minutes), uses just a few colors, and embraces the wobbly nature of water.
The Supplies (Keep it Minimal)
- Paper: 140lb/300gsm Cold Press paper. (You need a bit of tooth for the dry brush effects).
- Brush: A Size 4 or 6 Round Brush with a good point.
- Paints: See our "Portrait" palette below.
- Extras: A mechanical pencil and a kneaded eraser.
The Color Palette
Based on the sketchbook study above, we are using a warm, natural palette. This is a classic "Earth Tone" triad that makes skin tones easy:
- Yellow Ochre: The base for the skin. It’s warm and glowing.
- Burnt Sienna: The "blush" and shadow color. It adds life to the skin.
- Burnt Umber (or Sepia): For the dark brown irises and eyebrows.
- Lamp Black (or Neutral Tint): For the pupils and the sharpest lash lines.
Step-by-Step: Watercolor Painting Eyes
The secret to this style is simplification. We are painting shapes, not anatomy diagrams. If you try to draw every single eyelash or the perfect almond outline, you’ll end up with a stiff, staring symbol of an eye. Instead, look for the big blocks of shadow and light. Trust your viewer’s brain to fill in the rest, a smudge of dark paint is often more convincing than a perfectly drawn line.

The "Almond" Sketch
Draw two almond shapes.
- The Cheat: Don’t draw the whole circle of the iris. The top of the iris is almost always covered by the eyelid. If you draw the full circle, your eyes will look like they are staring in horror.
- The Brow: Sketch the eyebrows as a solid block shape, not individual hairs.
- The Highlight: Draw a tiny circle or rectangle inside the pupil/iris now. You must paint around this.

The Skin Wash (The Mask)
- Mix a watery puddle of Yellow Ochre.
- Paint a loose wash around the eyes, over the eyelids, and up to the brow bone.
- While it's still wet, touch a little Burnt Sienna into the corners of the eyes and the crease of the eyelid. Let the colors bleed. This creates soft, natural shading without you trying too hard.

The Windows (The Irises)
- Switch to Burnt Umber.
- Paint the iris shape carefully.
- Crucial: Leave the highlight white! Do not paint over that tiny circle you sketched. That white paper is the reflection that makes the eye look wet and alive.
- If the paint pools a little at the bottom of the iris, let it. It creates a natural gradient.

The Contrast (Lashes and Brows) & The Pupil (The Soul)
Wait for the skin wash to be dry (or mostly dry).
- The Brows: Use Burnt Umber to fill in the eyebrow shape. Use a "dry brush" (blot your brush on a towel first) to give the brow a hairy texture without drawing individual hairs.
- The Crease: Paint a thick line of Burnt Sienna in the eyelid crease.
- The Lashes: Load your brush with thick Lamp Black. Paint a single, bold line across the upper lash line. Don't paint 50 tiny lashes. Just flick the brush tip out at the outer corner to suggest length.
- Using thick Lamp Black, paint the pupil inside the iris.
- Make sure it touches the top eyelid (again, unless you want the "scared" look).
- The Final Touch: If your white highlight got lost, you can use a white gel pen to tap it back in.
Make it easier on yourself
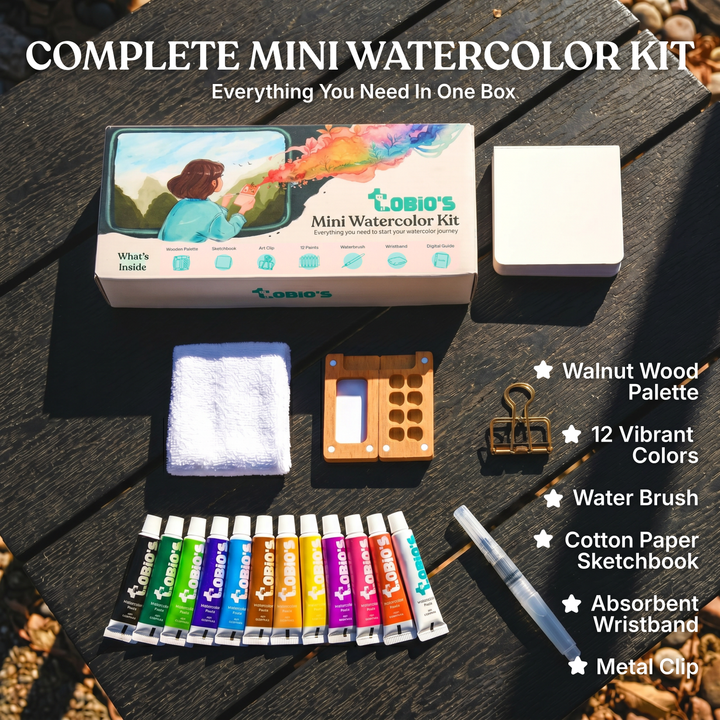
If supply decisions melt your brain, you’re not alone. The whole point of Tobio’s Kits is making watercolor feel doable with curated materials and a calmer, step-based approach. Use a kit project to build control, then apply that same layering logic to eyes.
Frequently Asked Questions
Why do my painted eyes look like they are staring in horror?
You probably painted the entire circle of the iris. In a relaxed eye, the upper eyelid covers the top 20% of the iris. If you can see the white of the eye above the colored part, your subject will look terrified. Lower that lid.
My eyelashes look like spider legs. How do I fix them?
This happens when you try to paint every single hair. Don't. Instead, paint a thick, dark line across the upper lash line and just flick the brush at the outer corner. The human brain fills in the rest. In a loose sketch, a solid shape looks more real than 50 tiny distinct lines.
I accidentally painted over the white highlight. Is it ruined?
Not at all. While we try to "save the white" of the paper, we are human. Just wait for the paint to dry completely and use a White Gel Pen or a dot of White Gouache to add the reflection back in. It’s the easiest cheat in the book.
Why does the skin around the eye look flat and yellow?
If you only use Yellow Ochre, it will look like a mannequin. Skin has blood flowing under it! While the paint is wet, drop a tiny amount of Burnt Sienna (reddish-brown) into the tear duct and the crease. That subtle warmth makes the skin look like living tissue.
Conclusion
Watercolor painting eyes gets dramatically easier when you stop trying to finish everything in one pass. Sketch lightly, wash softly, dry completely, glaze for depth, then add details with intention. Keep the sclera subtle, the pupil crisp, and the upper lid shadow strong enough to sell the form.
If you want more structured, low-stress ways to build the exact skills that make eyes look real, head to Tobio’s step-by-step watercolor tutorials, then come back and repaint the same eye. You’ll be annoying yourself (in a good way) with how much better the second one looks.
Mel, FounderLike these guides? Set Tobio's as a preferred source on Google and our pages will show up first when you search for watercolor questions.
Ready to paint along?
Everything you need to paint anywhere and feel inspired doing it.
- Ultra compact
- Express yourself creatively
- For total beginners