


Galaxy Watercolor Painting: Step-by-Step Tutorial


What You'll Need
- Paper
- Brushes
- Paint colors
- Palette
- Water cup
- Pencil
Color Palette
When you search for galaxy watercolor painting, you usually find complex tutorials involving multiple layers, hair dryers, and toothbrush splattering techniques that leave your desk looking like a crime scene.
Today, we are doing a loose sketchbook study. This method is fast, self-contained, and relies entirely on the "wet-on-wet" magic of watercolor. We aren't trying to paint a photorealistic NASA image. We are capturing the feeling of a nebula, the swirling clouds, the deep space darkness, and the bright clusters of stars—in under 20 minutes.
The Supplies (Keep it Simple)
You don't need masking fluid or white gouache for this if you are careful (though a white gel pen helps!).
- Paper: 140lb/300gsm Cold Press paper. (Essential for heavy washes).
- Brush: A Size 8 or 10 Round Brush (for big washes) and a small detail brush or white pen.
- Paints: See our specific deep-space palette below.
- Extras: Two water cups, a paper towel, and Salt (optional, but highly recommended for texture!).
The Color Palette
Based on the sketchbook study above, we are using a classic cool-toned galaxy palette. The key is using colors that blend well without turning brown:
- Indigo: The heavy lifter. This deep, dark blue creates the vastness of space.
- Dioxazine Purple (or a cool Violet): Bridges the gap between the blue and the brighter colors.
- Ultramarine Blue: A true blue to add variation to the darks.
- White Gel Pen (or White Gouache): For the stars.
Step-by-Step: Your Expressive Galaxy Watercolor Painting
The secret to a good galaxy is randomness. Nature isn't symmetrical. If your galaxy looks like a perfect circle or a striped flag, it will look fake. So, resist the urge to tidy up your edges. Instead of painting neat little rows, let your colors crash into each other and explode outward. If a bloom happens or a backrun appears, don't fix it, congratulations, you just created a supernova. This is the one time in art where being "messy" is actually the goal, so turn off your inner perfectionist and let the universe do its thing.

The Invisible Map
You don't need a pencil sketch for this. Instead, map it out with water.
- Dip your clean brush in water and wet the entire square of paper you want to paint.
- Crucial: Leave a few random, jagged shapes of dry white paper untouched. These will be your brightest, glowing clouds.
- The paper should be shiny, but not swimming in a puddle.

The Color Clouds (Wet-on-Wet)
While the paper is wet, work quickly!
- Load your brush with Ultramarine Blue and Purple.
- Drop these colors onto the wet paper, letting them bleed and swirl together.
- Keep them separate-ish: Don't mix them into one big purple blob. Let patches of pure blue sit next to patches of purple.
- Let the paint touch the edges of your dry white shapes, but try not to cover them completely.

The Deep Space (Contrast)
Now, while the first layer is still damp (this is the scary part):
- Load your brush with thick, concentrated Indigo (or black mixed with blue).
- Drop this dark paint into the corners and the "empty" spaces between your color clouds.
- Encouraging the dark paint to bleed slightly into the lighter colors, but leave the centers of the color clouds bright. This contrast creates the 3D "glowing" effect.

The Starfield
Wait for the painting to dry completely. (If you are impatient, use a hairdryer).
- Option A (The Splatter): Cover your coffee mug! Dip a brush in white gouache (or watered-down white acrylic) and tap the handle against another brush to spray tiny dots over the dark areas.
- Option B (The Control Freak): Use a White Gel Pen. Dot random stars in the dark Indigo areas.
Artist Tip: Make some stars bigger than others. Group them in little clusters. A uniform grid of dots looks like polka dots, not stars.
Troubleshooting: Mud, Blooms, and Warped Paper
Muddy colors (the #1 galaxy killer)
- Limit your palette to 3 to 4 main colors in the same family (pink, purple, blue, dark).
- Stop over-brushing. If it looks “almost right,” leave it.
- Let layers dry fully before glazing.
Backruns (cauliflowers) that appear out of nowhere
- They happen when a very wet brush hits a wash that’s in the “half-drying” stage.
- To avoid: add paint when the area is clearly wet or fully dry, not in between.
- If you catch it fast, soften with a clean damp brush while it’s still fresh.
Warped paper
- Use 300 gsm paper and tape edges down.
- After it’s fully dry, press it under heavy books overnight if needed.
Frequently Asked Questions
Why does my galaxy look like a big gray bruise?
You probably over-mixed your colors. When you drop the Purple and Ultramarine into the wet paper, let them bleed naturally. If you keep scrubbing them together with your brush, they will turn into a muddy gray blob. Put the color down and step away.
I painted over my white "glow" spots. Is it ruined?
Not at all! In a loose sketchbook study, we try to leave the white paper dry for the brightest glow. But if you got carried away and filled the whole page, just wait for it to dry and use a little opaque White Gouache (or a white gel pen) to draw the nebula clouds back in.
My stars look like a polka-dot dress. How do I fix them?
The human brain loves patterns, so we naturally try to space stars out evenly. Don't do that! Nature is chaotic. Cluster three or four stars close together, then leave a big empty space. Make some dots tiny and one or two dots huge. Randomness is the key to realism.
My paper turned into a taco. How do I stop it from warping?
Galaxies require a lot of water. If you use thin paper (like standard printer paper or cheap sketchbook paper), it will buckle instantly. You really need 140lb/300gsm Cold Press paper for this. If it still curls, you can tape the edges down with masking tape before you start painting.
Conclusion
A great galaxy watercolor painting is mostly contrast and timing: keep a bright glow zone, commit to dark edges, and let wet-on-wet do the blending instead of fighting it. Do the quick version to learn control, then level up with layers and glazes for depth.
If you want more guided paint-alongs and projects that actually finish strong, head to Tobio’s and explore their watercolor tutorials, or browse Tobio’s Kits for a ready-to-paint experience.
Mel, FounderLike these guides? Set Tobio's as a preferred source on Google and our pages will show up first when you search for watercolor questions.
Ready to Paint?
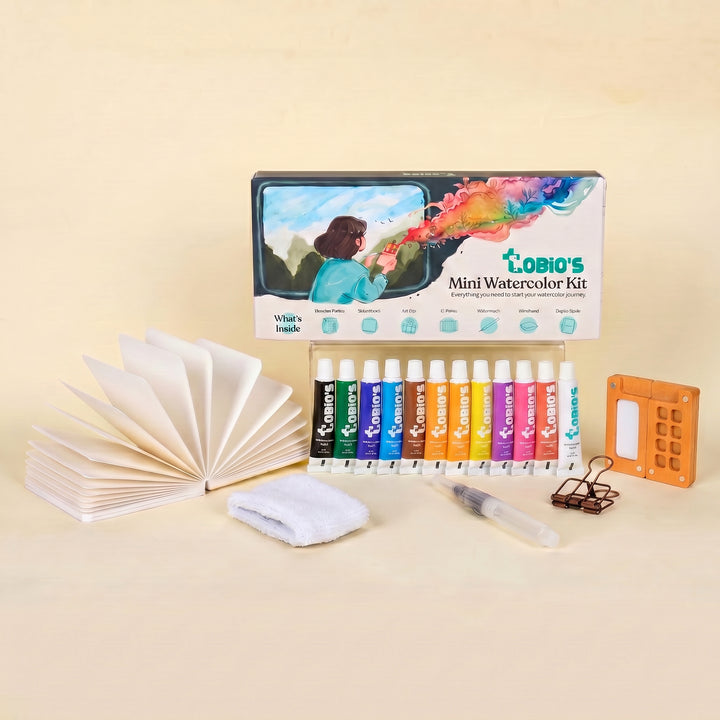
This tutorial was designed for use with our Watercolor Kit.
Shop the Kit


