


Sunflower Watercolor Painting: Step-by-Step Tutorial (Beginner-Friendly)

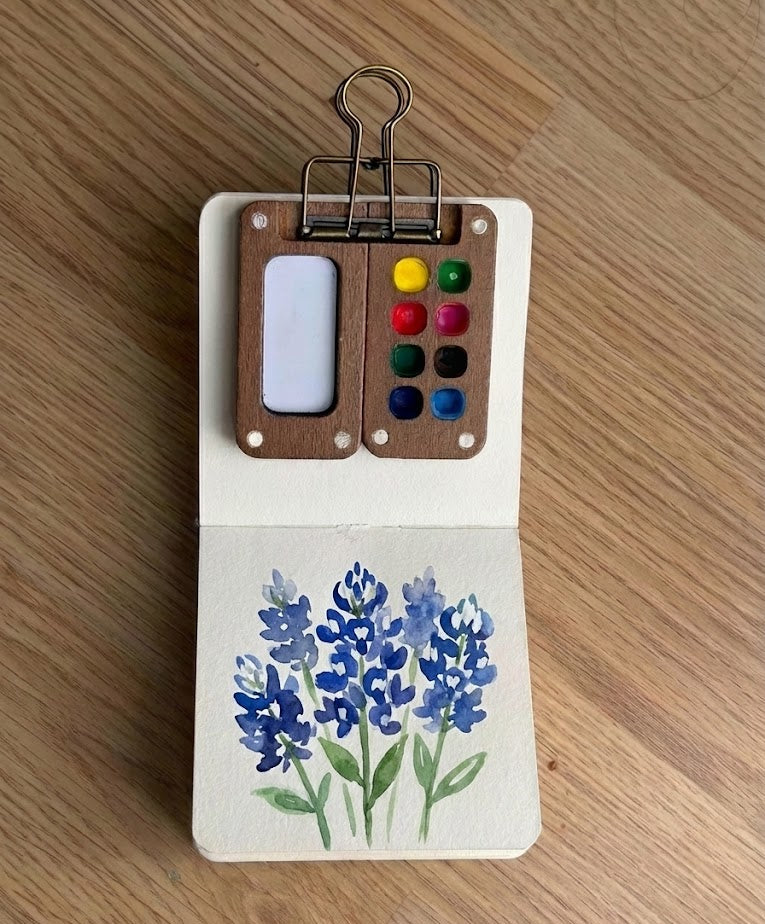
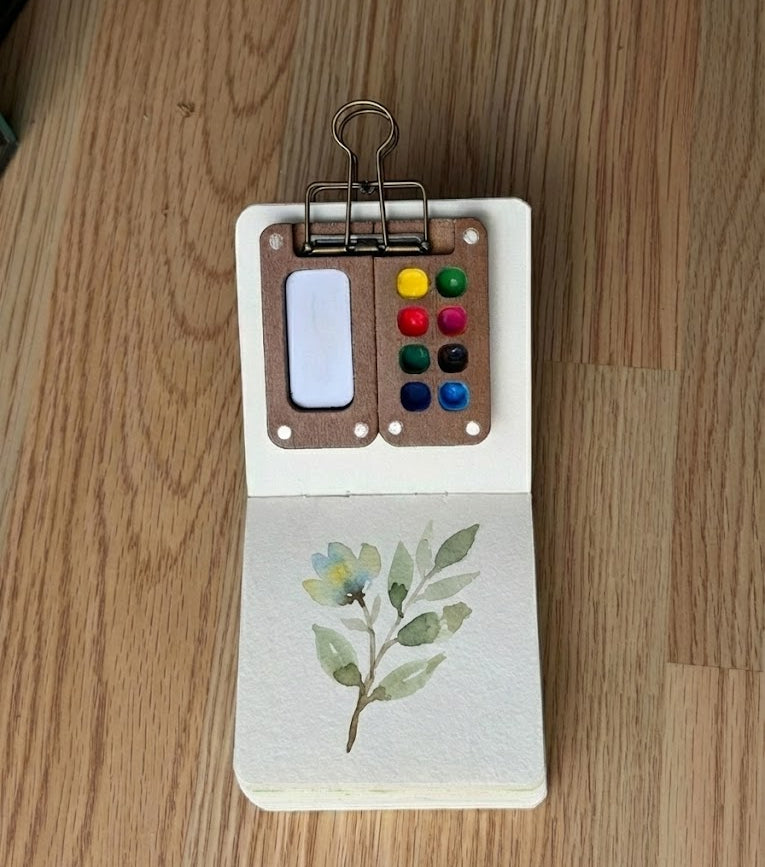
What You'll Need
- Paper
- Brushes
- Paint colors
- Palette
- Water cup
- Pencil
Color Palette
Put down the masking tape and step away from the graphite transfer paper. We’re going rogue. While many tutorials for a sunflower watercolor painting obsess over botanical precision, this study is all about the "Loose Sketchbook Style."
The goal here isn't a museum-grade masterpiece; it’s a fast, expressive exercise to help you stop overthinking and start feeling the flow of the pigment. This is beginner-friendly, slightly messy, and looks great on textured 140lb / 300gsm cold press paper. Grab your brushes, let's keep it quick and honest.
If you want more projects like this after you finish, you can browse our full library of step-by-step lessons on Watercolor Tutorials.
The Color Palette
Based on our sketchbook study, we are sticking to a limited, earthy palette. You don’t need a massive set, just these five specific pigments:
- Lemon Yellow: For those bright, sun-catching petal tips.
- Raw Sienna: To add golden, "harvest" depth to the inner petals.
- Burnt Sienna: A warm, reddish-brown for the transition in the center.
- Burnt Umber: The heavy lifter for our deep, textured core.
- Sap Green: A classic, organic green for our simple stem and leaves.

Set the Stage
We’re keeping the setup low-stress. Use a medium round brush (size 6 or 8) and a jar of clean water.
Skip the pencil sketch entirely, the goal of a sketchbook study is to build confidence with the brush.
If you absolutely must, draw one very light circle the size of a coin for the center, but keep it faint.

The Golden Petal Bloom
Load your brush with Lemon Yellow. Instead of drawing perfect teardrops, think of these as "flicks" of color.
Paint a ring of petals around your center using quick, outward strokes.
While the paint is still shiny-wet, "drop in" some Raw Sienna near the base where the petals meet the center.
Let the colors bleed and mingle naturally.
If one petal is fatter than the other, leave it! Nature isn't symmetrical.

The Textured Seed Center
While your petals are still slightly damp (but not puddling), load your brush with a thick, "creamy" mix of Burnt Sienna and Burnt Umber.
Dab the center in a circular motion. By touching the edges of the wet petals, you’ll get a soft "bleed" that makes the flower feel like one organic unit.
Use the tip of your brush to tap in darker Burnt Umber dots for that signature seed texture.

Organic Stem & Leaves
Keep the greenery simple so it doesn't distract from the bloom.
Using Sap Green, pull a single, slightly wobbly line down for the stem.
For the leaves, use the "press and lift" technique: press the belly of your brush down to create the width of the leaf, and pull away to a sharp point.
Don't worry about veins or details; the simple silhouette is what makes this "expressive" style work.
Style Variations: The "Midnight Meadow," "Sunlit Sprout," and "Storybook Flora"
Want to change the vibe of your sunflower watercolor painting?
Try these quick sketchbook adaptations to see how versatile a few pigments on 140lb / 300gsm paper can be:
The "Midnight Meadow" (Moody & Dramatic)
- Cool the palette: Swap your warm, sunny yellows for deeper, muted Raw Sienna. Mix a touch of blue into your Burnt Umber for a heavy, shadowy base in the flower's center.
- Deepen the shadows: Paint one side of the sunflower’s center much darker, leaving only a tiny sliver of pale rim light on the edge of the petals and the crown of the seeds.
- Lost edges: Let the bottom of the stem and the leaves bleed entirely into a dark, heavy background wash to anchor the bloom in the deep garden shadows.
The "Sunlit Sprout" (Soft & Gentle)
- Lighten the palette: Stick to highly watered-down Lemon Yellow and the palest wash of Raw Sienna for the petals.
- Soften the features: Round out the jagged, expressive edges of the petals so they sit as soft, gentle markings rather than aggressive, sharp strokes.
- The "Fresh" Texture: Skip the heavy, crunchy shadows under the seed head. Keep the washes light, smooth, and airy for a fresh, youthful garden look.
The "Storybook Flora" (Simplified for Cards & Patterns)
- Exaggerate shapes: Push the shape language into stylized, geometric blocks. Give the sunflower a more distinct, circular center or perfectly swooping, graphic petals.
- Bring back the speckles: Lean into the illustrative vibe by flicking a few perfect, deliberate splatters of Burnt Sienna and Burnt Umber paint around the dry portrait for a whimsical texture.
- Flat color: Skip the beautiful, messy watercolor bleeds. Use flat, highly-pigmented, graphic washes of solid color for a modern, pop-art feel.
Inspiration: Why This sunflower watercolor painting Style Works
This loose, expressive sketchbook approach to a sunflower watercolor painting is perfect for:
- Botanical Journals and Garden Sketchbooks:
Capture the fierce, radiant energy of a bloom you spotted in the yard without needing a macro lens or a degree in botany. You don’t need to paint every single seed or vein; you just need that bold, iconic yellow-and-brown contrast and a soulful, expressive center to bring the memory back to life on the page. - Bold & Eclectic Wall Decor:
Because sunflowers are naturally striking and dynamic, a soft, loose study looks incredibly sophisticated in a home office or a cozy reading nook. Frame a lively, 15-minute piece like this for instant, nature-inspired wall art that feels vibrant and full of movement, rather than stiff and "store-bought."
Questions, answered
How do I avoid muddy colors?
Use "one-and-done" strokes. Once you lay down Lemon Yellow, stop. Mud happens when you scrub paint that has already started to dry.
Why use 140lb / 300gsm paper for a sketch?
It prevents buckling. Thinner paper makes your Burnt Umber pool in the warps; heavy paper keeps the bleeds controlled.
How do I stop the brown center from "eating" the yellow?
Wait until the petals are no longer shiny but still cool to the touch. This "damp-dry" state allows for a soft bleed without the brown racing across the page.
Conclusion
A solid sunflower watercolor painting is mostly about order and restraint: paint petals one at a time, keep your yellows clean, build the center with layered texture, then finish with simple greens and an optional soft background. If you want more guided practice (without hunting for supplies and instructions separately), explore Tobio’s Kits and keep learning through the step-by-step projects in Watercolor Tutorials.
Mel, Founder
More 15-minute tutorials

Ready to Paint?
This tutorial was designed for use with our Watercolor Kit.
Buy now


