Watercolor Paint Tray: Step-by-Step Tutorial


What You'll Need
- Paper
- Brushes
- Paint colors
- Palette
- Water cup
- Pencil
Color Palette
There is something deeply satisfying about painting your own art supplies. It’s "meta," it’s colorful, and it’s a great way to practice texture without the pressure of a full landscape.
Today, we are doing a loose sketchbook study of a classic wooden watercolor paint tray. Look at the image above. It’s not a perfectly manufactured plastic grid; it’s organic, textured, and holds big, juicy blobs of pure pigment. We aren't trying to sell this palette; we are celebrating the tools of the trade. This method is fast, vibrant, and perfect for testing out every color in your box.
The Supplies (Keep it Simple)
- Paper: 140lb/300gsm Cold Press paper. (Texture helps the "wood grain" look real).
- Brush: A Size 6 or 8 Round Brush.
- Paints: See our "Rainbow & Wood" palette below.
- Extras: A pencil for the oval sketch.
The Color Palette
Based on the sketchbook study above, we need two distinct sets of colors: the "Wood" tones and the "Paint" blobs.
- Yellow Ochre: The glowing base for the light wood.
- Burnt Sienna: For the wood grain lines and darker edges.
- The Blobs: You need your brightest pure pigments: Cadmium Red, Cadmium Yellow, Ultramarine Blue, Sap Green, Ivory Black, and Burnt Umber.
Step-by-Step: Your Expressive Watercolor Paint Tray
The fun part of this painting is the contrast between the dry, textured wood and the wet, glossy paint blobs. You are essentially painting two different surfaces side-by-side: a matte, organic background and jewel-like pools of liquid color. Don't try to make the wood look polished or new, let your brushstrokes feel a little rough to mimic the grain. The more "used" the background looks, the more those bright, juicy colors will pop off the page.

The "Donut" Sketch
- Draw a large, slightly wobbly oval.
- Draw a kidney-bean shape on the right side for the thumb hole.
- Lightly sketch 6 or 7 circles where your paint blobs will sit.
- Artist Tip: Do not use a compass or a template! A hand-drawn oval feels more like a beloved, well-used tool.

The Wood Grain (The Wash)
We want the wood to look natural, not polished.
- Mix a watery puddle of Yellow Ochre.
- Paint the entire wooden surface, painting around the paint blob circles (leave them white for now).
- The Grain: While the Ochre is damp, stripe in some Burnt Sienna. Use quick, horizontal strokes. Let them bleed slightly. This creates that wooden texture instantly.

The Paint Blobs (Pure Pigment)
Now, fill those white circles with pure joy.
- Drop in thick, creamy paint. Use Cadmium Red, Cadmium Yellow, Ultramarine Blue, and Sap Green.
- The Shine: Leave a tiny speck of white paper in the center of each blob. This "highlight" makes the paint look wet and glossy, like it was just squeezed from the tube.

The Depth (Shadows)
- Wait for the wood wash to dry.
- Use a concentrated Burnt Sienna (or mix in a little brown) to paint a thin line along the bottom edge of the palette and the inside of the thumb hole.
- This simple shadow gives the watercolor paint tray thickness and weight, so it doesn't look like a paper sticker.
Common Mistakes (And Quick Fixes)
The "Flat Sticker" Effect
- The Cause: Your paint blobs look like flat, colored circles pasted onto the wood.
- The Fix: You forgot the light source! Without a highlight, wet paint looks dry. Use a White Gel Pen or a dot of White Gouache to add that tiny reflective shine on the top left of every blob.
The "Fuzzy" Edges
- The Cause: You painted the colorful blobs while the yellow wood wash was still damp. The colors bled outward into the wood.
- The Fix: If it’s just a little bleed, leave it, it looks artistic! If it’s a mess, wait for everything to dry, then outline the blobs with a dark pen or a thick Burnt Umber shadow to hide the fuzzy edge.
The "Polished Floor" Wood
- The Cause: You painted the wood one solid, flat color without any texture.
- The Fix: Real palettes get stained and scratched. Take a slightly dirty brush (maybe with some leftover brown or red) and "dry brush" some rough streaks across the wood. It gives it history.
The "Perfect Oval" Stress
- The Cause: You tried to draw a mathematically perfect oval and it looks stiff.
- The Fix: Relax your hand. A lopsided palette looks more like a handmade tool. If the shape really bothers you, paint a shadow underneath one side to balance it out visually.
Frequently Asked Questions
My wood grain looks like a stiff fence. How do I fix it?
You probably drew the lines too straight. Wood is organic! When you paint the Burnt Sienna stripes over the Yellow Ochre wash, wiggle your brush slightly and let the lines break. If they bleed a little into the background, that’s even better, it creates a soft, varnished look rather than a cartoon texture.
Can I paint a messy mixing area?
Absolutely. A pristine watercolor paint tray is a tray that isn't being used! To make it look "lived in," you can paint a murky, grayish-brown wash in the mixing wells or splatter a few tiny drops of red and blue across the wood. It adds character and proves you are a working artist.
I have a plastic palette, not a wooden one. Can I still do this?
Of course. The steps are exactly the same, just swap the colors. Instead of the warm Yellow Ochre wood base, use a very pale, watery wash of Payne's Gray or Ultramarine Blue to mimic white plastic or ceramic. The colorful paint blobs will pop even more against a cool, white background.
Conclusion
A great watercolor paint tray setup isn’t about owning fancy gear. It’s about having a consistent layout, enough clean mixing space, and a method that helps you control value and temperature without accidental mud.
Set up your wells by color family, reserve zones for clean vs dark mixes, and build “mother puddles” so your washes stay consistent. Then keep the surface behaving with light maintenance, especially if you’re using plastic.
When you’re ready to paint with a setup that feels curated instead of cobbled together, explore Tobio’s Kits and pair it with the guided practice inside our watercolor tutorials.
Mel, FounderLike these guides? Set Tobio's as a preferred source on Google and our pages will show up first when you search for watercolor questions.
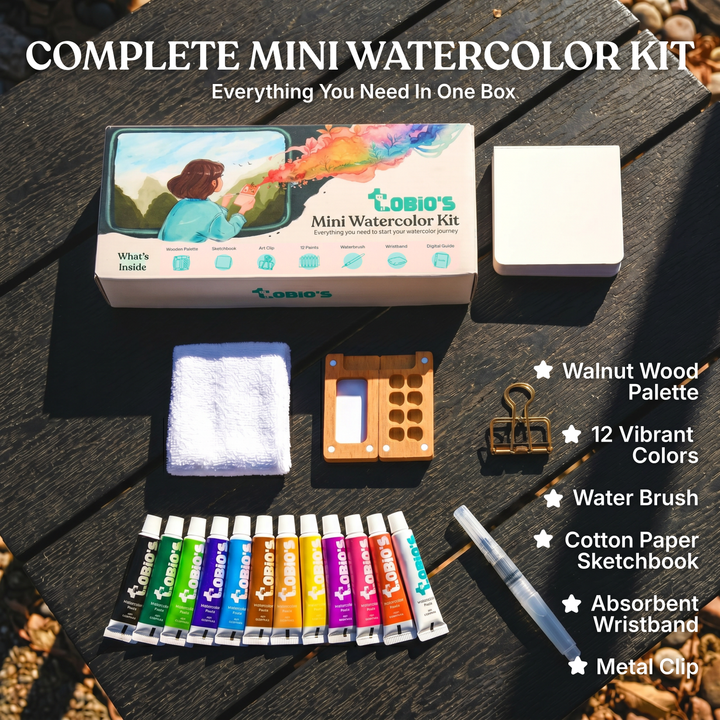
Ready to paint along?
Everything you need to paint anywhere and feel inspired doing it.
- Ultra compact
- Express yourself creatively
- For total beginners