


What Is the Golden Rule of Watercolor?


What You'll Need
- Watercolor paper (300 gsm cotton)
- Your paints and a brush
- A pencil to mark your whites before you paint
- (Optional) masking fluid — not included in the kits
Before I started with watercolor, I painted miniature figures. That paint lets you work on top of whatever’s already there — a dull highlight? Just add a new stroke on top, done.
Watercolor doesn’t work that way at all, and I had to unlearn the habit. The golden rule of watercolor is to work from light to dark and preserve the white of your paper. Watercolor is transparent, so you can’t paint a lighter color over a darker one. Your highlights are the paper you leave untouched — which means you plan them and protect them from your very first wash.
Why the rule holds
Some paints have pigment dense enough that a pale stroke blocks whatever sits under it — which is why a highlight in acrylic or gouache can be moved whenever you like. Watercolor does the opposite. Tate’s glossary puts it neatly: the pigment settles into a thin, see-through film and lets the paper shine back up through it, which is why the medium glows. Every wash is more like tinted glass than a coat of paint — stack three and you see all three.
How to actually work light to dark
Most of the work happens before the brush is even wet. Find the lightest parts of your reference (or of real life if you paint from what you see) — the gleam on a jug, the sliver of sky through leaves — and mark them with a subtle pencil line so you know where not to paint. That area doesn’t have to stay pure white; you’re just reserving space that will stay less saturated than the rest.
Remember that watercolor dries lighter than it looks wet. Start light, let it dry, then go a step darker — and let each layer dry fully so the colors don’t blend into mud. Flat washes and edge control are covered in the essential techniques; for the full sequence from blank page to finish, my beginner’s guide walks it through, and how to use watercolor paint covers mixing a wash to strength.
Saving your whites
Leaving paper alone is easy on a big shape and tricky on a small one — the little white bumps on a strawberry, the stars in a night sky. So you either paint the dark right up to the edge to save that sliver of white, or you block it out with masking fluid and paint over the top. (Both masking and negative painting are techniques worth learning.)
Forgot to save a white? You can often get some back: lift it with a damp brush, blot with a bit of paper, or add an opaque white on top like acrylic or a white ink pen. Don’t wait too long, though — you can only lift paint while it’s still workable. My cloud tutorial leans on this same idea. I even keep one brush from the 4 Extra Water Brushes ($6.99) set clean and reserved just for lifting.
One honest note: the twelve-color palette includes Titanium White, which is great for tinting a color or adding a final sparkle to a dry wash — but it won’t rescue a highlight the way paper does. It’s opaque, so it sits on the surface and looks a little chalky next to a true paper-white.
Frequently Asked Questions
What is the golden rule of watercolor?
Work from light to dark and keep the white of your paper. The paint is transparent, so light can’t go back over dark.
Why do you paint light to dark in watercolor?
Each wash behaves like tinted glass. Layers add together, so darks go over lights — swap the order and everything just turns dark.
How do you keep the white in watercolor?
Decide on the shapes first, then either paint around them or mask them off and wash over the top. Or add white back with acrylic or a white ink pen.
Can you paint white over dark in watercolor?
You can, with an opaque white or gouache — but it sits on the surface and never quite matches saved paper.
Save the paper
Try this on your next painting: before any water touches the paper, circle three whites in pencil and promise not to paint them.
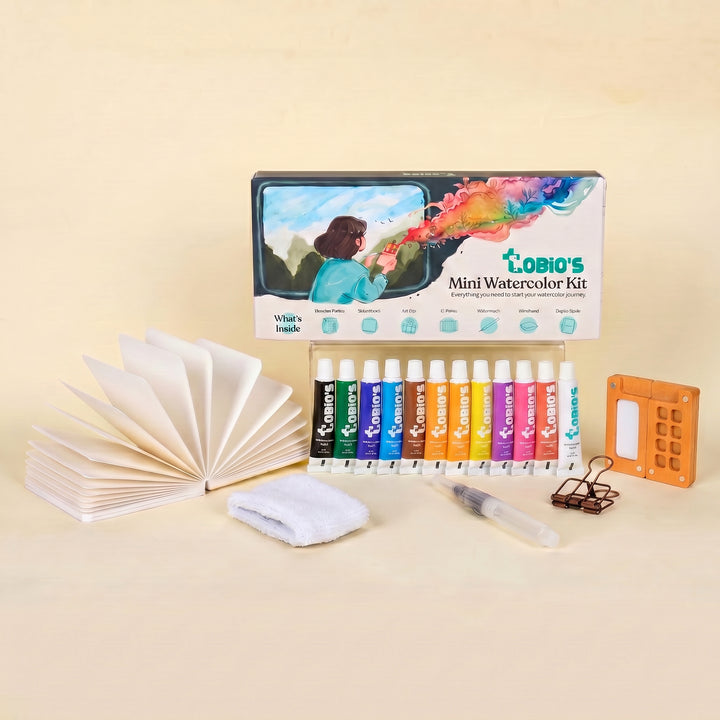
The Watercolor Kit ($36) is set up for exactly this — it comes with everything you need to start. (Masking fluid isn’t included in the kits, so grab that separately if you want to try it.)
Mel, FounderMore watercolor tutorials
Everything you need to start
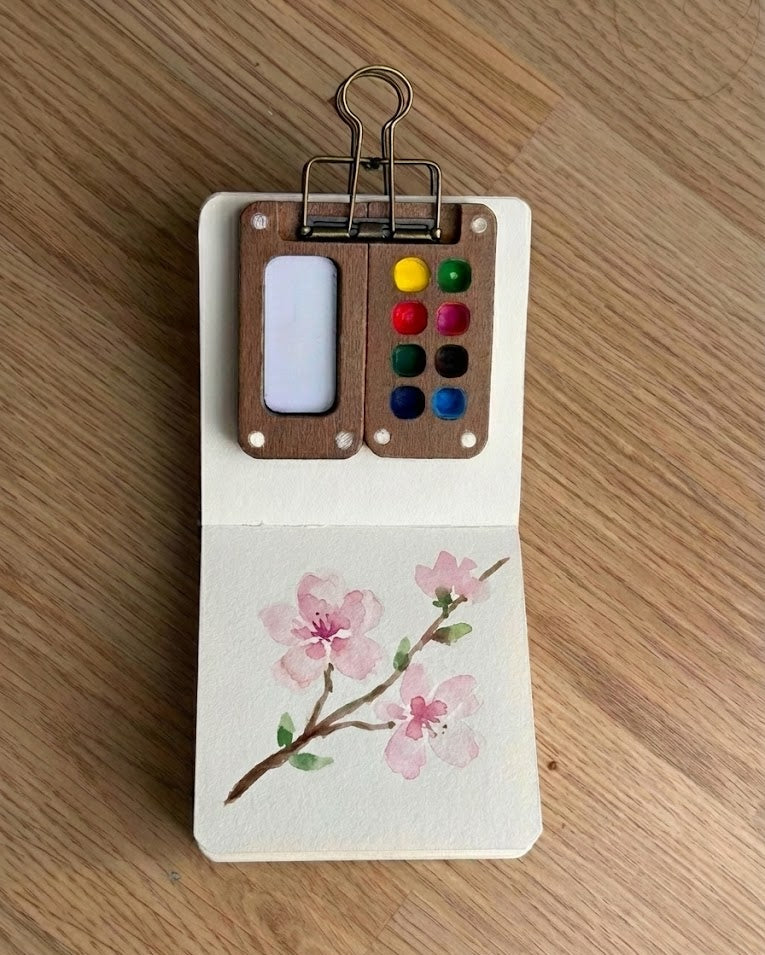
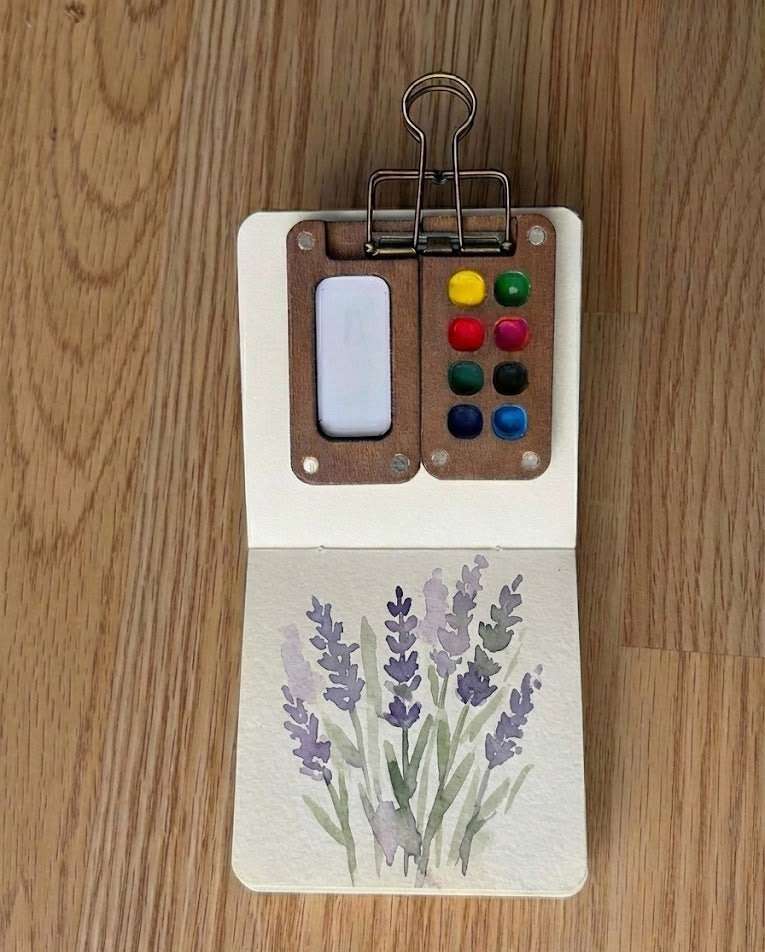
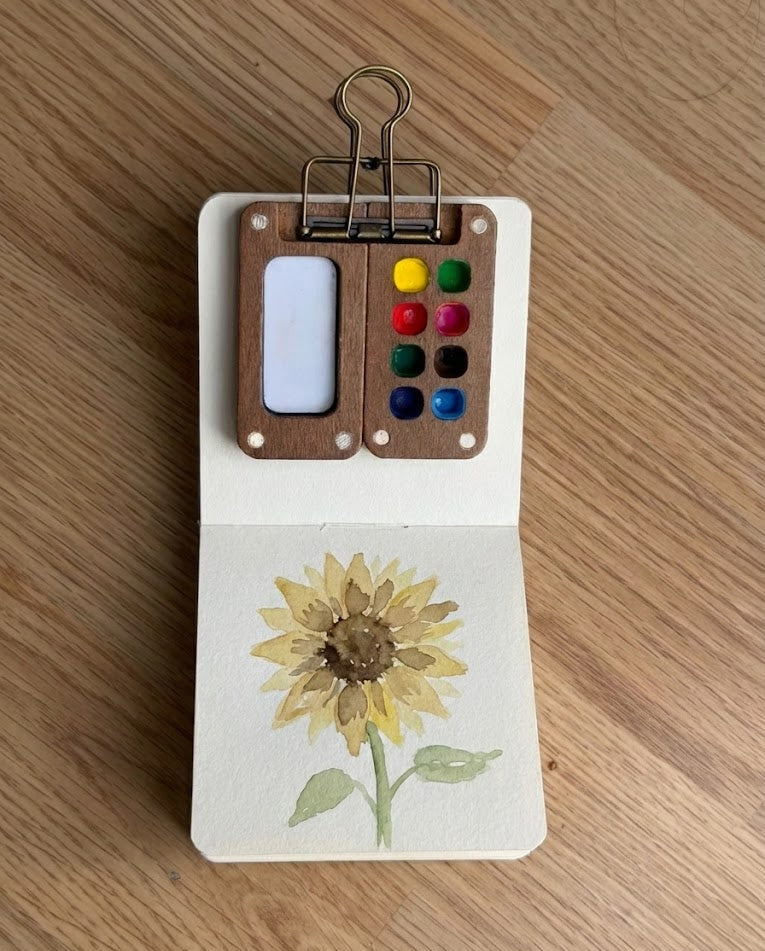
A magnetic walnut palette, twelve transparent student-grade paints, a water brush, and 300 gsm cotton paper — set up to practise working light to dark and saving your whites.
Get the Tobio’s Watercolor Kit


