


5 Watercolor Texture Methods That Actually Work


What You'll Need
- Your Watercolor Kit — cotton paper handles all of these
- Table salt
- Plastic wrap
- A sea sponge and a stiff old brush for splatter
Flat. That’s the word you might be thinking as you look down at a finished painting. The wash is even, the colors are under control, it’s technically right — and it still looks a bit… average. The fix is texture, and there are so many ways to add it.
For the longest time I thought I was missing some special technique nobody had told me about. Turns out the solution was in my kitchen. Texture isn’t a bonus feature you unlock when you “graduate” from washes — most of it is stuff in a drawer three feet from where you paint, plus knowing when to use it and when to leave it. That second part is what trips people up. Your Watercolor Kit ($34) comes with cotton paper that handles every one of these methods, so let’s go.
Salt
This is the one everyone tries first, because the effect is so cool. Sprinkle a little salt over a wash, then step back — don’t hover or poke at it. As the salt absorbs moisture, pigment is drawn toward it, and once everything dries you get pale, star-shaped blooms. Touch it too much and it won’t look like those Instagram posts.
The whole game is timing. Too early, and the salt vanishes into a wet puddle; too late, and you get a few sad little dots. The window is when the shine has gone off the paper but it’s still wet to the touch. This is exactly how I painted my galaxy — that “star field” is about 60% salt effect. Check out my galaxy painting tutorial; it’s one of my favorites.
Dry brush
Load your brush with paint and water, then wipe most of it off on a paper towel — not all of it, just enough that it won’t drip. What’s left should feel scratchy, so the brush drags a broken, rough mark instead of a smooth wash. It’s perfect for bark, gravel, or weathered wood.
This one needs bone-dry paper. Not “mostly dry” — dry. The moment there’s any dampness, the paint floods out and you lose the effect. It’s on almost every tree I paint; there’s a full walkthrough in the tree tutorial if you want to see it start to finish.
Plastic wrap
Crumple a piece of plastic wrap and press it into a wash while the paint is still a bit wet. Leave it there until the paint has dried completely underneath — only then peel it off. The jagged, crystalline lines that form along the folds look completely different from anything else on this list.
I’ll admit I used to peel the wrap off too early, impatient to see what happened — and all I got was a smeared, muddy mess, because the paint hadn’t set. Now I set an actual kitchen timer and don’t look until it beeps. Sounds excessive. It works.
Sponging and splatter
Two tools, both great. Sponging is easy: dab a sea sponge onto an almost-dry wash for a cool, irregular texture — ideal for foliage, moss, or a distant treeline that doesn’t need fine detail.
Splatter is a favorite too, just don’t go overboard. Load the brush, hold it over the paper, and tap the handle against your other hand (or flick it with thumb and finger). Let the paint land where it wants — the whole point is organic and unpredictable. A few splatters over a dry green background can read like tiny flowers; I did exactly that in my garden tutorial, turning a handful of splatters into blossoms without drawing a single petal.
Lifting for texture
Pulling paint back with a damp brush or a tissue can be a deliberate choice, not just damage control. Clouds, light hitting water, the pale center of a flower — all lifting, done on purpose. I use it constantly, because it gives such a lovely, subtle shift.
Let the paper do it
Sometimes texture isn’t a technique at all — it’s the paper. Cold-press paper has a natural tooth of little peaks and valleys, and where two wet colors meet on the surface they granulate on their own, no effort required. That’s already built into the cotton paper in the kit.
I’ll be straight with you about that paper, though: the kit’s notebook is mini-sized to travel, so it isn’t made for someone who wants big sheets to experiment on all afternoon. Go too hard on salt and plastic wrap across a full painting and you’ll chew through pages fast — buckling shows up sooner on smaller, lighter sheets. It’s a great, high-quality paper to learn on; just don’t drench it or try to fill a whole sketchbook with texture tests in one sitting.
When not to use any of this
Nobody writes this section, which is exactly why I am. Salt and plastic wrap are flashy and genuinely fun — you’ll want to use them everywhere. But if you have a clear subject the eye should land on — a single flower, a face, anything meant to be the focus — skip the salt. It’ll compete with the thing that matters. Save the texture tricks for skies, distant backgrounds, and weathered surfaces: places where you actually want the eye to keep moving.
Bring it together
No new supplies required — the Watercolor Kit and the cotton paper you already have work with every method above. Want the overview before diving into texture? Start with the beginner’s guide, or poke around the tutorials hub for something to actually paint.
Frequently Asked Questions
What helps you achieve texture in watercolor?
Mostly timing and tools you already have. Salt and plastic wrap react with the paint as it dries; a dry brush on dry paper roughens the mark; lifting pulls paint back to soften an area.
What are some techniques for painting with salt?
Sprinkle salt onto a wash while it’s still wet (but past the shiny stage). Don’t touch it until it’s fully dry, then brush off any remaining grains.
How do you make watercolor texture with household items?
Salt, plastic wrap, a kitchen sponge, and any stiff brush for splatter cover the bulk of it — no special supplies needed.
What texture can you get from a dry brush?
Wipe most of the paint off the brush and drag it across dry paper so pigment catches only on the raised tooth of the paper — great for bark, gravel, and weathered surfaces.
Texture is mostly timing
You don’t need new supplies to add texture — just the Watercolor Kit ($34), a few things from the kitchen drawer, and the patience to leave your painting alone while it dries.
Master the timing and even a simple wash stops looking flat.
Mel, FounderMore watercolor tutorials
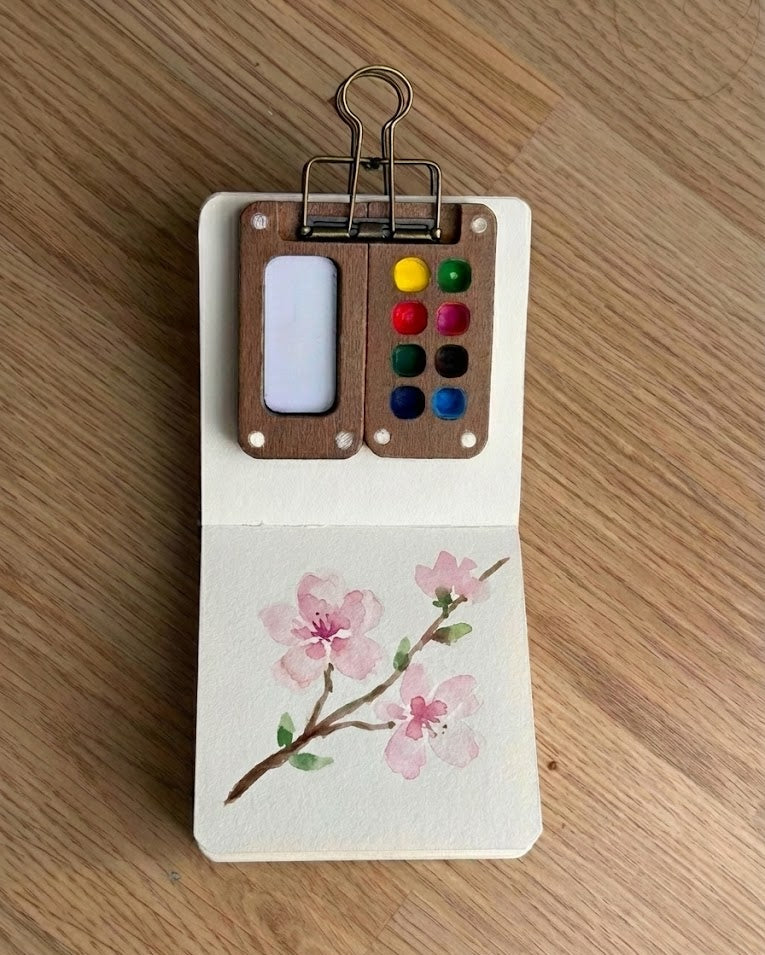
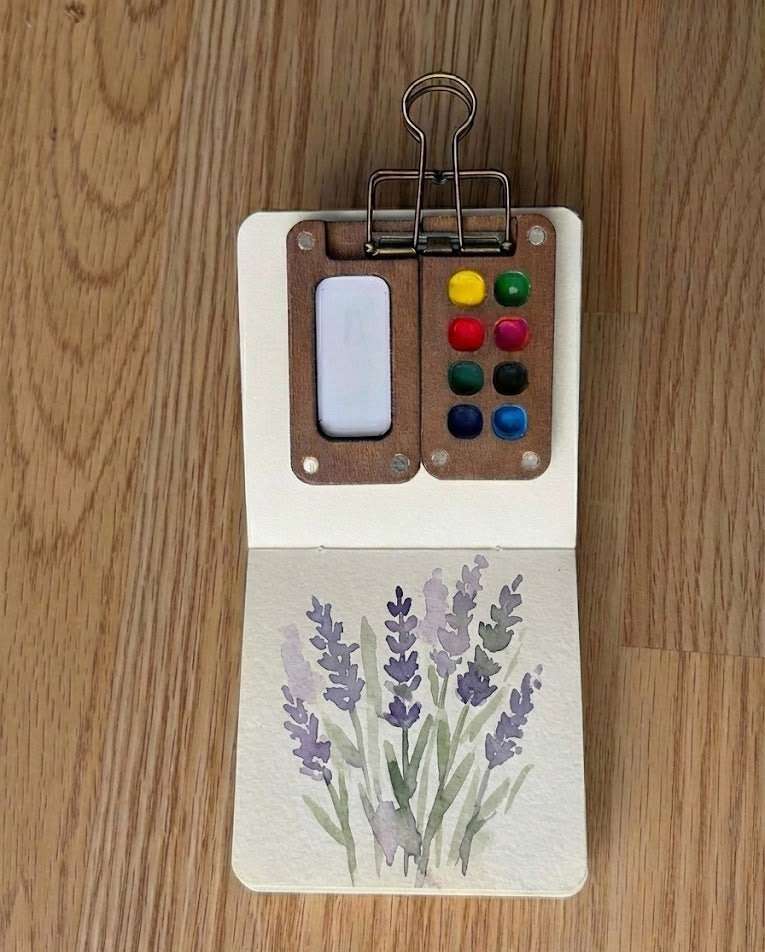
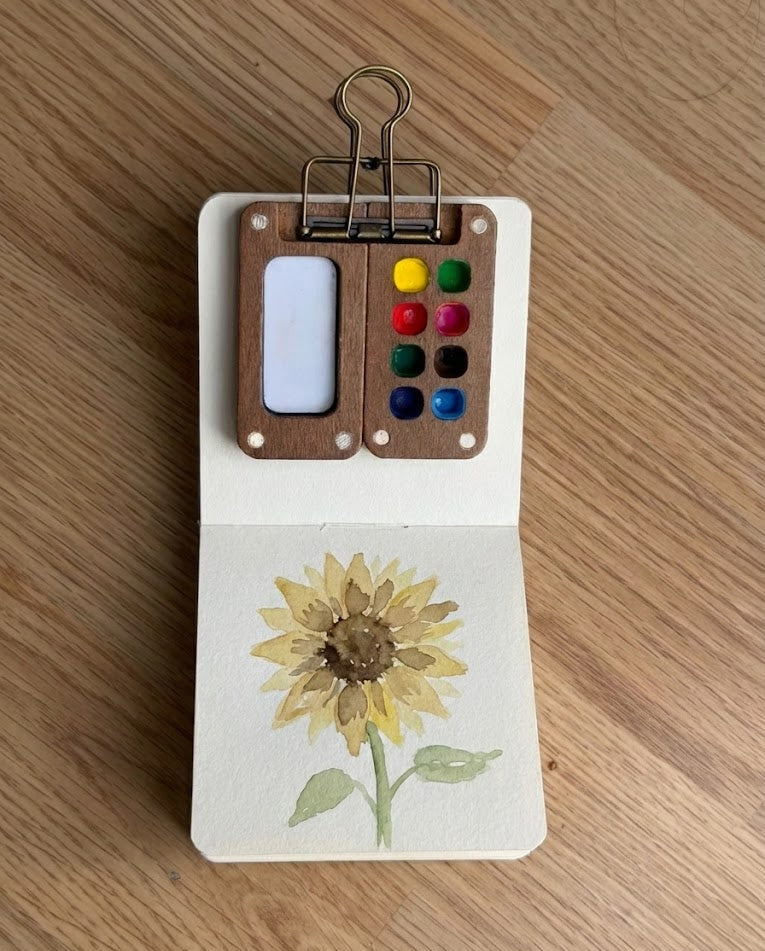
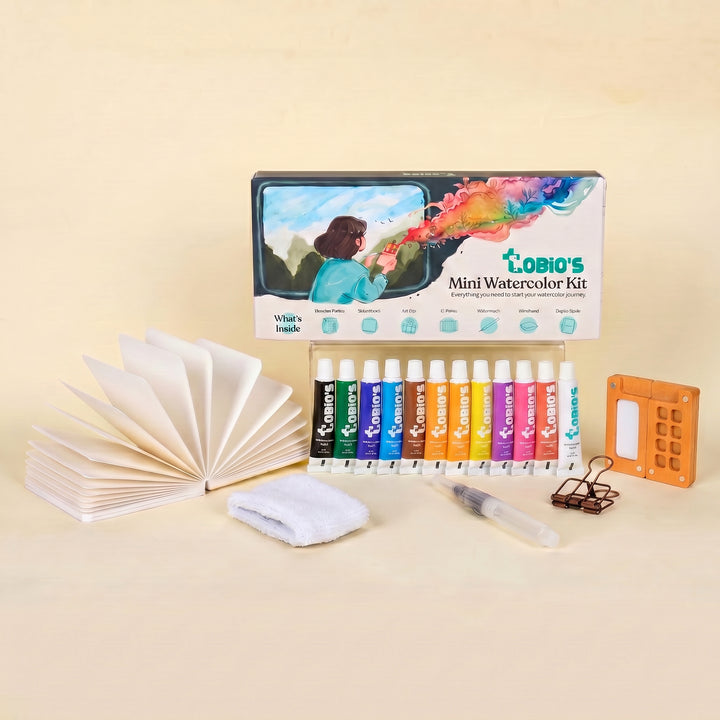
Everything you need is already in the kit
Cotton paper that takes salt, dry brush, and plastic wrap, plus student-grade pigments and a water brush — all in one pocket-sized box to practise every method here.
Get the Tobio’s Watercolor Kit


