


Wet on Wet Watercolor: How to Get Soft, Dreamy Blends


What You'll Need
- 100% cotton watercolor paper, 140 lb / 300 gsm (holds water without buckling)
- A refillable water brush or a soft round brush
- Watercolors mixed fairly concentrated — the wet paper dilutes them for you
When I first started painting with watercolor, I thought wet-on-wet meant adding lots and lots of water to the page. So I let the pages drip, and the colors went crazy everywhere. The technique is about water — but in measure.
It’s an essential one to know, because it’s how you get the most beautiful organic shapes and gradients: skies and oceans, soft flower petals, gorgeous backgrounds. I won’t lie, it can be a little frustrating at first — how do you know how much water is enough? Too little and you get patchy edges and harsh lines; too much and you get puddles that dry looking like stains.
What wet-on-wet is
Wet-on-wet is when you add color to an already-wet page — wet either from a previous wash of color or from clean water. Touch a loaded brush to that wet surface and the paint blooms and spreads, giving you the soft edges and organic shapes you simply can’t get on dry paper.
How wet is “wet”?
This is the part every beginner gets stuck on, so here’s the scale I actually use:
- Puddle. Water is pooling and moves if you tilt the page. Too wet — paint dropped in here scatters unpredictably and dries with a hard, blotchy edge where the puddle sat.
- Shiny. The paper has an even, glistening sheen but no standing water. This is the sweet spot for most wet-on-wet work; color spreads and blooms in a way you can mostly predict.
- Damp. The shine has faded and the paper looks matte but still cool and slightly dark. Paint moves less here, giving you softer, smaller blooms with more control.
- Dry. No wet-on-wet happening anymore — this is wet-on-dry, and any color you add stays crisp and exactly where you put it.
Most of your early practice should happen in the shiny stage. Once you’re comfortable there, the damp stage gives you a gentler, more controlled version of the same effect.
Step-by-step: a simple wet-on-wet wash
- Wet an area of paper with clean water. Use a soft brush with even pressure and even strokes, covering the whole area you want to paint so you get an even bloom.
- Check the paper before you add paint. Use the scale above — perfect shine? Go ahead. Puddles? Blot the excess. Already dry? Add a little more water.
- Load your brush with a fairly concentrated mix. A watery mix dropped onto wet paper barely registers — it’s already being diluted, and it’ll dry even lighter.
- Touch the color into the wet area and let it bloom. You don’t need to push it around; the less you interfere, the softer and more natural it looks.
- Add a second color if you like. Touch it to the edge of the first while both areas are still wet, and let them meet on their own.
- Let the layer dry completely before adding details. Wet layers over wet layers is how you get muddy color and unwanted blooms — patience pays off here.
What it’s great for
Wet-on-wet creates the softest, most atmospheric parts of a painting:
- Skies and clouds. My how to paint clouds guide is a great place to start with soft skies.
- Sunsets. A sunset is a wonderful first project at any level — see my watercolor sunset guide for a step-by-step.
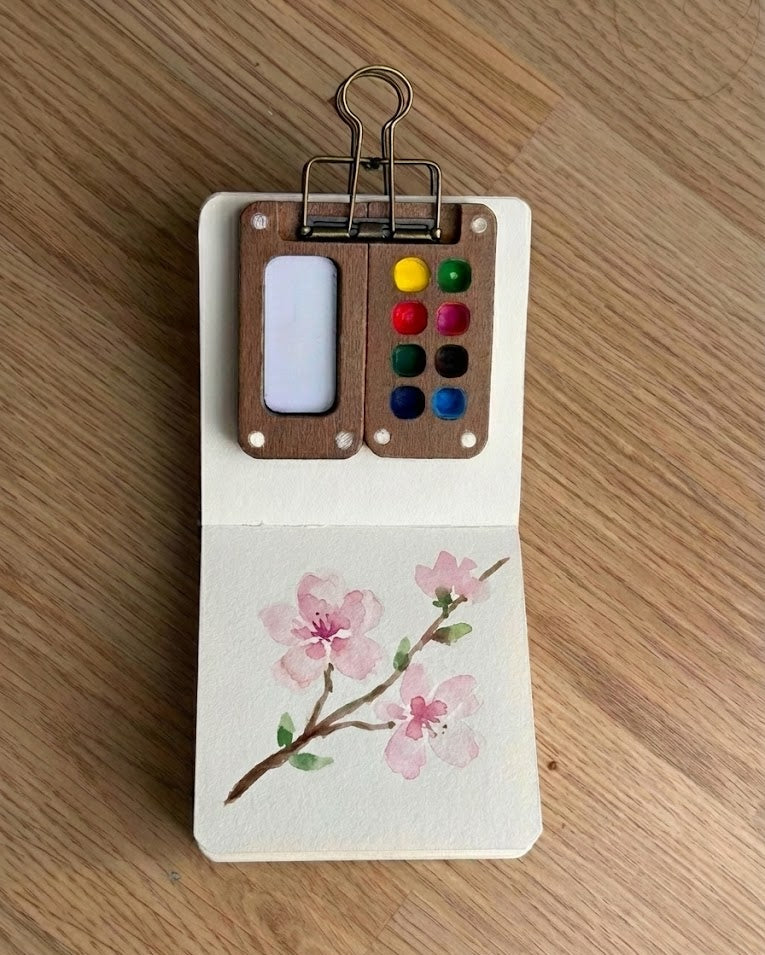
- Soft florals. Glowing edges and blurry petals come straight from this technique. My watercolor flowers guide has a few examples.
Wet-on-wet is the one technique that shows up again and again — you’ll spot it across almost all of our watercolor tutorials.
Troubleshooting
- Unexpected blotches or cauliflower-shaped blobs? These “blooms” happen when the paper has started to dry (past the shiny stage) and you add something wet on top — the drying pigment gets disturbed and branches out. Watch the sheen and stay away from areas that have begun to dry. (If you like blooms, you can make them on purpose the same way.)
- Hard, blotchy edges? Your paper is probably too wet. Standing water pools the pigment so it dries along the outer edge instead of evenly. Blot the excess with a paper towel first — the paper should be shiny, not dripping.
- Paper buckling or warping? That’s usually a paper problem, not a technique problem — thin, low-quality paper can’t hold much water. My how to stretch watercolor paper guide covers taping it down so it dries flat.
- Colors drying pale and washed-out? Paint always lightens as it dries, so you may have diluted the mix before it even touched the paper. Wet-on-wet works best with a fairly concentrated mix — the wet paper does plenty of diluting on its own.
Paper and brush that make it easier
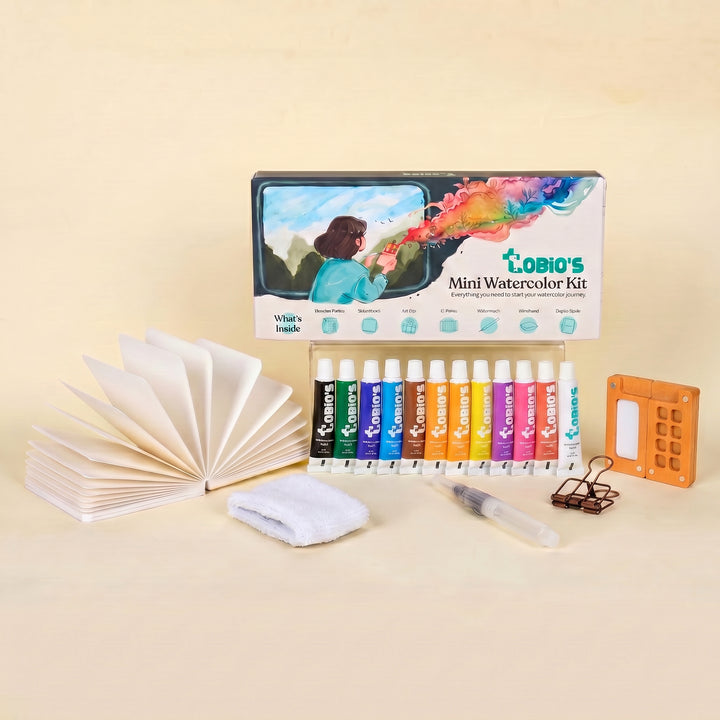
Good materials make this technique far more enjoyable. Cotton paper is the ideal choice — it holds water without buckling far better and longer than wood-pulp paper. The cotton sketchbook in our Watercolor Kit ($34) is built for exactly this kind of wet work, and it comes with a refillable water brush.
That sketchbook is 300 gsm — thick and heavy, so it handles a normal wash easily (just don’t give it a full shower; even good paper has limits). If you drench a page and need more, grab a spare extra sketchbook ($7.99).
Prefer a few brushes to choose from? Handy for bigger washes. The water brush set ($6.99) gives you several, each with a built-in water reservoir in the handle — just squeeze to release water as you paint.
Wet-on-wet vs wet-on-dry
Wet-on-wet gives you soft, blended edges and a little exciting unpredictability — everything looks more organic, and you have to let go of some control. Reach for it with skies, backgrounds, soft transitions, and anything flowing.
Wet-on-dry is the opposite: precise edges, fine detail, and more saturated, vibrant color as it dries. You’ll often use both in one painting — just let each layer dry fully before starting the next. For more side-by-side examples, browse our watercolor tutorials.
Frequently Asked Questions
What is the wet-on-wet watercolor technique?
Wet-on-wet means the paper is already wet when you add the paint. That lets the color blend and spread on its own, giving you a softer, more organic result.
How wet should the paper be for wet-on-wet?
The trick is shiny, not drenched. Look for an even sheen on the paper, blot any excess water, and add a little more water if it looks too dry.
Why is my wet-on-wet making hard edges or blooms?
Hard edges usually mean too much water — puddles gather the pigment at the edges so it dries unevenly. Blooms usually mean you added more wet paint or water to an area that had already started to dry.
What paper is best for wet-on-wet?
A thick, heavy paper that can hold water — which is why Tobio’s kit uses 100% cotton paper at 140 lb (300 gsm). Avoid wood-pulp or thin, flimsy paper for this technique; it’ll frustrate you fast.
Wet-on-wet vs wet-on-dry — what’s the difference?
Wet-on-dry means the paper is dry when you add a layer, either at the start or after letting a layer dry. Most paintings use a combination of both techniques.
Stop fighting the bleed
Quick recap: wet the paper until it’s shiny (not drenched), drop in a concentrated color, and use two colors at most if you’re blending. Let each layer dry before the next. Wet-on-wet for backgrounds and gradients; wet-on-dry for fine details and richer color.
Want a kit with paper that handles this well? The Tobio’s Watercolor Kit comes with cotton pages and a refillable water brush, and there are extra sketchbooks for when you want more practice pages.
Mel, FounderMore watercolor tutorials
Ready to try it yourself?
Everything you need for wet-on-wet: 100% cotton 300 gsm paper that holds water without buckling, a refillable water brush, and student-grade pigments — all in one pocket-sized kit.
Get the Tobio’s Watercolor Kit


