Fish Watercolor Painting: Step-by-Step Tutorial


What You'll Need
- Watercolor Paper
- Pencil and eraser
- Two water cups
- Watercolors
- Round brush
Color Palette
If you’re looking for a tutorial on a highly detailed, biologically accurate illustration, you’re in the wrong place!
We’re throwing out the masking tape, ditching the complex tracing, and embracing the beauty of the "Loose Sketchbook Style."
This tutorial is all about capturing energy and movement. It’s designed for artists who want a fast, beginner-friendly win without overthinking every brushstroke. We're talking 15 minutes of pure, expressive joy right in your tiny pocket sketchbook. Grab a binder clip to hold your pages flat, embrace the wobbly lines, and let's paint.
If you want more projects like this after you finish, you can browse our full library of step-by-step lessons on Watercolor Tutorials.
The Minimalist Palette for Your Fish Watercolor Painting
To pull off this loose style, you don't need a massive studio setup. While a tiny travel palette looks great clipped to your sketchbook, you really only need four workhorse pigments to capture the moody, natural look of the fish in our study.
(Note: Even for a quick study, make sure your sketchbook uses sturdy 140lb/300gsm watercolor paper so it can handle these wet washes without curling up like a potato chip!)
- Cerulean Blue (Light Wash): That airy, watery light blue sweeping through the mid-body and the base of the tail. It bridges the gap perfectly between the dark spine and the warm belly.
- Payne's Gray: The absolute MVP for the moody, muted upper body and the top fin.
- Yellow Ochre: A pale, earthy yellow for the underbelly wash that offsets the cool tones of the top half.
- Indigo: For those darker, punchy, expressive accents in the tail, the scales, and the eye.

The Fearless Outline
Don't overthink the drawing phase. Lightly sketch a quick, wobbly almond shape for the body, a triangle for the tail, and a couple of simple shapes for the fins.
No erasers allowed.
Let your pencil lines show, it adds to that raw, authentic sketchbook charm!

The Earthy Belly Wash
Load up your brush with a highly diluted, watery wash of Yellow Ochre.
Swipe it loosely along the very bottom edge of the fish.
Leave some rough white paper peeking through, that’s your natural highlight.

The Mid-Tones and Top Wash
Here comes the fun part. Above your pale yellow belly, drop in a watery puddle of that light Cerulean Blue, dragging it out into the center of the tail.
While that blue is still damp, load your brush with Payne’s Gray and sweep it boldly across the top half of the fish. Let the gray gently bleed down into the light blue.
Artist tip: If the paint blooms or bleeds a bit wildly, let it happen.
Watercolors have a mind of their own, and that's the magic of this medium.

Sketchy Details and Fins
Once the body is mostly dry (just give it a minute or two), pick up some concentrated Indigo. Use the tip of your brush to flick out some quick, dry-brush lines for the outer edges of the fins and the tips of the tail.
Dab a few broken, jagged marks right into the side of the fish to suggest abstract scales.
Finally, drop in a dark circle for the eye, leaving a tiny speck of white paper untouched to give the fish a spark of life.
The "Walk Away"
Now comes the absolute hardest part: resisting the urge to fiddle.
You'll probably be tempted to smooth out a funky bloom or "fix" a messy puddle where your light blue wash met the yellow belly, but don't do it!
The true charm of an expressive fish watercolor painting lies in those unpredictable watermarks, wobbly edges, and natural bleeds.
Drop your brush, step back, and let the paper dry completely.
Style Variations: Classic Koi, Dramatic Betta, and Bright Tropical
Want to change the vibe of your fish watercolor painting?
You can repaint the exact same wobbly outline a dozen times and make it look completely different. Try these quick sketchbook adaptations:
The "Classic Koi" (The Pond Look)
- Warm the palette: Swap out those cool blues for a very pale, warm yellow base wash.
- Add the patches: Once the base is mostly dry, drop in irregular patches of orange with a touch of red.
Artist tip: Keep the patches weird and wobbly. Perfect circles scream "sticker," not "fish." - Anchor the shadows: Glaze a super diluted, moody blue-gray right under the belly to give the fish some roundness and ground it in the pond water.
The "Dramatic Betta" (Flowing & Expressive)
- Deepen the palette: Go all in on rich, heavy blues, dropping in touches of purple while the paint is still wet.
- Change the proportions: Exaggerate those fins! Pull the paint out in long, sweeping, wet-on-dry strokes so the tail looks like flowing silk.
- The "Pop" of Color: Add a tiny, unexpected accent of bright red right at the base of the fins to bring the drama.
The "Bright Tropical" (Clean & Graphic)
- Simplify the palette: Pick two bold, bright colors (like teal and yellow) plus one dark shade for the eye and fin details.
- Exaggerate shapes: Push the patterns into distinct, stylized stripes or try a stark two-tone body with highly contrasting fins.
- Clean washes: Skip the messy, unpredictable watermarks. Keep your mixes simple and your washes bright and clean so the colors don't turn into a muddy puddle.
Inspiration: Why This Loose Style Works
This loose, expressive sketchbook approach to a fish watercolor painting is perfect for:
- Aquarium Visits and Nature Journals:
Capture the cool aquatic life you spotted at the local aquarium or a nearby lake without needing a high-speed camera or an ichthyology degree. You don’t need to meticulously paint every single iridescent scale; you just need that fluid, energetic silhouette to bring the memory back to life on the page. - Coastal & Calming Decor:
Because water-based subjects are naturally fluid and grounding, a soft, loose sketchbook study looks timeless in a bathroom, a sunroom, or a cozy reading nook. Frame a wobbly trio of these little guys (perhaps painting one of each style variation) for instant, aquatic-inspired wall art that feels personal and charming, never stiff or "store-bought."
Frequently Asked Questions
I can’t draw well. Can I still paint this?
Yes! A loose fish watercolor painting is all about embracing wobbly, expressive shapes. If you can draw a lopsided oval and a wonky triangle, the water and pigment will do the rest.
Why is my paper curling up?
Your paper might be too thin. Wet washes need heavy 140lb/300gsm watercolor paper. If your sketchbook is lighter, try using less water, or just clip the edges flat and embrace the crinkles!
My paint dried with a weird "cauliflower" edge. How do I fix it?
Don't! Those are called "blooms," and they add beautiful, organic texture to a loose study. For crisp edges next time, just ensure your bottom layer is 100% dry before adding more paint.
Conclusion
A solid fish watercolor painting doesn’t come from fancy supplies or mythical talent. It comes from doing the steps in a friendly order: light wash first, dry, crisp fins, then shadows and details. Paint one fish today, then paint the same outline again with a different palette and you’ll level up fast without the pressure.
Want more projects like this? Browse Tobio’s beginner friendly lessons on the watercolor tutorials page, or head back to Tobio’s Kits to build your next relaxing painting session.
Mel, FounderLike these guides? Set Tobio's as a preferred source on Google and our pages will show up first when you search for watercolor questions.
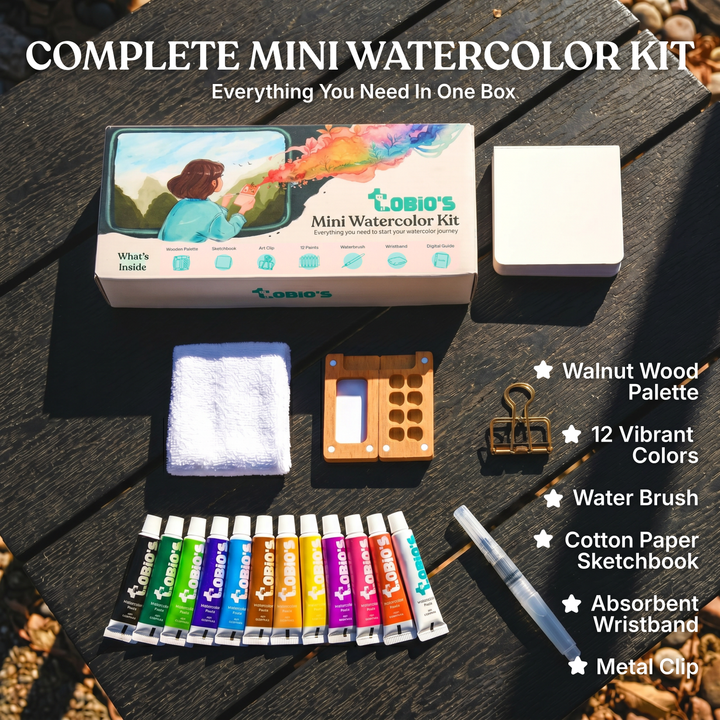
Ready to paint along?
Everything you need to paint anywhere and feel inspired doing it.
- Ultra compact
- Express yourself creatively
- For total beginners