Ladybug Watercolor Painting: Step-by-Step Tutorial


What You'll Need
- Paper
- Brushes
- Paint colors
- Palette
- Water cup
- Pencil
Color Palette
If your last attempt at a bug looked like a red pepperoni slice with chicken pox, relax. We are not painting a scientific diagram today.
In this "Loose Sketchbook Study," we are capturing the shiny, rounded form of a ladybug watercolor painting in about 15 minutes. We will use the wet-in-wet technique to make the shell look glossy and soft shadows to make it pop off the page.
The Supplies (Keep it Simple)
- Paper: 140lb / 300gsm Cold Press watercolor paper. (A scrap piece is perfect for this small subject).
- Brush: A Round Brush (Size 6) and a tiny detail brush (Size 0 or 2).
- Paints: See our "Garden Gem" palette below.
The Color Palette
Based on the vibrant study above, we are using a classic, high-contrast palette.
- Cadmium Red (or Vermilion): For the bright, punchy shell.
- Lamp Black (or Payne's Gray): For the head, spots, and legs.
- Sap Green: For the fresh leaf underneath.
- Yellow Ochre (Optional): To warm up the leaf highlights.
Step-by-Step: Your Expressive Watercolor Ladybug Painting
The trick here is to leave the white paper for the highlights. You can't paint shine; you have to preserve it. Think of the unpainted paper as your brightest light source; if you cover it with red, you "turn off the light" and lose that glossy, hard-shell look. We are also going to play with texture contrasts—keeping the leaf soft and watery while making the beetle sharp and opaque. This push-and-pull between loose washes and crisp details is exactly what gives a sketchbook study its charm.

The Leafy Stage
- Sketch a simple leaf shape (a pointed oval).
- Mix watery Sap Green. Paint the whole leaf quickly.
- Artist Tip: While the green is wet, drop in a little Yellow Ochre on one side and a darker green (mix green + tiny touch of black) on the other. Let them blend naturally.

The Shiny Shell (Wet-on-Dry)
- Wait for the leaf to dry.
- Draw a round dome shape on top of the leaf.
- Load your brush with Cadmium Red. Start painting the shell, but STOP before you fill it all in.
- Leave a small, curved slice of white paper on the top left (or right) side of the shell. This white gap is your "glossy highlight".
- Crucial Rule: Do not go back and paint over the white! Once it's gone, it's gone.

The Head & The Iconic Spots
- Mix a thick, creamy Lamp Black.
- Paint the semi-circle shape at the front of the red shell for the head.
- Leave two tiny white squares or dots on the side of the head if you can (these are the ladybug's "fake eyes" or markings). If you miss them, you can add them back with white gel pen later.
- Wait for the red paint to be bone dry. (Touch it with the back of your finger. If it's cool, it's wet).
- Using your smallest brush and thick Lamp Black, paint the spots on the shell.
- Artist Tip: Don't make them perfect polka dots. Make some slightly oval to show the curve of the shell. Paint one or two spots going off the edge.
Variations: Different Leaves, Backgrounds, and Views
- Top view on a leaf: The easiest, most classic look. Great for beginners and kids.
- Side view: Fewer spots, more shadow, more “3D.”
- On a flower petal: Paint a soft pink or yellow petal and keep the ladybug super bold.
- On a twig: A simple brown line plus a stronger cast shadow sells the realism.
If you enjoy small nature subjects like this, you can keep the momentum going with more projects from Tobio’s watercolor tutorials.
Frequently Asked Questions
My black spots bled into the red shell and made a mess. What happened?
You likely didn't wait for the Cadmium Red to be "bone dry." In a ladybug watercolor painting, patience is everything. If the red shell is even slightly cool to the touch, it is still damp. When you touch the wet black paint to damp red paper, it explodes. Wait until the paper feels room temperature before adding those crisp black spots.
I forgot to leave the white highlight! Is my painting ruined?
Not at all! While the "purist" way is to leave the white paper unpainted, we all forget sometimes. You can easily fix this by waiting for the red paint to dry completely and then using a white gel pen or a thick dot of White Gouache to add that glossy shine back on top of the shell.
Why does my ladybug look like a red sticker floating above the leaf?
It is missing its cast shadow. To ground your insect, you need to paint a soft, watery shadow (using a mix of black and green) directly underneath the body. This connects the ladybug to the leaf and gives the painting physical weight.
How do I paint the legs without them looking like thick spider logs?
Use the very tip of your smallest brush (Size 0 or 2) and barely touch the paper. Notice in our study that the legs are not straight lines; they are tiny, disjointed ticks. You don't need to draw the whole leg connected to the body; just a suggestion of legs sticking out is enough for the viewer's eye.
Conclusion
A strong ladybug comes down to three things: a clean red wash, dry paper before dark details, and one convincing highlight. Keep your process simple, let layers dry, and don’t over-police your spots. Nature isn’t that tidy, and honestly, neither is watercolor.
If you want more approachable projects like this (with less guessing and more painting), visit Tobio’s Kits and continue practicing with the step-by-step lessons in the Watercolor Tutorials library.
Mel, FounderLike these guides? Set Tobio's as a preferred source on Google and our pages will show up first when you search for watercolor questions.
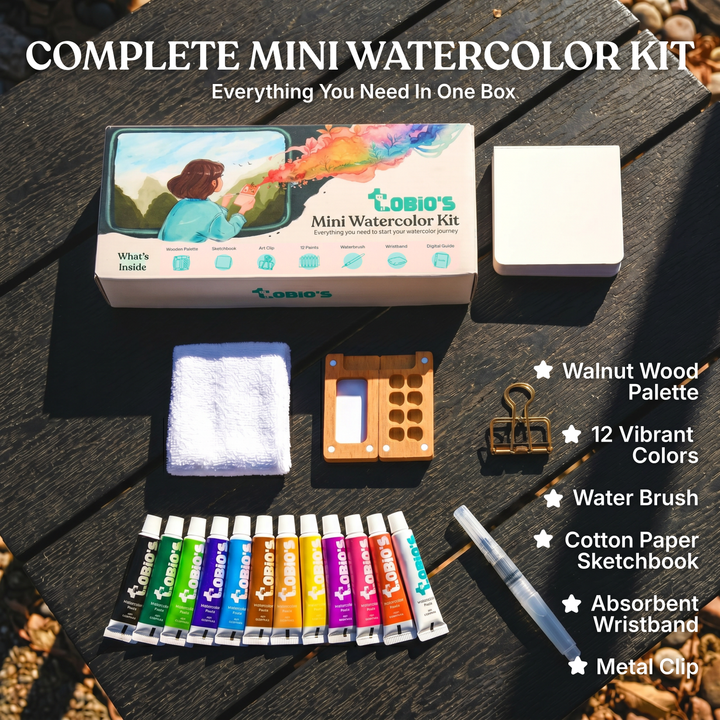
Ready to paint along?
Everything you need to paint anywhere and feel inspired doing it.
- Ultra compact
- Express yourself creatively
- For total beginners