


Lion Watercolor Painting: Step-by-Step Tutorial


What You'll Need
- Watercolor Paper
- Pencil and eraser
- Two water cups
- Watercolors
- Round brush
Color Palette
If you’ve ever started a lion watercolor painting and watched it turn into an overworked, muddy pancake, you’re not alone. Watercolor is a beautiful medium, but it will absolutely expose your impatience and your urge to control every single brushstroke.
The good news? You don’t need an intricate drawing, a lightbox, masking fluid, or 48 tubes of paint. You just need a tiny sketchbook, a simple plan, and permission to let things stay loose and messy. Today, we are ditching the rigid tutorials for a fast, 15-minute expressive sketchbook study.
If you want more projects like this after you finish, you can browse our full library of step-by-step lessons on Watercolor Tutorials.
The Minimalist Color Palette
Forget mixing random puddles until they turn gray. For this loose style, we are looking directly at the warm, sun-baked tones of the lion in the image.
We only need three specific pigments to pull this off:
- Raw Sienna: This is our golden, glowing base for the lion's body and the lighter edges of the mane.
- Burnt Sienna: A rich, warm reddish-brown to bridge the gap between the golden body and the dark shadows. Perfect for the mid-tones of the mane and shading the back legs.
- Sepia: A deep, almost-black brown for the darkest depths of the mane, the tail tip, and the minimal facial features. (Leave your harsh black paint in the box!)

The Whisper-Light Contour Sketch
Keep the sketch incredibly light. We are drawing a simple, standing profile of a lion facing left.
- Block in a barrel chest and a sloped back.
- Add straight, simple shapes for the four legs.
- Map out a big, fluffy "cloud" shape around the head for the mane.
- Stop there. Do not draw individual toes or fur textures. If you can clearly see your pencil lines from arm's length, dab them with an eraser until they are faint ghosts.

The Golden Base Wash
This is where your lion gets its glow.
- Load your brush with a watery wash of Raw Sienna.
- Sweep this golden color across the lion's body, the upper legs, and the outer edges of the face/mane.
- Leave some white space! Notice how the lion's back, front chest, and muzzle have untouched white paper breathing through. This gives the illusion of light hitting the fur.

Dropping in the Mane (Wet-on-Wet)
While that base wash of Raw Sienna is still damp, it’s time to get expressive.
- Pick up a thicker, creamier mix of Burnt Sienna.
- Tap it into the mane area, letting the color bleed naturally into the damp yellow body.
- Immediately pick up some Sepia and drop it into the darkest parts of the mane (under the chin, behind the neck, and the chest). Let the colors mix on the paper, not in your palette. Embrace the beautiful, unpredictable blooms!

Confident Legs and Final Details
Now, let the paper dry mostly to a matte finish so your final details don't turn into fuzzy blobs.
- Use Burnt Sienna to pull down the shapes of the back legs, suggesting a subtle shadow cast by the body.
- With the tip of your brush and Sepia, add a quick flick for the tail and its dark tuft.
- The Face: Keep it absurdly simple. Two tiny slits for the eyes, a tiny triangle nose, and a straight line for the mouth. No intense details. You want the viewer's brain to fill in the rest.
The "Walk Away"
Now comes the hardest part: resist the urge to fiddle.
You'll want to smooth out a bloom or "fix" a messy puddle, but don't.
The true charm of an expressive lion watercolor painting lies in those unpredictable watermarks and natural bleeds.
Drop your brush, step back, and let it dry completely.
Style Variations for Your Lion Watercolor Painting
Want to change the vibe of your lion watercolor painting?
Try these quick sketchbook adaptations:
The "Midnight Savannah" (Dramatic & Heavy)
- Cool the palette: Swap your warm Siennas for deep, moody blues like Indigo or extra Payne’s Gray mixed into your Sepia.
- Deepen the shadows: Paint the underside of the mane and belly much darker, leaving only a tiny sliver of pale rim light on the very top of the head and back to suggest moonlight.
- Lost edges: Let the bottom of the paws bleed entirely into a dark, heavy ground wash to anchor the lion in the tall nighttime grass.
The "Sun-Drenched Cub" (The Soft, Gentle Phase)
- Lighten the palette: Stick to highly watered-down Yellow Ochre and the palest washes of Raw Sienna. Leave out the dark Sepia entirely.
- Change the proportions: Soften the sharp, regal angles so the lion sits with rounder, oversized paws and a shorter, fluffier mane.
- The "Fresh" Texture: Skip the heavy, crunchy shadows. Keep the washes light and smooth for a fresh, innocent, and un-weathered look.
The "Storybook King" (Simplified for Cards & Patterns)
- Exaggerate shapes: Push the shape language into perfectly stylized, geometric blocks for the body, or use a distinct, spiky triangle for the mane.
- Bring back the speckles: Lean into the illustrative vibe by flicking a few perfect, deliberate splatters of paint around the mane for a highly stylized energy.
- Flat color: Skip the messy watermarks and natural bleeds. Use flat, highly pigmented, graphic washes of solid color.
Inspiration: Why This Loose Style Works
This loose, expressive sketchbook approach to a lion watercolor painting is perfect for:
- Safari Journals and Zoo Sketchbooks:
Capture the majestic wildlife you spotted on a trip without needing a telephoto lens or a degree in animal anatomy. You don’t need to paint every single strand of fur; you just need that chunky, golden silhouette and confident posture to bring the memory back to life. - Warm & Adventurous Decor:
Because these big cats feature such naturally warm, grounding colors, a soft, loose study looks timeless in a study, a creative workspace, or a safari-themed nursery. Frame a trio of these (perhaps adding a quick, loose sketch of an elephant or giraffe) for instant, nature-inspired wall art that feels genuinely handmade and entirely unique.
Frequently Asked Questions
How do I stop my lion watercolor painting from looking muddy?
Stick to a limited palette! Using just Raw Sienna, Burnt Sienna, and Sepia keeps the colors warm and unified. Most importantly, let your base wash dry completely before adding dark details. Impatience causes mud!
What if the mane bleeds outside my sketch?
Embrace it! This is an expressive study, and unpredictable watermarks give the lion movement and life. If it spreads too far, simply lift the excess pigment with a clean, damp brush.
Can I use a standard drawing sketchbook?
No. Because we use juicy, wet-on-wet techniques, standard paper will immediately buckle and pill. You need watercolor paper (at least 140lb/300gsm) to handle the moisture and let the pigments float.
Conclusion
A strong lion comes down to three things: a light sketch, a warm limited palette, and letting layers dry before you go back in. Do that, and your lion watercolor painting will look intentional, not accidental.
If you want to keep the momentum going, pick another subject from our watercolor tutorials and build your skills one satisfying painting at a time.
Mel, FounderLike these guides? Set Tobio's as a preferred source on Google and our pages will show up first when you search for watercolor questions.
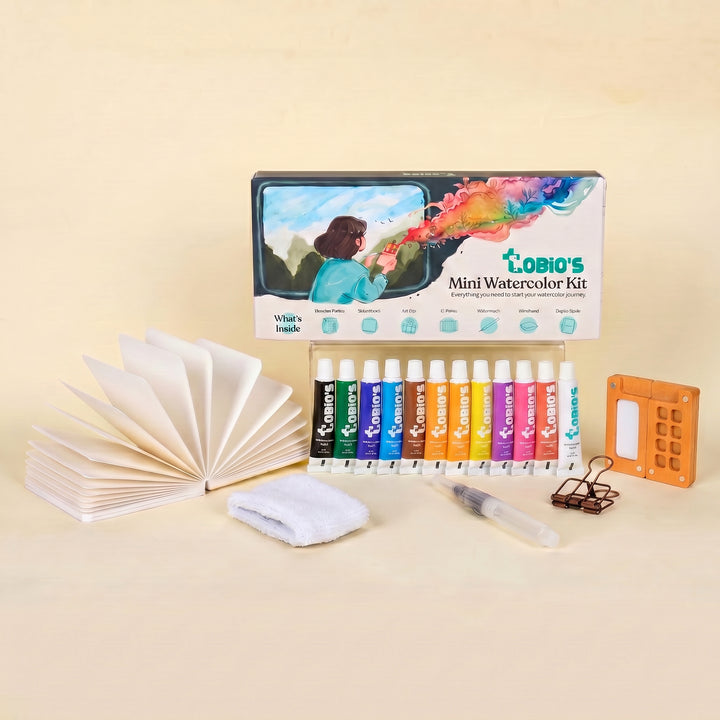
Ready to Paint?
This tutorial was designed for use with our Watercolor Kit.
Link to the link


