


Underwater Watercolor Painting: Step-by-Step Tutorial


What You'll Need
- Watercolor Paper
- Pencil and eraser
- Two water cups
- Watercolors
- Round brush
Color Palette
If your past attempts at an underwater watercolor painting ended up looking like a flat, overworked blue rectangle, take a deep breath. You aren't bad at art; you've just been bogged down by too many technical rules.
While this is a tutorial for underwater watercolor painting, we are officially throwing out the masking tape, complex glazing layers, and stressful drying times. Instead, we are focusing on a "Loose Sketchbook Style." It’s fast, incredibly beginner-friendly, and relies on expressive, imperfect strokes rather than photographic precision. Let’s capture the breezy vibe of the ocean in under 20 minutes.
If you want more projects like this after you finish, you can browse our full library of step-by-step lessons on Watercolor Tutorials.
The Expressive Color Palette
You don't need a massive studio setup to create depth. Based on our quick sketchbook study, we are relying on a tight, vibrant palette to do the heavy lifting. Here are the specific pigments we are using to get this look:
- Cerulean Blue: For the light, airy, and patchy background water.
- Phthalo Blue: For the deeper water strokes and the shadowy, anchoring bits of seaweed.
- Sap Green: Mixed with your blues for those rich, aquatic kelp tones at the bottom.
- Cadmium Orange & Hansa Yellow Light: For those perfect, simple little pops of contrasting fish that bring the scene to life.
The Anti-Gatekeeping Supply List
Good sketchbook studies come from letting go of perfection, not owning expensive gear.
- Paper: 140lb (300gsm) cold press watercolor paper. A small sketchbook format is perfect so you don't feel intimidated by a giant blank page.
- Paints: The 4 to 5 pigments listed in our palette above.
- Brush: Just one medium round brush (a #6 or #8 is all you need for the whole piece).

The Patchy Background Wash
Instead of a perfectly smooth, fully wet gradient, we are keeping it incredibly loose. Load your brush with a watery mix of Cerulean Blue.
Make quick, horizontal, sweeping strokes across the paper.
Crucial tip: Leave plenty of raw, white paper showing!
These irregular white gaps instantly read as dappled light filtering through the surface of the water.

Flicking the Seaweed
While some of the background is still slightly damp (but not puddling), pick up a darker mix of Phthalo Blue and Sap Green. Starting from the bottom edge of your sketchbook, use quick, upward flicking motions to create wavy seaweed.
Let the brush dance a bit, some leaves should be tall, others short. Let them bleed slightly into the background to create a sense of watery movement.

The Expressive Fish
Once the background is mostly dry, it’s time for the focal points. Take your Cadmium Orange and Hansa Yellow Light and paint three simple fish swimming through the center.
Don't worry about perfect anatomy or fins; a quick horizontal dash or a simple teardrop shape with a tiny triangle tail is all the brain needs to see a "fish."

Final Distant Details
Take a watered-down Phthalo Blue and add one or two tiny, distant fish silhouettes swimming in the background.
Finally, tap a microscopic dot of dark paint for the eyes on your colorful foreground fish. Close the sketchbook, you're done!
The "Walk Away"
Now comes the hardest part: resist the urge to fiddle.
You'll want to smooth out a bloom or "fix" a messy puddle, but don't.
The true charm of an expressive underwater watercolor painting lies in those unpredictable watermarks and natural bleeds.
Drop your brush, step back, and let it dry completely.
Style Variations: Moody Deep Sea, Sunlit Shallows, and Storybook Reef
Want to change the vibe of your underwater watercolor painting? Try these quick sketchbook adaptations:
The "Moody Deep Sea" (Dramatic & Heavy)
- Cool the palette: Swap your bright Cerulean for deep, moody blues like Indigo or extra Payne’s Gray mixed with your Phthalo.
- Deepen the shadows: Paint the bottom water washes much darker, leaving only a tiny sliver of pale light at the very top of the water.
- Lost edges: Let the bottom of the lowest seaweed bleed entirely into a dark, heavy ground wash to anchor them in the deep ocean floor.
The "Sunlit Shallows" (The Smooth, Gentle Phase)
- Lighten the palette: Stick to highly watered-down Cerulean and the palest wash of your Hansa Yellow Light.
- Change the proportions: Soften the wavy edges so the water layers sit as flat, gentle, sun-dappled ripples.
- The "Fresh" Texture: Skip the heavy, deep shadows. Keep the washes light and smooth for a fresh, crystal-clear tropical look.
The "Storybook Reef" (Simplified for Cards & Patterns)
- Exaggerate shapes: Push the shape language into perfectly distinct, stylized triangles for the fish and graphic curves for the seaweed.
- Bring back the speckles: Lean into the illustrative vibe by flicking a few perfect, deliberate splatters of white paint over the dry water for a stylized bubble texture.
- Flat color: Skip the messy watermarks. Use flat, highly-pigmented, graphic washes of solid color for your aquatic life.
Inspiration: Why This Style Works
This loose, expressive sketchbook approach to an underwater watercolor painting is perfect for:
- Travel Journals and Beach Vacations:
Capture the cool marine life you spotted on a snorkeling trip without needing an underwater camera or a marine biology degree. You don’t need to paint every single scale or coral fracture; you just need that fluid, aquatic silhouette to bring the memory back. - Aquatic & Coastal Decor:
Because water scenes are naturally calming and organic, a soft, loose study looks timeless in a bathroom or cozy reading nook. Frame a trio of these (perhaps adding a real seashell or a piece of sea glass) for instant, nature-inspired wall art that doesn't feel "store-bought."
Frequently Asked Questions
How do I keep my orange fish from turning into muddy brown blobs?
Orange and blue make mud when mixed! For a vibrant underwater watercolor painting, let your blue background dry completely before adding orange. Alternatively, leave a tiny dry white halo around your fish.
Do I need masking fluid for the light rays?
Nope! For this loose style, just leave irregular gaps of raw white paper during your initial blue wash. It instantly mimics dappled sunlight piercing the water, zero fuss required.
How do I stop my sketchbook page from warping and puddling?
A little warping is normal since we aren't taping the paper down! Use thick 140lb paper and avoid flooding the page. To fix puddles, touch them with a dry brush to instantly soak up the excess water.
Conclusion
Underwater watercolor scenes become much easier once you treat them as three things: a gradient (depth), soft rays (light), and a clear focal subject (story). Start with the jellyfish, then build up with glazing and edge control on the fish, turtle, kelp, and diver projects.
If you want more guided lessons that reinforce washes, layering, and simple compositions, visit Watercolor tutorials.
Mel, FounderLike these guides? Set Tobio's as a preferred source on Google and our pages will show up first when you search for watercolor questions.
Ready to Paint?
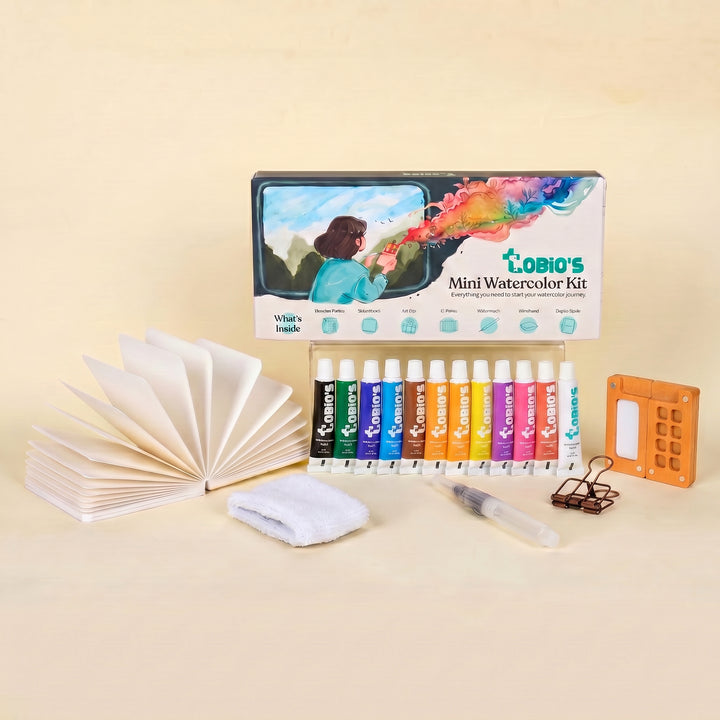
This tutorial was designed for use with our Watercolor Kit.
Link to the link


