


Wet on Dry Watercolor: How to Get Clean, Sharp Edges


What You'll Need
- Watercolor paper — fully dry (cold-press holds water in its texture)
- A fine round brush, or the kit’s water brush
- Paint mixed to a milky consistency — not too watery
Hey, I’m Mel, the founder of Tobio’s. When I started painting, I spent a lot of time frustrated that nothing I made looked like the tutorials I watched. It took me longer than I’d like to admit to realize I shouldn’t always start by wetting the paper — that’s the wet-on-wet method, and I didn’t know there was another way.
For crisp edges, sharp lines, and paintings that don’t look out of focus, you want wet-on-dry — or a combination of both. Wet-on-dry gives you sharp outlines instead of feathered ones, so if you want to feel one hundred percent in control, this is the way to go. Once you know both techniques, you can create almost anything. (Want the overview of every essential technique? You’ll find them in our watercolor tutorials hub.)
What wet-on-dry watercolor is
Wet-on-dry is when you load your brush with wet paint and then paint on paper that is… you guessed it, dry. With no water on the paper to spread the pigment, the color stops at the edge of your brushstroke — you get a hard edge and a shape you can fully control.
Its counterpart is the wet-on-wet technique, where you wet the paper first, so you get organic shapes, blooming pigment, and softer edges you can’t control in the same way. The important thing to remember with wet-on-dry is that the paper truly needs to be dry. Not a little bit — fully dry. If it looks dry but still has a sheen, what you’ll actually get is wet-on-wet.
When to use wet-on-dry vs wet-on-wet
The decision is simpler than it looks, and it comes down to one question: does this part of the painting need to be stated or suggested?
Stated things get wet-on-dry: a tree trunk, the petals on a flower, lettering, a window frame, the dark shape of a bird against the sky — anything where you want the viewer to know exactly where the object ends.
The beautiful thing is you can mix both. On a flower, keep the petals soft and organic while the stem stays defined. A sky might be a loose gradient while the bird crossing it gets crisp detail. I reach for wet-on-wet on skies, ocean, fog, the glow around a light source, distant hills, and atmospheric backgrounds; and wet-on-dry on houses, trees along a lake, chairs and furniture, animals, and more. If you’re wondering what order to work in, wet-on-wet is usually the best place to start — just let each layer dry completely before adding more paint.
Step by step: painting a crisp shape
Here’s the method, step by step. I’d start with a leaf, since it has one pointed edge and one curved edge — good practice for both.
- Start with really dry paper. If you’ve already painted on this sheet, give it more time than you think you need — cold-press paper holds water in its texture. Aim for ten minutes; paint elsewhere in the meantime.
- Mix your color to the right consistency. A slightly milky mix is the goldilocks zone — not too watery, not too dry. The walnut palette in the Tobio’s Watercolor Kit has wells to hold color and a mixing side; make a little puddle and mix until it feels right.
- Load your brush properly. You don’t want it dripping. Touch the belly of the brush to the edge of the palette to shed excess water — too much drip on dry paper leaves a hard-edged blob that’s usually permanent.
- Lay the stroke in one pass. Touch down and press slightly for the wide part of the leaf, then lift to a point as you reach the tip. One smooth movement.
- Leave it alone. I can’t say this enough — the paint works its magic as it dries, and touching it too soon interrupts that. Walk away, distract yourself, put on an episode of something.
- Let it dry fully before anything touches it again. The shape should now have a sharp, clear border. A fine round brush is the most versatile choice; the water brush in the kit has a built-in reservoir in the handle (just squeeze), and for maximum variety the Tobio’s artist brush set gives you a full range.
Layering wet-on-dry without mud
To add a layer on top of a dried shape without it going muddy or fuzzy, you need patience. Mud happens when a new wet layer reactivates the dried layer underneath and the colors blend into a grey-brown mess. On dry paper it’s easy to prevent, because you control both how much water you use and how gently you apply it. Three rules I always follow:
- Wait longer than feels necessary. Dry to the touch isn’t dry — the paper can still be releasing moisture from inside its fibers. If you’re impatient, a hairdryer on low from a distance is the universal top tip.
- Go lighter each layer, not heavier. Load less water on the second pass than the first. A wetter brush over dry paint acts like a solvent and can lift the layer beneath.
- One stroke, no scrubbing. Lay the layer down and leave it. Scrubbing lifts the layer below and makes the paper flaky.
This is the foundation of watercolor glazing, where you build depth through multiple thin, transparent layers — glazing is wet-on-dry with a philosophy attached. Staining matters too: some pigments sink into the fibers and resist lifting, others sit on the surface and move easily. Staining is one of the properties the ASTM standards for artists’ watercolor paints cover, and it’s worth knowing which of your colors stain — a staining pigment underneath a fresh layer is far less likely to muddy up. Test your set on a scrap.
Where wet-on-dry shines
- Detail and structure. Anything with an edge that needs to be crisper than your whitest cotton tee. It’s why our how to paint trees in watercolor guide leans on it for trunks and branches — a soft-edged trunk looks more like abstract art than a tree.
- Flat washes in defined areas. A flat wash on dry paper gives an even field of color that stops exactly at a boundary — great for geometric shapes and backgrounds behind a subject.
- Lettering and line work. Watercolor lettering is essentially pure wet-on-dry; there’s no version of it that tolerates a soft edge (unless soft blob letters are the goal).
- Layered botanicals. Petals overlapping petals, each one distinct — though mixing in a few soft petals is gorgeous too.
Still finding your footing? Our beginner’s guide to watercolor covers the essentials, and there’s more subject-by-subject work in the watercolor tutorials hub.
The honest weakness
Wet-on-dry is a top technique, but it can look a bit… stiff, because it’s all about control. A painting with all hard edges and no softness can read like a sticker book — technically correct, but everything sits at the same distance, which gets a little boring. Mixing the techniques gives you the best of both worlds: soft background, sharp subject. That contrast is what makes both look good. Tobio’s is great for this — the wells hold plenty of paint, the mixing side gives you room to blend, and the 12 starter colors mix most of what you need. The pigments are student-grade rather than artist-grade, which is perfect for a beginner or anyone painting for pleasure.
Common mistakes
- Painting on damp paper and calling it wet-on-dry. It isn’t — it’s impatience (that used to be me). Let the paper dry properly.
- Overworking the shape. Put the brush down. The more you try to fix, the worse it usually gets. Imperfections are part of how watercolor works.
- Paint too watery. Water is your friend, but too much isn’t. Let the paper do some of the work, not just the water.
- Trying to do a whole painting this way. It’s okay to be a control freak, but mix it up now and then — you’ll fall in love with painting even more.
Frequently Asked Questions
What is the wet-on-dry watercolor technique?
Applying wet paint directly onto dry paper. Simple as that.
How do you get sharp edges in watercolor?
Three things together: fully dry paper, a paint mix around the consistency of whole milk, and a single confident stroke you don’t try to redo.
Wet-on-dry vs wet-on-wet — when do you use each?
Wet-on-dry for anything with a clear boundary, like a trunk, a petal, or lettering. Wet-on-wet for anything atmospheric, like sky, fog, or space.
Why does my wet-on-dry painting look flat?
Usually because you’re only using wet-on-dry. Add some soft wet-on-wet passages for contrast and depth.
Try it today
Wet-on-dry is the fastest technique to learn and one of the slowest to use well — the skill isn’t in the stroke, it’s in knowing when to reach for it.
Everything you need is in the Tobio’s Watercolor Kit ($34), and if you get hooked on detail, the artist brush set ($21.99) gives you the fine round that makes small work possible.
Mel, FounderMore watercolor tutorials
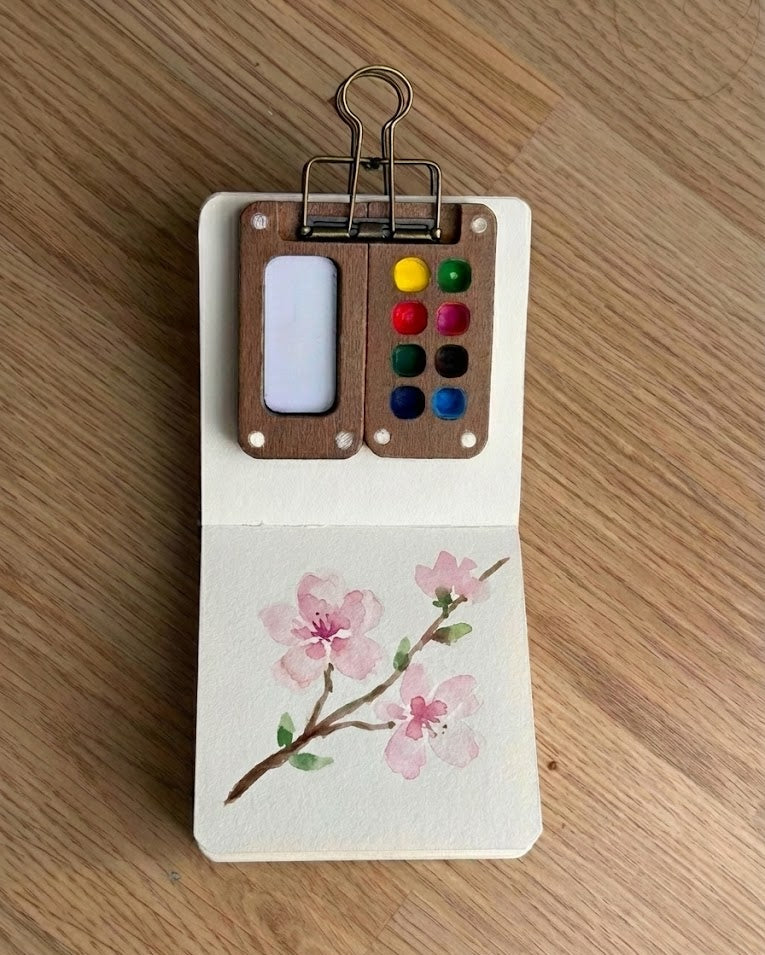
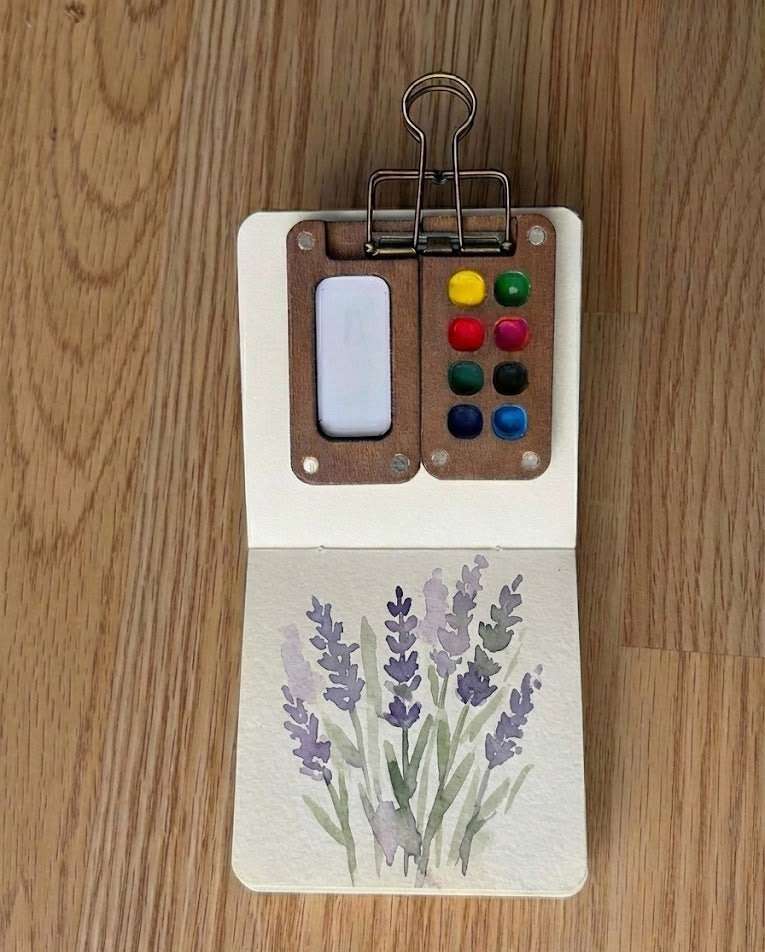
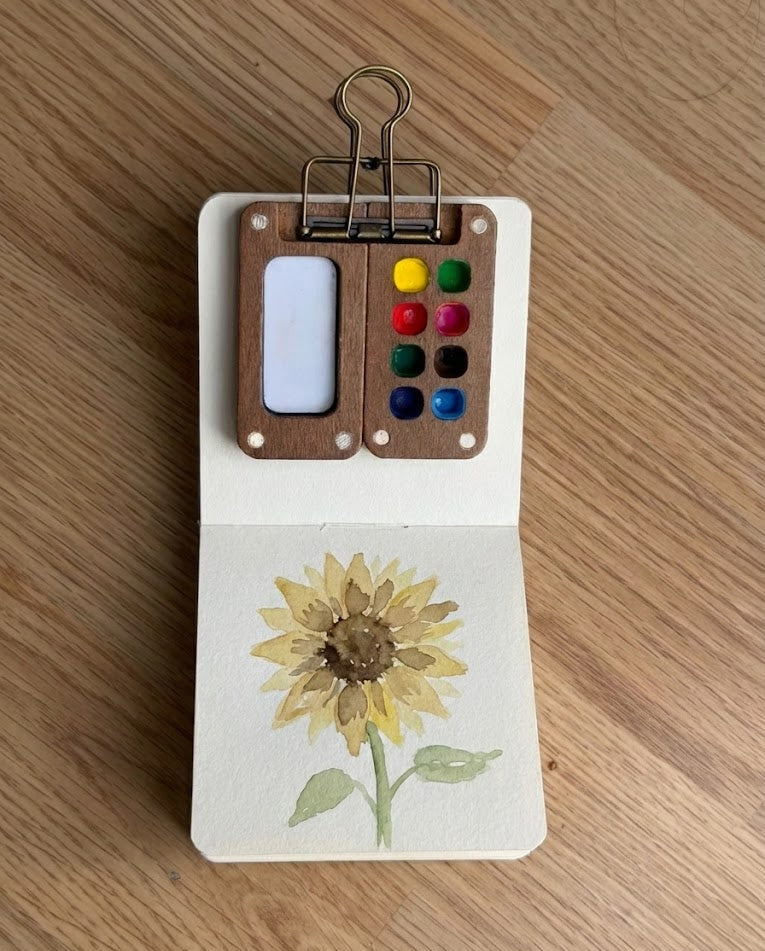
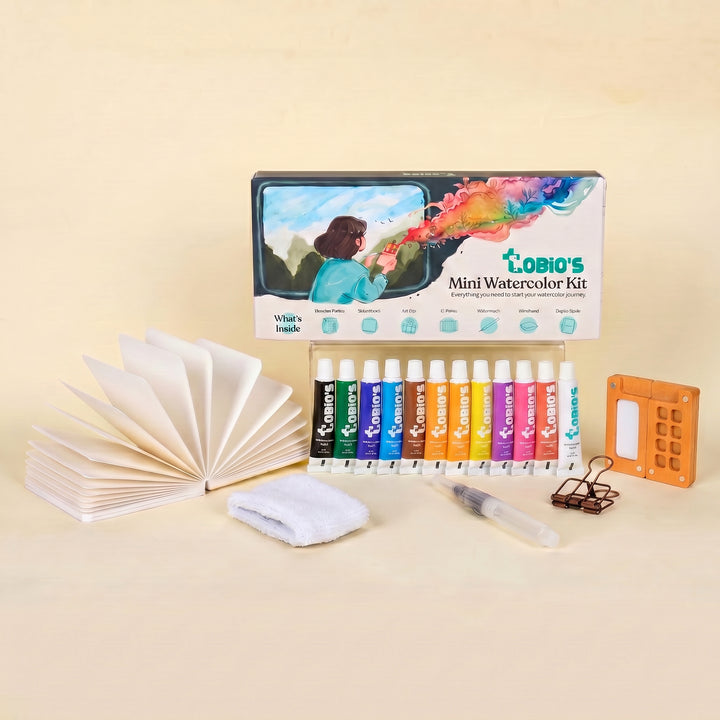
Everything you need for sharp, clean work
A walnut palette with deep wells and a mixing side, student-grade pigments, cotton paper, and a water brush — perfect for practising crisp wet-on-dry edges.
Get the Tobio’s Watercolor Kit


