Halloween Watercolor Paintings: Step-by-Step Tutorial


What You'll Need
- Paper
- Brushes
- Paint colors
- Palette
- Water cup
- Pencil
Color Palette
Let’s be honest: detailed architectural paintings of Victorian mansions are stressful. But a wonky, crooked halloween watercolor painting of a haunted house? That is pure fun.
Today, we are doing a loose sketchbook study. Look at the image above. It isn't a perfect blueprint; it’s a wobbly, purple silhouette with glowing orange windows. We aren't trying to be architects; we are trying to capture the vibe of a spooky night. This method is fast, uses wet-on-wet magic for the sky, and is perfect for a relaxing October evening.
The Supplies (Keep it Simple)
- Paper: 140lb/300gsm Cold Press paper. (Texture helps the "foggy" sky look real).
- Brush: A Size 8 Round Brush (for the big washes) and a smaller detail brush.
- Paints: See our "Spooky & Bright" palette below.
- Extras: A white gel pen or gouache for the spiderwebs (optional).
The Color Palette
Based on the sketchbook study above, we are using a classic complementary scheme (Purple vs. Orange) to create maximum contrast.
- Dioxazine Purple: The main color for the house and the stormy sky.
- Cadmium Orange: For the glowing windows and the giant pumpkin moon.
- Burnt Umber: To muddy up the ground and add shadows.
- Indigo (or Payne's Gray): For the darkest bats and roof details.
Step-by-Step: Your Expressive Halloween Watercolor Painting
The charm of this painting is in the imperfections. If your house leans to the left, it just looks more haunted! We are strictly forbidding rulers for this session; straight lines are boring, while wobbly lines look like creaky, ancient wood. If your paint drips or blooms unexpectedly, don't wipe it up, that’s just the fog rolling in or a little bit of slime running down the walls. We want this to look like a quick sketch from a witch's diary, not a blueprint for a construction crew.

The Wonky Sketch
- Draw a tall, skinny central tower with a crooked roof.
- Add two smaller wings on either side.
- Draw a large circle in the sky (this will be our pumpkin moon).
- Artist Tip: Don't use a ruler! Wobbly lines make the house look old and creaky.

The Stormy Sky (Wet-on-Wet)
- Wet the sky area with clean water (skip the moon and the house).
- Drop in watery Dioxazine Purple and a touch of Burnt Umber.
- Let the colors bleed and bloom. Leave some white paper showing for "lightning" or clouds.
- While it's wet, paint a loose orange wash in the bottom left corner for that spooky fog effect seen in the reference.

The Pumpkin Moon & The Haunted Silhouette
- While the sky dries, paint the moon with bright Cadmium Orange.
- Drop a little Burnt Sienna into the ridges to make it look round.
- Once dry, use a dark color (Indigo or Black) to paint the Jack-O-Lantern face. Make it scary or silly, your choice!
- Mix a thick, creamy puddle of Dioxazine Purple mixed with Indigo.
- Paint the entire house shape.
- The Glow: Crucial Step! Leave the window shapes unpainted (white paper).
- Once the purple house is dry, paint the windows with pure Cadmium Orange or Yellow. This makes them look like they are glowing from the inside.

The Spooky Details
- Use your smallest brush and thick black/indigo paint.
- Paint tiny "V" shapes in the sky for bats.
- Add a crooked fence or tombstones at the bottom.
- Texture: Use a "dry brush" (very little water) to scratch in some texture on the roof shingles.
Traceable Mini Templates (No-Draw Shapes)
You don’t need fancy printables to get started. You just need a few repeatable shapes you can trace or redraw quickly.
- Ghost: Bean shape + wavy hem + two ovals + small “O” mouth.
- Witch Hat: Triangle + curved base + oval brim + belt strip.
- Tombstone: An upside-down "U" shape + one crooked crack + squiggly lines for text.
- Spiderweb: Draw an asterisk (*) + connect the lines with little swooping "u" curves.
If you want to level up without adding stress, keep a reference image beside you while you paint, especially for lighting and shadows. Curated packs (like Tobio’s Kits) can be easier to work from than random search results with confusing contrast.
Frequently Asked Questions
How do I make the windows look like they are glowing?
Contrast is key. You need the house silhouette to be very dark (thick purple paint) and the windows to be very bright (clean orange/yellow). If you accidentally painted over the windows in purple, wait for it to dry and use White Gouache or a Posca Pen to paint them back in, then layer yellow on top.
My sky bled into my pumpkin moon. Is it ruined?
Not at all. A little bleeding makes it look like the moon is glowing in the mist. If it's too messy, wait for it to dry and outline the pumpkin with a thick black line to clean up the edge.
Can I change the colors?
Absolutely. A "Green & Black" palette (using Sap Green and Lamp Black) creates a toxic/witchy vibe, while a "Blue & Gray" palette feels more ghostly and cold. The steps remain exactly the same.
Why does my purple look faded?
Watercolors dry lighter than they look when wet. If your haunted house looks pale after drying, don't be afraid to add a second layer of purple to deepen the shadows. The darker the house, the brighter the windows will look!
Conclusion
The best part about this Halloween watercolor painting is that you can’t really mess it up. If your brush slips, it’s just a spooky shadow. If the roof is crooked, it’s just an ancient, settling house. This project is the perfect reminder that art doesn't have to be perfect to be evocative. So sign your name, maybe splatter a few more "stars" or "bats" if you're feeling chaotic, and close your sketchbook with a smile. You have officially captured the spooky season.
Mel, FounderLike these guides? Set Tobio's as a preferred source on Google and our pages will show up first when you search for watercolor questions.
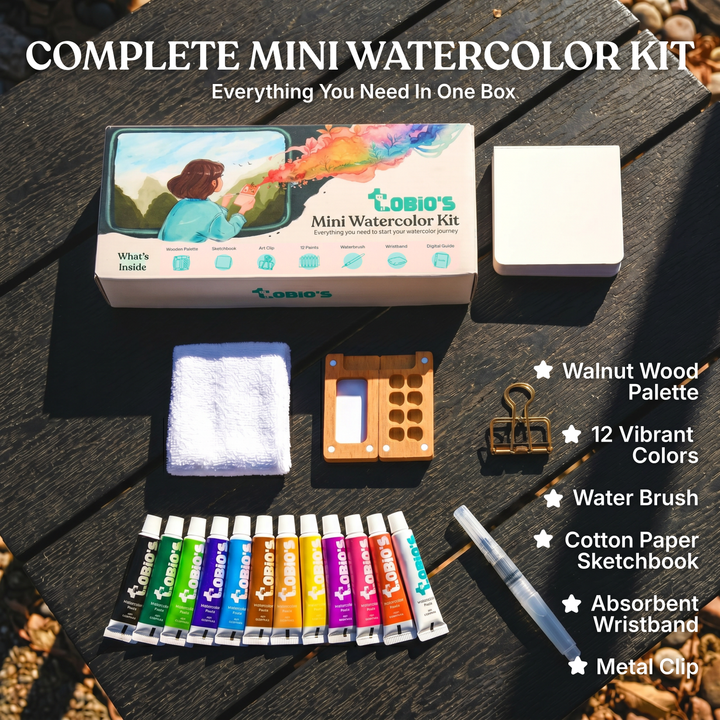
Ready to paint along?
Everything you need to paint anywhere and feel inspired doing it.
- Ultra compact
- Express yourself creatively
- For total beginners