Sunset Watercolor Painting: Step-by-Step Tutorial


What You'll Need
- Watercolor Paper
- Pencil and eraser
- Two water cups
- Watercolors
- Round brush
Color Palette
If your sketchbook pages are staying blank because you’re waiting for "perfect" conditions, you’re doing it wrong. This tutorial isn't about creating a gallery masterpiece; it's about capturing a mood before your coffee gets cold.
We are focusing on a loose, expressive sketchbook style. This means no masking tape, no complex drawing, and absolutely no stress. We are going to paint a sunset watercolor painting that feels spontaneous and fresh, exactly like the study in the image above.
If you want more projects like this after you finish, you can browse our full library of step-by-step lessons on Watercolor Tutorials.
The "No-Fuss" Color Palette
Forget the 48-pan studio set. Looking at our reference image, this entire scene is built on just four specific pigments. Grab these (or their closest cousins) from your stash:
- Lemon Yellow: For that bright, central glow on the horizon.
- Cadmium Orange: For the warm, fragmented clouds.
- Dioxazine Purple (watered down): For the upper sky and shadowing clouds.
- Phthalo Turquoise: This is crucial. The water in the image isn't "blue"; it’s a deep, rich teal.
Paper Specs: Even for a quick sketch, paper matters. Use 140lb / 300gsm watercolor paper. The heavy weight prevents the paper from buckling when we lay down those juicy washes. A small A6 or 5x5" sketchbook is perfect here.

The "Barely There" Sketch
Don't overthink this. You don't need a ruler.
- Draw a faint horizon line roughly 1/3 of the way up from the bottom of the page.
- That’s it. Put the pencil away.

The Glowing Sky (Wet-on-Dry)
We want the sky to look soft but not muddy.
- Load your brush with Lemon Yellow and paint a loose semicircle sitting right on top of your horizon line.
- While the yellow is still damp, grab your Cadmium Orange. Paint horizontal streaks above the yellow, letting them touch and bleed slightly, but don't over-mix them on the page.
- Finally, take a watery wash of Dioxazine Purple and sweep it across the very top of the page. Let it drift down toward the orange.

The Ocean & The Whitecaps
Here is the secret to the water in the reference image: Negative Space.
- Load your brush with Phthalo Turquoise. You want a juicy, saturated mix.
- Start painting horizontal strokes below the horizon line.
- Crucial: Do not paint the whole bottom blue. As you sweep your brush across, intentionally lift it or skip spots to leave jagged horizontal strips of white paper showing.
- These white gaps are your whitecaps and foam. No masking fluid required, just confidence.

Definition and Depth
Let the first layer of the ocean dry for a minute (it doesn't have to be bone dry).
- Go back in with a thicker, darker mix of Phthalo Turquoise (maybe mixed with a tiny dot of purple to deepen it).
- Paint thin, broken horizontal lines underneath your whitecaps. This creates the shadow of the wave.
- Soften the horizon line slightly if the ocean looks too "cut out" from the sky.
The "Walk Away" Technique
This is the hardest step.
The second you drop that final color, put your brush down immediately.
No fiddling.
Trust the water to finish the painting for you and literally walk away until it is bone dry.
Style Variations: Stormy, Hazy, and Graphic
Want to change the weather in your sketchbook? Try these quick adaptations using the same three to four colors:
The "Storm Front" (Dramatic & Moody)
- Cool the palette: Swap the bright Lemon Yellow for a heavy, watery wash of Dioxazine Purple mixed with Phthalo Turquoise.
- Blur the horizon: While the sky is still wet, mist the paper with water. Let the dark clouds bleed downward into the ocean to look like distant rain curtains.
- Deepen shadows: Use nearly pure Turquoise for the water to create a churning, deep-sea look.
The "Morning Haze" (Soft & Airy)
- Lighten the touch: Use 90% water and just a whisper of Lemon Yellow and Cadmium Orange.
- Lost edges: Paint the sun clearly, but use clean water to fade the horizon line into nothingness (white paper). This creates the illusion of low-hanging sea mist.
- Skip the darks: Leave out the heavy Turquoise entirely for a calm, early-morning glow.
The "Graphic Badge" (Simplified for Stickers)
- Hard edges: Unlike our loose study, let the sky dry completely (bone dry!) before painting the ocean. This creates a crisp, sharp horizon line.
- Flat washes: Mix a puddle of color and paint the water as one solid shape, no ripples, no whitecaps. It looks modern, like a retro surf patch.
Inspiration: Why This Style Works
This loose, expressive sketchbook approach to a sunset watercolor painting is perfect for:
- Travel Logs & Beach Days: You don't have time to wait for precise layers to dry when the tide is coming in or the light is fading. This style captures the glow of the horizon in the time it takes to finish an iced coffee. It’s about the vibe, not photorealism.
- Coastal Decor: Because these studies are small and vibrant, they look sophisticated rather than "crafty." Frame a grid of three small sunset studies (perhaps a morning, noon, and dusk version) for instant "beach house vibes" that feel authentic, not like generic hotel art.
Frequently Asked Questions
Do I need masking fluid for the white waves?
No. This sunset watercolor painting relies on "negative space." Simply skip your brush quickly over the rough paper texture to leave the white showing naturally.
Why does my paper buckle when painting the sky?
Heavy washes require heavy paper. Always use at least 140lb (300gsm) paper for this wet-on-wet style. If it curls, tape the edges down before you start.
How do I make the sun look brighter?
Contrast is key. Keep the sun area pale (or pure white paper) and place your darkest colors, like the deep turquoise ocean, directly against the light reflection.
Conclusion
A strong sunset watercolor painting is not about fancy supplies or perfect drawing. It is about order of operations: wet-on-wet sky, wet-on-wet water, dry time, then bold silhouettes and controlled reflections. Repeat that structure and you will get consistent results fast.
If you want more guided paint-alongs and ready-to-paint projects, explore Tobio’s Kits and keep practicing with one small sunset at a time. Your “muddy wash era” does not have to last.
Mel, FounderLike these guides? Set Tobio's as a preferred source on Google and our pages will show up first when you search for watercolor questions.
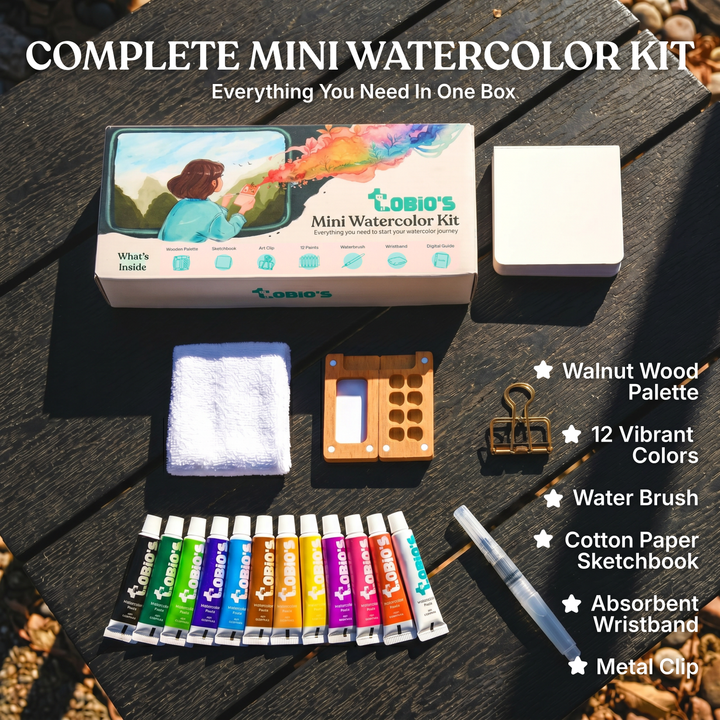
Ready to paint along?
Everything you need to paint anywhere and feel inspired doing it.
- Ultra compact
- Express yourself creatively
- For total beginners