


Tuscany Watercolor Paintings: Step-by-Step Tutorial


What You'll Need
- Paper
- Brushes
- Paint colors
- Palette
- Water cup
- Pencil
Color Palette
If you have ever tried tuscany watercolor paintings and ended up with a flat green stripe and a house that looks like a monopoly piece, stop worrying. We are not painting a travel brochure today.
In this "Loose Sketchbook Study," we are capturing the feeling of a warm Italian afternoon in about 15 minutes. We are ditching the architectural rules and the complex perspective. Instead, we will use soft, horizontal washes and confident vertical strokes to build that classic rolling landscape. The goal is a sun-baked glow, not a perfect blueprint.
The Supplies (Keep it Simple)
- Paper: 140lb / 300gsm Cold Press watercolor paper. (You need the texture for those dry-brush hill effects).
- Brush: A Round Brush (Size 8 or 10) for the washes, and maybe a smaller Size 4 for the house.
- Paints: See our "Sun-Baked" palette below.
The Color Palette
Based on our loose sketchbook study, we are using a warm, earthy palette to mimic that golden hour light.
- Cobalt Blue: For the soft, breezy sky.
- Yellow Ochre (or Raw Sienna): The main color for the sunlit hills.
- Burnt Sienna: For the terracotta roof and the rich, red earth in the foreground.
- Olive Green (mixed with a touch of Brown): For the cypress trees and vegetation.
Step-by-Step: Your Expressive Tuscany Watercolor Paintings
The secret to this landscape is layering from top to bottom (sky to ground) and getting warmer as you move down the page. We are essentially painting a "temperature gradient", starting with the cool, distant blues of the sky and finishing with the hot, baked earth tones of the foreground. This simple trick creates instant depth without needing a ruler or a single vanishing point. If you fall in love with these earthy, sun-washed pigments and want to upgrade your palette to professional-grade supplies that make these blends effortless, check out Tobio's Kits. Now, grab your largest brush, take a deep breath, and let’s lay down that first wash.

The Breezy Sky Wash
- Wet the top third of your paper with clean water.
- Drop in a loose, watery wash of Cobalt Blue.
- Artist Tip: Don't make it a solid blue wall! Leave some white gaps for clouds and let the blue fade out as it reaches the horizon line.

The Golden Hills
- While the sky is drying, mix a puddle of watery Yellow Ochre.
- Paint the distant hills with a broad, horizontal sweeping motion.
- As you move down to the mid-ground, drop in a little Burnt Sienna to warm up the hills. Let the colors bleed slightly where they touch, creating that soft, rolling transition.
- Crucial Rule: Hills are not perfect triangles. Give them a gentle, organic curve.

The Rustic Villa & The Cypress Sentinels
- Wait for the hills to be dry to the touch (otherwise your house will melt).
- Paint a simple box shape using a creamy mix of Yellow Ochre (or a pale beige).
- Add the roof with a quick dab of Burnt Sienna.
- Don't draw windows perfectly, just use two tiny dots of dark paint to suggest them. Ideally, place the house slightly off-center to make the composition interesting.
- Cypress trees are the exclamation points of Tuscany.
- Mix a thick, dark green using Olive Green and a touch of Burnt Umber (or Sepia).
- Using the tip of your brush, paint vertical, jagged strokes that start wide at the base and taper to a point at the top.
- Group them near the house to anchor it to the landscape.

The Warm Foreground Earth
- Anchor the bottom of the page with your strongest color.
- Load your brush with Burnt Sienna and paint a bold, rough stroke across the foreground.
- Use a "dry brush" technique (less water, move fast) to let the texture of the paper show through, creating the look of rough soil or dirt paths.
Beginner Fixes: Common Watercolor Problems in Landscapes
My hills look flat
- Increase value steps: each foreground layer should be slightly darker than the one behind it.
- Soften distant edges: hard edges pull things forward.
My greens are screaming
- Neutralize with a touch of burnt sienna or burnt umber.
- Lean into ochre first, then add green second.
I got backruns (blooms) everywhere
- Let layers dry fully before adding details.
- Match wetness: don’t drop wet paint into a half-drying wash unless you want texture.
My trees look like blobs
- Use value variation inside the tree mass (a couple lighter gaps).
- Suggest foliage with taps and broken edges, not solid fills.
For more technique refreshers like washes, layering, and brush control, you can revisit Tobio’s Kits step-by-step watercolor tutorials while you practice this scene.
Frequently Asked Questions
Why did my warm Tuscany hills turn into a muddy brown mess?
You likely over-blended your Yellow Ochre and Olive Green! These colors love to turn into mud if you scrub them together. The trick to those glowing tuscany watercolor paintings is to lay the yellow wash down, drop in a touch of green or sienna while it's wet, and then stop touching it. Let the water move the pigment, not your brush.
My cypress trees look like stiff green triangles. How do I loosen them up?
Real cypress trees are organic and jagged, not perfect geometric cones. Instead of painting a smooth outline, use the tip of your brush to "tap" the paint onto the paper in a vertical column. Leave tiny gaps of white paper showing through the greenery to let the tree "breathe" and look like foliage rather than a solid plastic shape.
The villa looks like a sticker floating on top of the landscape. How do I fix it?
Your house needs an anchor! A building never sits perfectly on top of the grass; it settles into it. Add a slightly darker line of Burnt Sienna or Olive Green right along the bottom edge of the house to create a shadow. Also, grouping the dark cypress trees right next to the light-colored walls helps lock the structure into the scene.
Do I need to understand complex perspective to paint this?
Not for this 15-minute sketchbook study! We are using "atmospheric perspective" instead of architectural rulers. This just means making the foreground colors (at the bottom) warmer and darker, while keeping the background hills (at the top) cooler and paler. This trick instantly creates depth without a single vanishing point.
Conclusion
Great tuscany watercolor paintings are less about perfect drawing and more about smart layering: warm light first, depth in the hills second, then selective contrast around your focal point. Keep the palette earthy, soften the distance, and let the foreground earn the detail.
If you want more guided practice, head to Tobio’s Kits’ watercolor tutorials and keep building your landscape skills one calm, sunlit scene at a time.
Mel, Founder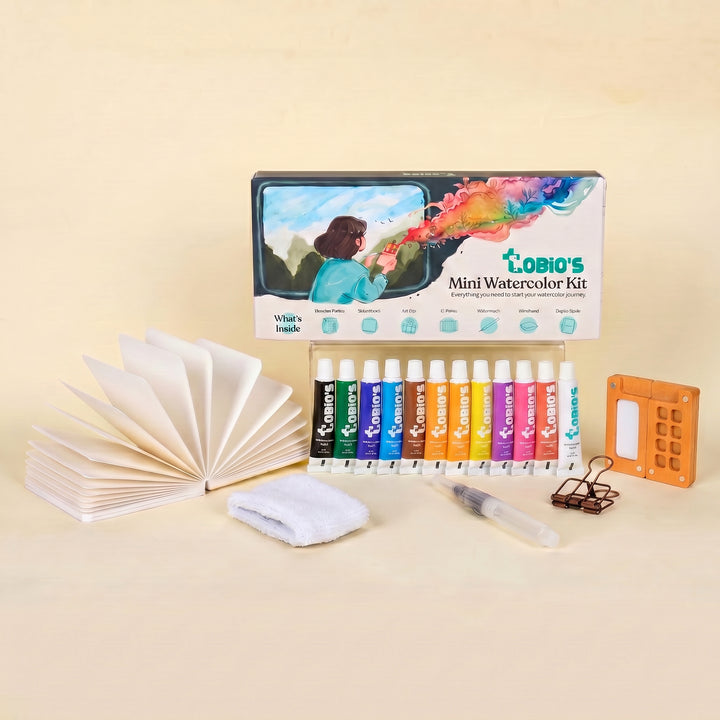
Ready to Paint?
This tutorial was designed for use with our Watercolor Kit.
Shop the Kit


