Watercolor Beach Painting: Step-by-Step Tutorial


What You'll Need
- Watercolor Paper
- Pencil and eraser
- Two water cups
- Watercolors
- Round brush
Color Palette
You don't need a studio, a massive easel, or three hours of free time to capture the ocean. In fact, some of the best art happens in 15 minutes with a travel kit and a sketchbook.
While this is a tutorial for a watercolor beach painting, we are ditching the "perfect realism" approach. Instead, we are focusing on a "Loose Sketchbook Style." This method is fast, forgiving, and captures the feeling of a sunny day without getting bogged down in the details. If your horizon line is a little wonky? Good. It adds character.
If you want more projects like this after you finish, you can browse our full library of step-by-step lessons on Watercolor Tutorials.
The Sketchbook Palette
Looking at our reference study, we aren't using twenty colors. We are using four hard-working pigments to get that sunny, breezy look. Since we are working in a sketchbook, standard 140lb (300gsm) cold-press paper is perfect, it holds the water well without buckling too much.
Here are the specific pigments we are using for this study:
- Lemon Yellow: For that bright, high-noon sun.
- Cerulean Blue: The perfect airy color for the sky and shallow water.
- Ultramarine Blue: For the deep ocean horizon line and shadows in the water.
- Yellow Ochre: A warm, sandy earth tone that glows without looking like mud.

The "Blink and You'll Miss It" Sketch
Keep your drawing incredibly minimal. In a loose watercolor beach painting, the graphite is just a polite suggestion, not a fence.
- Draw one horizontal line across the middle (the horizon).
- Sketch a loose, wavy line below it for the shoreline.
- Draw a small circle in the upper right sky for the sun.
- Pro Tip: Don't press hard. You want the pencil to disappear under the paint.

Sky and Sun (Negative Space is Key)
We aren't going to paint the clouds white; we are just not going to paint them at all.
- Wet your brush with Lemon Yellow and fill in your sun circle.
- Clean your brush. Pick up a watery mix of Cerulean Blue.
- Paint the sky with quick, horizontal strokes, but skip over random fluffy shapes. These gaps are your clouds.
- Let the blue touch the edges of your yellow sun carefully, if they mix too much, you’ll get a green sky!

The Ocean Gradient
The ocean looks deepest at the horizon and clearer near the sand.
- While the sky is drying, mix a strong pigment of Ultramarine Blue. Paint a solid line right across the horizon.
- Immediately rinse your brush slightly so it still has paint but is wetter. Drag that blue down toward the shore.
- As you get close to the sand, switch to a very watery Cerulean Blue.
- Crucial Step: Leave gaps of white paper between the blue water and the pencil line of the shore. That white paper is your sea foam. No fancy masking fluid required.

Sand and Shadows
Sand isn't flat beige; it has texture.
- Load your brush with Yellow Ochre and plenty of water.
- Wash the color over the bottom section of the page.
- Don't make it a perfect flat square! Let your brush "dance" a bit to create uneven edges at the bottom, mimicking the natural drift of sand.
- If the sand touches the wet blue ocean, let it bleed slightly. That "mistake" looks exactly like wet, reflective sand.
The "Don't Overwork It" Finish
Put the brush down. Walk away. The biggest killer of a loose sketch is trying to fix it.
- Once the paper is bone dry, you can add one or two tiny dark blue strokes in the water to suggest waves, but keep it minimal.
- The charm of this sketch is the visible brushstrokes and the white paper showing through.
Style Variations: Storm Watch, Sunrise Glow, and Postcard Perfect
Want to change the vibe of your watercolor beach painting? Try these quick sketchbook adaptations using the same four colors:
The "Storm Watch" (Moody & Dramatic)
- Cool the palette: Let the Ultramarine Blue take over. Mix it with a tiny touch of Yellow Ochre to create a bruised, grey-blue sky.
- Deepen the ocean: Paint the water with much less water on your brush (dry brush technique) to create choppy, dark waves.
- Lost edges: Instead of a crisp horizon, let the dark sky bleed into the water slightly to simulate rain in the distance.
The "Sunrise Glow" (Soft & Hazy)
- Warm the palette: Start by washing the entire paper with a very diluted Lemon Yellow. Let it dry completely before adding anything else.
- Soften the transition: Use plenty of water when you add the Cerulean Blue sky so it melts softly into that yellow underpainting.
- The "Fresh" Texture: Skip the dark blue wave accents. Keep the ocean strictly pastel and smooth for a calm, early-morning glassiness.
The "Postcard Perfect" (Simplified for Cards)
- Exaggerate shapes: Flatten the perspective. Make the horizon line razor-sharp and the sun a perfect, hard-edged circle.
- Punch up the saturation: Use your Cerulean Blue and Yellow Ochre straight from the pan with very little water for bold, graphic blocks of color.
- Flat color: Skip the texture on the sand. Use a flat wash of solid Ochre to make it look illustrative and design-focused.
Inspiration: Why This Style Works
This loose, expressive sketchbook approach to a watercolor beach painting is perfect for:
Travel Journals & Vacation Logs:
Capture the view from your beach towel without needing to haul a heavy French easel into the dunes. You don’t need to paint every grain of sand or individual wave; you just need those bands of blue and gold to bring the memory of the salt air back.
Coastal Decor & Gifts:
Because beach scenes are naturally calming and open, a soft, loose study looks timeless in a bathroom or hallway. Frame a trio of these (perhaps varying the time of day from sunrise to noon) for instant, breezy wall art that doesn't feel like generic "hotel art."
Frequently Asked Questions
Why is my sand turning green where it meets the water?
Because wet blue paint touched wet yellow paint! To stop the bleed, let the sand dry completely before painting the water, or leave a tiny white gap of dry paper between them to act as "sea foam."
Do I really need masking fluid to make the water sparkle?
No way. Just use the "dry brush" technique instead. Drag a brush with thick paint quickly over dry paper; it skips the paper's texture, leaving white sparkles naturally.
Why does my sketchbook page wrinkle when I paint the sky?
Water makes paper expand, it’s totally normal. Use a binder clip (like in the photo) to hold the page flat while you work, and don't worry about the crinkles; they add character to a field sketch.
Conclusion
A strong watercolor beach painting comes down to order and restraint: sky first, then ocean, then sand, then details. Use big simple washes, let them dry, and add just enough contrast to make it pop.
If you want to keep learning with clear, beginner-friendly direction, browse watercolor tutorials for more step-by-step projects, or head to Tobio’s Kits to make your next painting session ridiculously easy to start and genuinely satisfying to finish.
Mel, FounderLike these guides? Set Tobio's as a preferred source on Google and our pages will show up first when you search for watercolor questions.
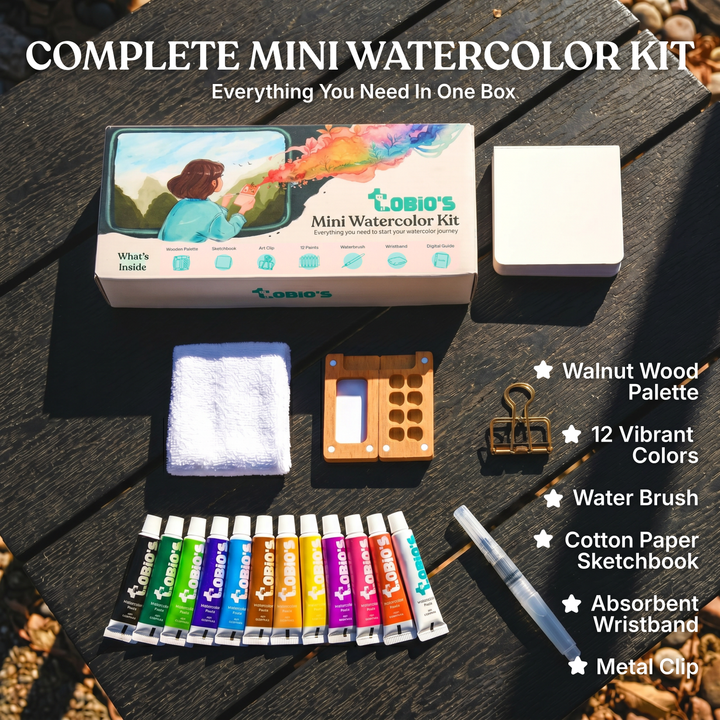
Ready to paint along?
Everything you need to paint anywhere and feel inspired doing it.
- Ultra compact
- Express yourself creatively
- For total beginners